
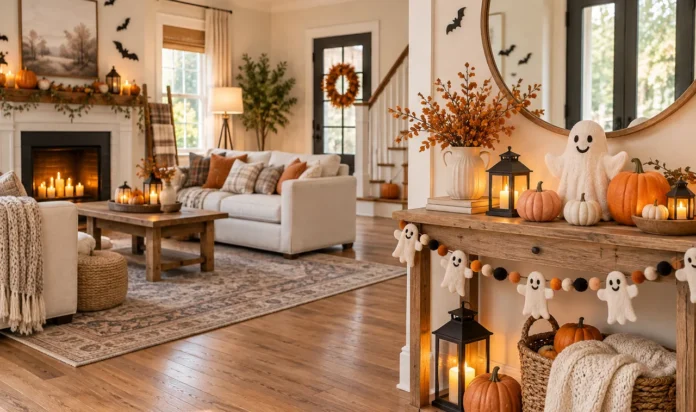


Halloween decorating does not have to mean fake blood, jump scares, or a house that feels too spooky for children. A few soft colors, cheerful ghosts, glowing lights, and handmade details can give your home a festive look while keeping it warm and welcoming. The best cute Halloween decorating ideas are also flexible: you can use them on a porch, in an entryway, across a mantel, or on a dining table without changing your whole room.
This list mixes quick crafts with simple styling tricks, so you can choose projects that fit your time, budget, and space. Most ideas use easy-to-find materials such as felt, paper, pumpkins, jars, ribbon, and battery-operated lights. Pick two or three that share the same color palette, repeat those colors around the room, and your decorations will feel coordinated instead of crowded. Whether you prefer classic orange and black or softer pinks, creams, and sage green, these 15 ideas will help you create a Halloween home that feels playful, polished, and ready for photos.
1. Style a Pastel Pumpkin Display
Give traditional pumpkins a softer look with chalk paint in cream, blush, lavender, pale orange, or sage. Mix real pumpkins with inexpensive craft versions so the arrangement has different shapes and heights. A little metallic paint on the stems adds a finished touch without making the display feel formal.
Group the pumpkins in odd numbers on an entry table, mantel, or porch step. Place the largest pumpkin toward the back, then fill the gaps with mini pumpkins and a few dried leaves. Keeping the palette to three or four colors makes the display look intentional and easy on the eye.
Blush
Lavender
Sage
2. Hang a Friendly Ghost Garland
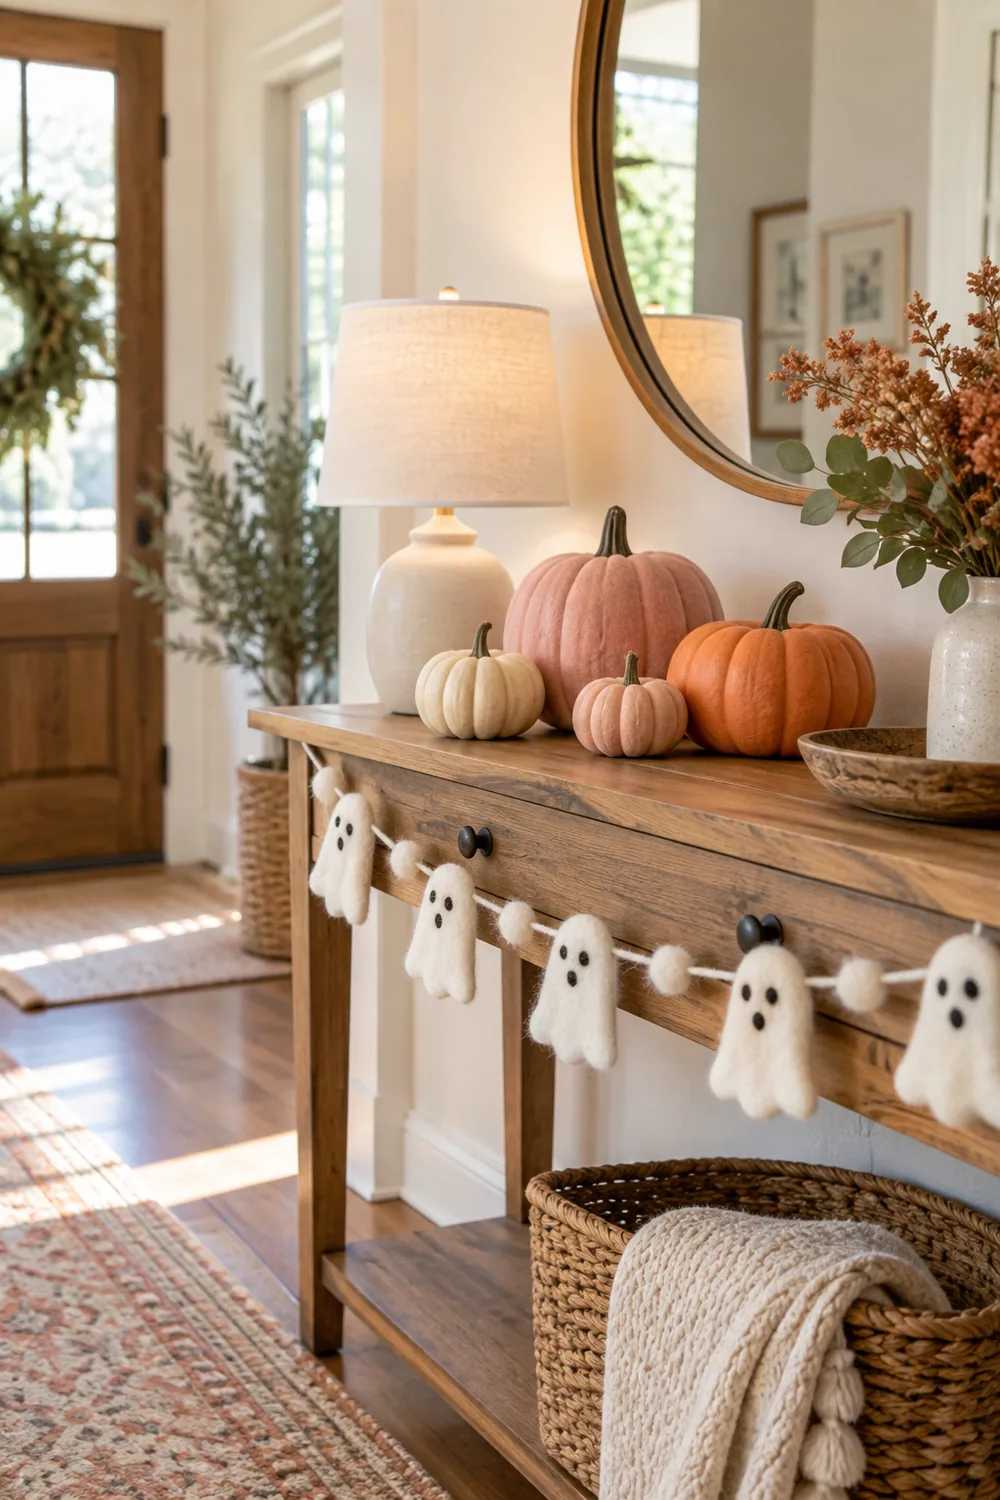
A line of smiling ghosts instantly makes a room feel festive. Cut simple ghost shapes from white felt or thick paper, then draw tiny faces with a black fabric marker. Thread them onto twine with small wooden beads or mini pom-poms between each ghost.
Hang the garland across a mantel, bookshelf, window, or doorway. Let the ghosts face slightly different directions so the design feels handmade and lively. For a softer evening look, layer the garland over warm white fairy lights.
White felt + black marker + twine + pom-poms = a reusable garland you can finish in one afternoon.
3. Create a Cute Ghost Front Door
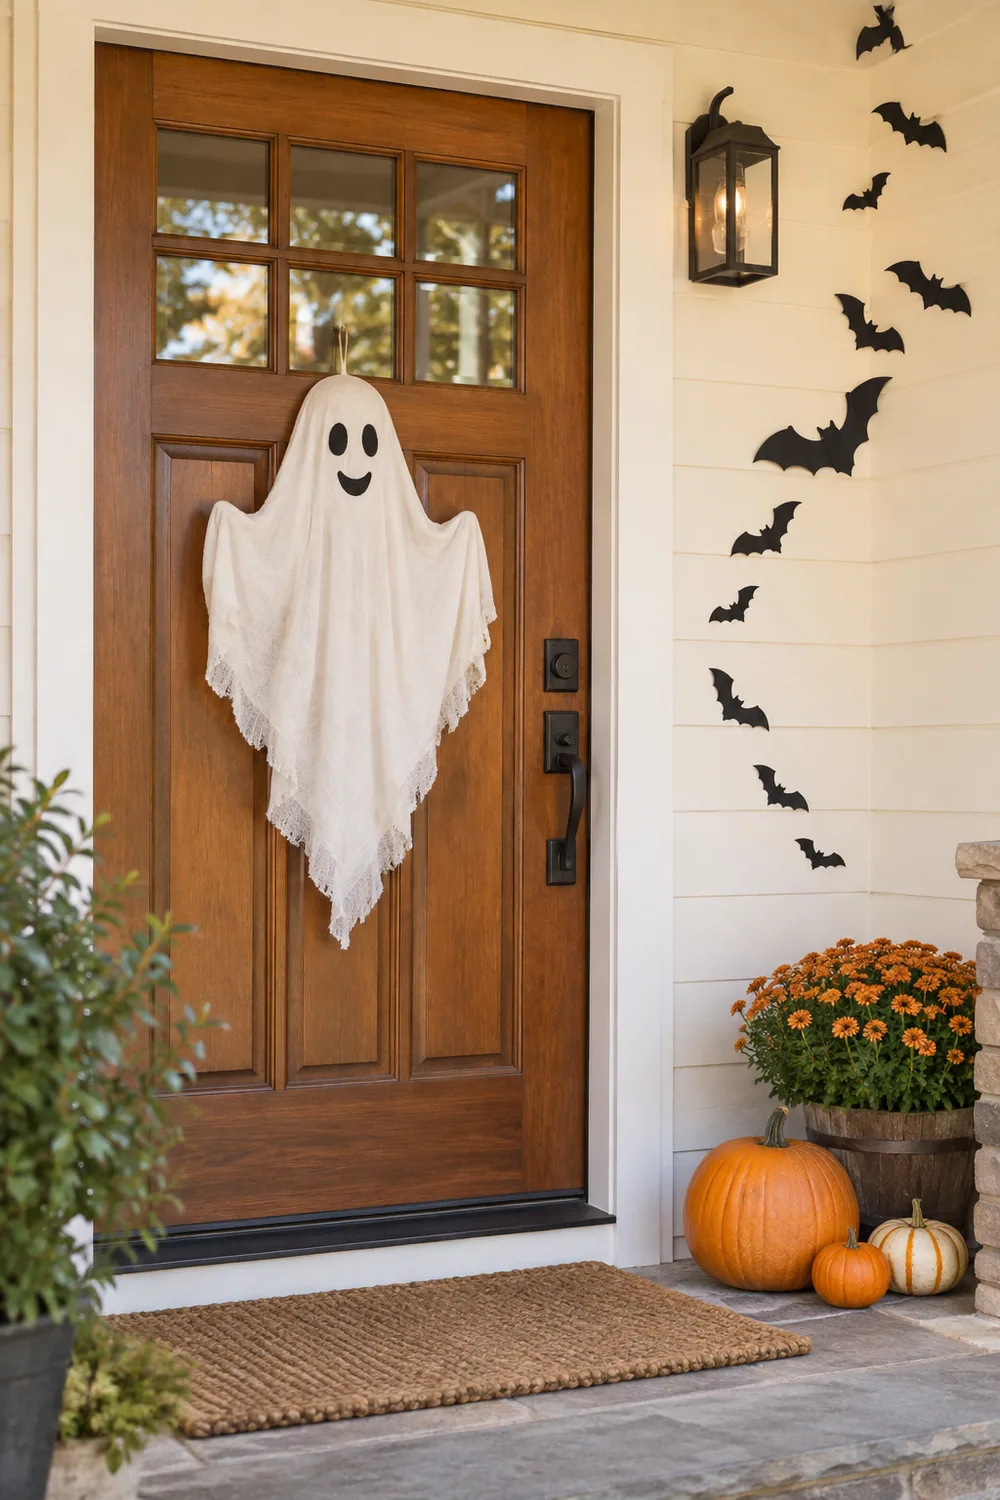
Turn the front door into one large, friendly ghost using removable white fabric or weather-safe white paper. Add oval eyes and a small smile cut from black removable vinyl. Keep the face high enough to be seen from the street and make sure the material does not interfere with the handle or lock.
Finish the doorway with two pumpkin clusters and a trail of paper bats. This creates a clear focal point without covering every inch of the porch. Use outdoor-safe removable strips so the decorations come down cleanly after Halloween.
main focal point
adds movement
balance at floor level
4. Build a Mini Pumpkin Village
Use small white and orange pumpkins as tiny houses by adding painted doors, windows, and roofs. Arrange them on a tray with moss, pebbles, bottle-brush trees, and a short strand of battery lights. You can paint each house differently or keep the designs simple for a cleaner look.
A pumpkin village works well on a console table because it creates detail without taking up much floor space. Keep small loose pieces away from young children and pets, and use battery lights instead of open flames.
5. Fill Glass Jars with Halloween Candy
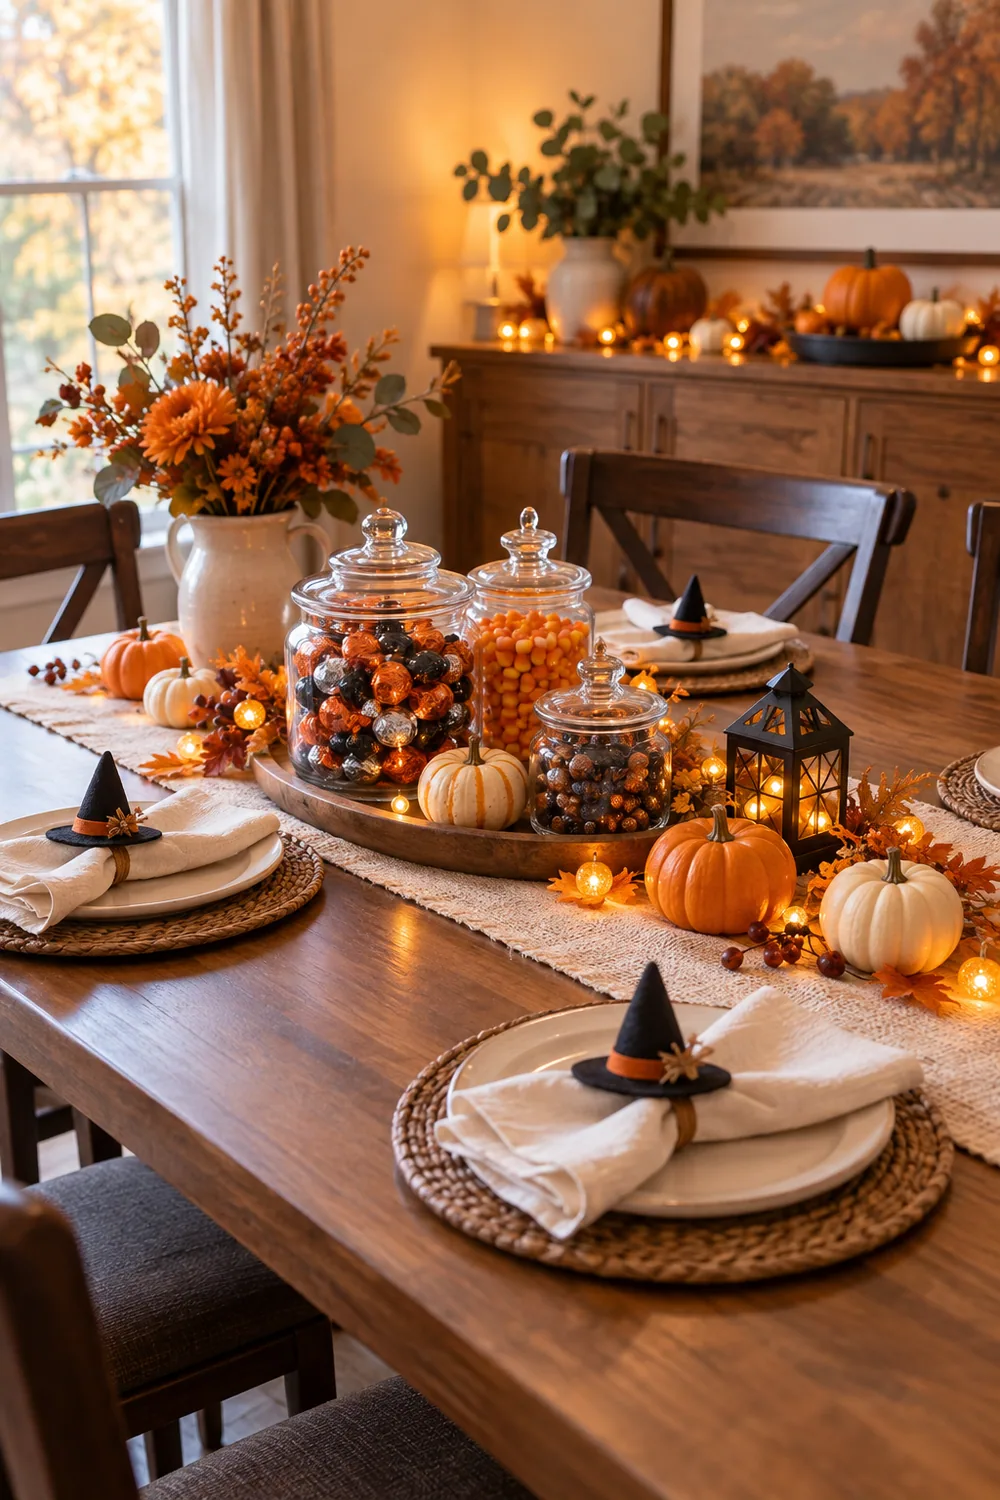
Clear jars make colorful candy part of the decoration. Choose sweets in a limited palette—orange, white, black, or pastel—and arrange the jars at different heights. Add ribbon, paper tags, or tiny witch hats to the lids for an easy custom detail.
Place the jars on a tray so the display looks tidy and is easy to move. If the candy is for guests, use jars with wide openings and add a small scoop. Keep the jars out of direct sun and away from pets.
Choose one dark color, one light color, and one bright accent. Repeating those three colors keeps the table playful but polished.
6. Make Smiling Pumpkin Planters
Turn lightweight craft pumpkins into planters by cutting an opening at the top and adding a simple smiling face. Fill each one with mums, ornamental kale, trailing ivy, or faux stems. If you use real plants, place a small nursery pot inside instead of filling the pumpkin directly with soil.
Use a pair of matching planters beside the door or place one on each end of a porch bench. The greenery softens the Halloween colors and helps the decoration blend with your existing outdoor style.
- Mums for bold color
- Ivy for a soft trailing shape
- Ornamental kale for texture
7. Arrange Paper Bats in Flight
Paper bats are one of the quickest ways to fill a blank wall. Cut several sizes from black cardstock, gently fold the wings, and attach them with removable adhesive. Start the trail narrow near a shelf or pumpkin, then let it widen as it moves up the wall.
A curved layout looks more natural than a straight line. Before attaching anything, arrange the bats on the floor and take a photo of the pattern. That small step makes installation faster and prevents too many holes or repositioned stickers.
Increase the bat size as the trail spreads to create an easy sense of movement.
8. Decorate with Black-Cat Silhouettes
Black-cat silhouettes add a classic Halloween shape without feeling scary. Cut cats from black cardstock and place them in windows, behind houseplants, or along stair risers. A curled tail and pointed ears are enough to make each silhouette recognizable.
For a layered window scene, use one sitting cat and several small stars or crescent moons. During the day the shapes look graphic; at night they stand out against indoor lights.
9. Wrap the Stair Railing with Ribbon and Lights
Wide ribbon, soft garland, and battery fairy lights can turn a stair railing into a gentle Halloween feature. Try orange velvet ribbon with black-and-white striped bows, or use cream gauze with pastel pom-poms for a softer theme.
Secure everything with clear ties and keep the handrail usable. Battery packs should be tucked into a small fabric pouch, not left loose on a step. Add only a few lightweight decorations so the railing remains safe and uncluttered.
10. Set a Sweet Halloween Table
Create a table setting that feels festive rather than formal. Start with a neutral runner, then add mini pumpkins, simple napkins, and handmade place cards shaped like witch hats or ghosts. Clear candy jars add color while warm lights make the table feel cozy.
Keep the centerpiece low enough for guests to see one another. Repeat two or three materials—such as wood, glass, and paper—across the table for a coordinated look. If children will be seated there, avoid breakable pieces near the edges.
easy conversation
repeat the theme
soft evening glow
11. Add Tiny Witch Hats to Everyday Décor
Small paper or felt witch hats can turn ordinary objects into seasonal decorations. Place them on candlesticks, framed photos, jars, small pumpkins, or wooden figurines. Use the same ribbon on each hat so separate items still feel like one collection.
This idea is especially useful in small homes because it works with things you already display. A few hats scattered around a room are enough—too many can make shelves look busy.
12. Display a Bowl of Painted Acorns
Painted acorns bring a small, natural detail to coffee tables and entry consoles. Clean and dry the acorns first, then paint the nuts in orange, cream, pink, or metallic gold while leaving the caps natural. Display them in a shallow wooden bowl or clear jar.
If natural acorns are not available, use wooden craft versions. This project is simple enough to coordinate with any color scheme and the finished pieces can be reused in autumn decorations after Halloween.
13. Create a Cozy Halloween Reading Corner
Choose one chair or window seat and add a themed pillow, a soft throw, and a small basket of seasonal books. A mini pumpkin on a nearby table and a strand of warm lights are enough to define the space without redecorating the whole room.
Keep the colors connected to the rest of your home. If your room is neutral, try cream, rust, and black. For a playful look, add lavender or pink. This corner also makes a useful photo spot for Pinterest-style images.
One chair + one throw + one seasonal pillow + one warm light = an inviting Halloween nook.
14. Make a Ghost Photo Wall
Create a lighthearted gallery wall by adding small paper ghosts around existing framed photos. You can also print simple ghost illustrations and place them in inexpensive frames. Keep the artwork in one or two colors so it complements your current gallery instead of competing with it.
Arrange the ghosts as if they are peeking around the frames. Removable adhesive dots make this a renter-friendly project and allow you to change the layout without damaging the wall.
Mix frame heights, then tuck small ghost shapes into the open spaces.
15. Light the Porch with Cute Lanterns
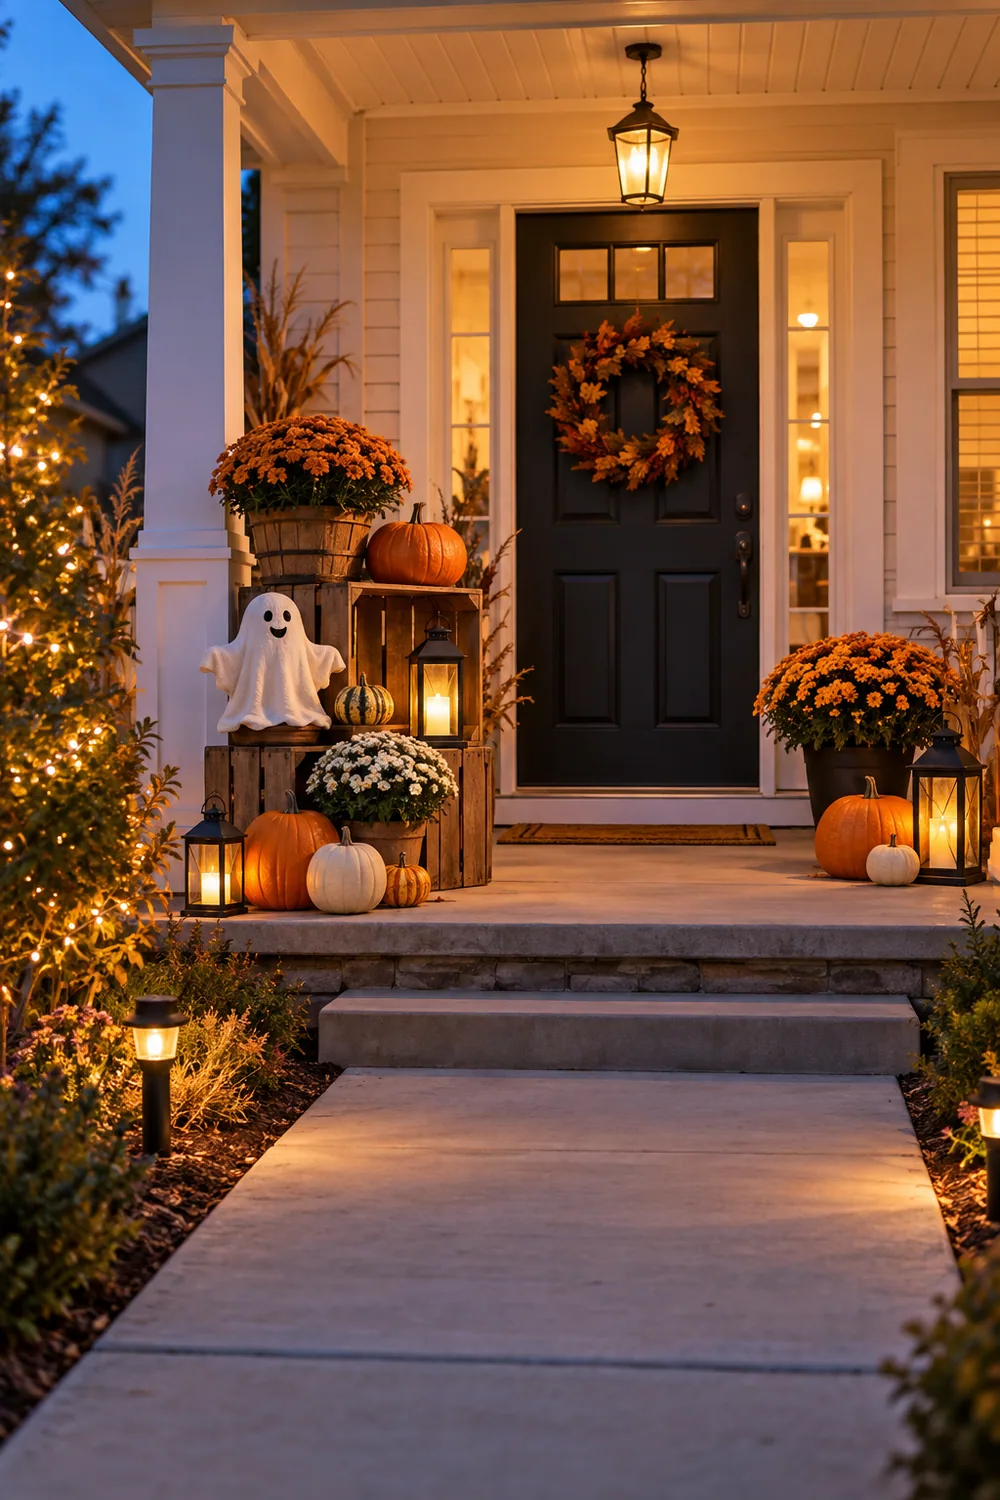
Finish your Halloween setup with a warm porch glow. Place battery lanterns among pumpkins, wooden crates, and one friendly ghost figure. Choose lights with a timer so the display turns on automatically each evening.
Vary the heights by placing a lantern on a crate and another at floor level. Keep walkways clear and use weather-safe lights outdoors. The combination of pumpkins, soft light, and one cheerful character looks welcoming in person and photographs beautifully for a pin.
- Weather-safe battery lanterns
- Two or three pumpkin sizes
- One raised crate
- A clear, safe walkway
Bring Your Cute Halloween Theme Together
You do not need all 15 ideas to make your home feel ready for Halloween. Start with one focal area, such as the front door or entry table, then repeat its colors in one or two nearby spaces. A pastel pumpkin arrangement, a smiling ghost garland, and warm battery lights can already create a complete theme.
The easiest way to keep the décor attractive is to leave some empty space around every display. Choose decorations that suit your home, secure anything near stairs or walkways, and use LED lights instead of open flames. Most importantly, make the setup feel fun for the people who live there. Save your favorite idea, gather the supplies, and give your home a cute Halloween refresh that you can enjoy all season.