
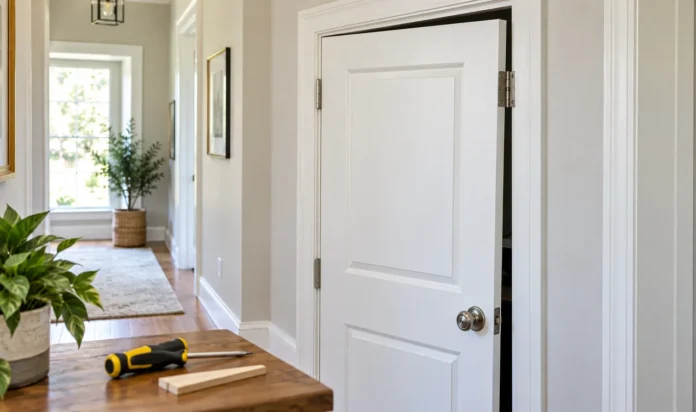


A door that will not close usually gives you a clue before it gets stuck. You may see a tight gap at one corner, hear the latch scrape the strike plate, or notice the top edge rubbing the frame. The safest way to fix it is to start with the hinges and work toward the latch. Removing wood should be the last option, not the first.
This guide explains how to fix a misaligned door with beginner-friendly tools. You will find the exact contact point, tighten the hardware, repair loose screw holes, and realign the strike plate only if the hinges are already secure. Most interior doors take about 30 to 60 minutes. A badly swollen door or damaged frame may take longer.
Work slowly and test the door after each change. Small adjustments matter here. One tightened screw can move the latch enough to solve the entire problem.
What You Need
At a Glance
- Mark the exact rubbing point.
- Support the door before adjusting it.
- Tighten every hinge screw.
- Draw the top hinge toward the wall stud.
- Repair any stripped screw hole.
- Check the hinge leaves and mortises.
- Test the swing and latch.
- Reposition the strike plate.
- Enlarge the latch pocket if needed.
- Sand a swollen edge only as a last step.
- Seal exposed wood.
- Complete a final closing test.
Mark the exact rubbing point
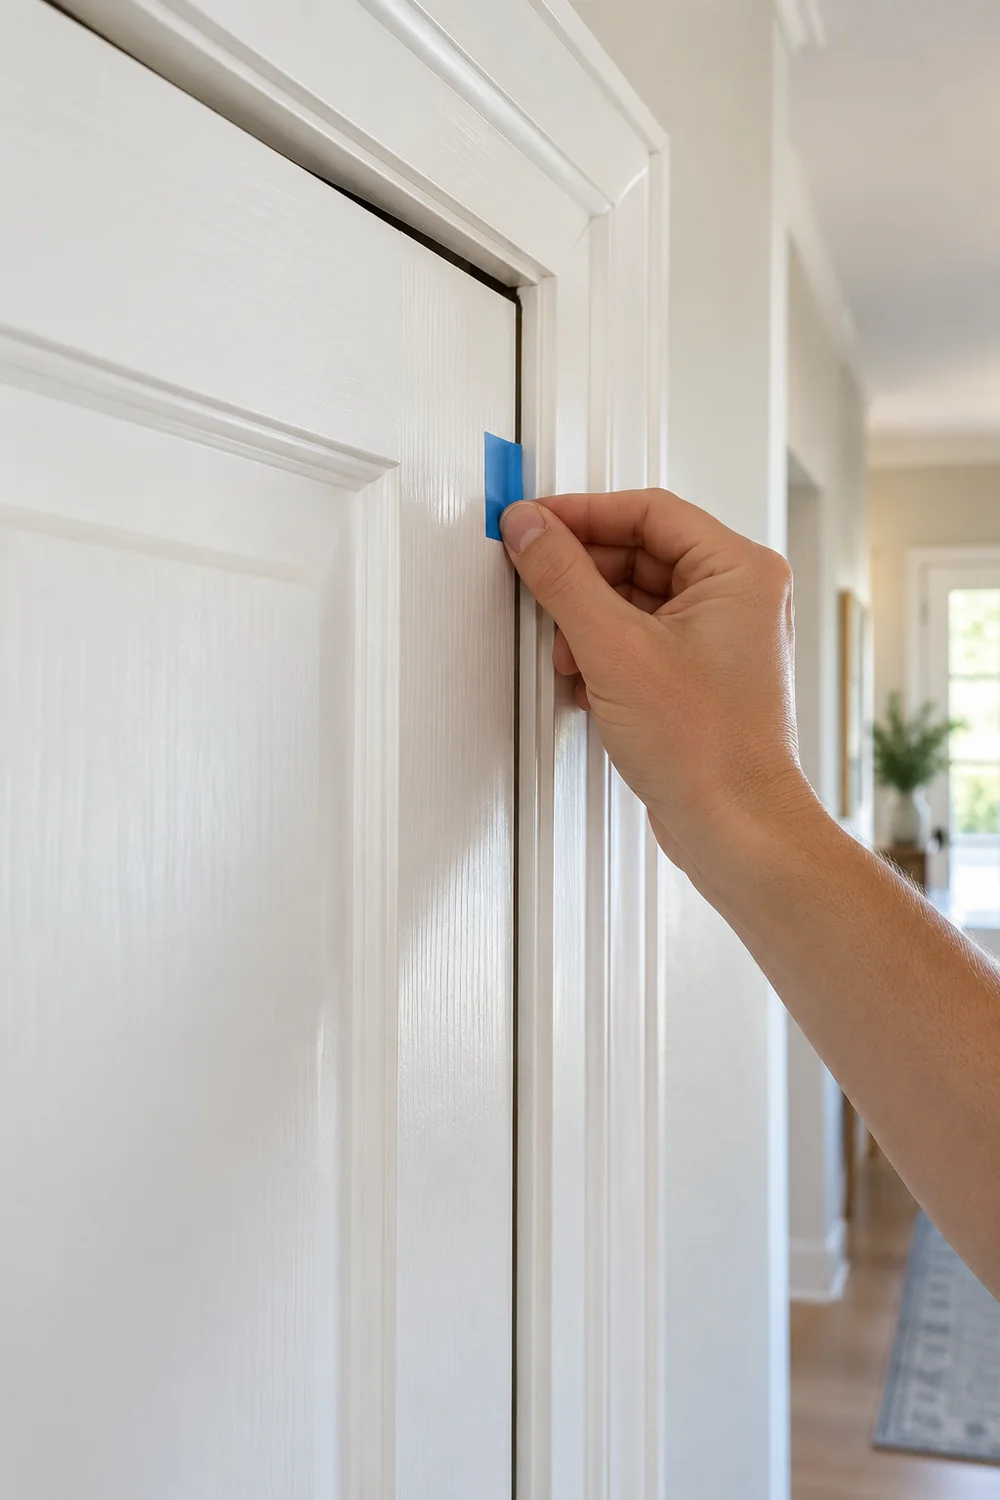
Close the door slowly while watching the gap around all four sides. Slide a sheet of paper through the gap to find tight spots, then mark the contact area with pencil or a small piece of masking tape. Check whether the latch sits above or below the strike plate opening. A narrow gap at the upper hinge side and a wide gap near the lower latch side often point to loose top-hinge screws.
Support the door before adjusting it
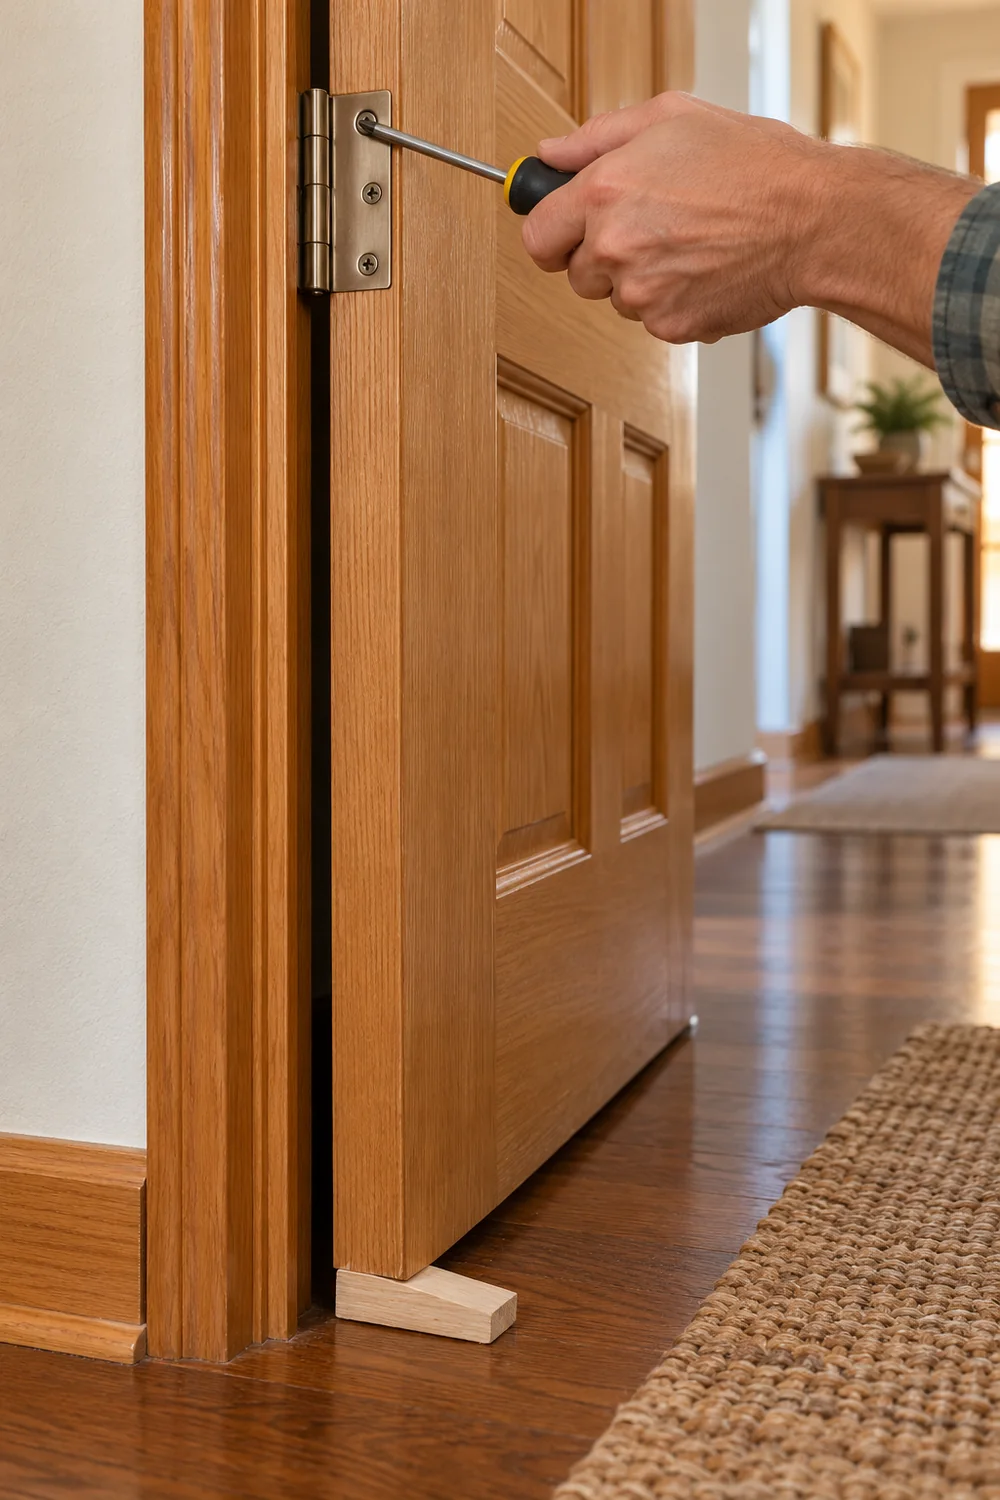
Open the door halfway and place a wooden shim, folded cardboard, or a thin book beneath the outer bottom corner. Raise the support until it carries a little of the door’s weight without lifting the hinges. This takes pressure off the screws and keeps the door from dropping while you work. Ask someone to steady a heavy solid-core door.
Tighten every hinge screw
Use a hand screwdriver to tighten the screws in the door-side and frame-side hinge leaves. Begin with the top hinge, then work downward. Stop as soon as each screw feels firm. Driving too hard can strip the wood or pull a hinge leaf deeper than its mortise. Close the door and check the gaps again before making another change.
Draw the top hinge toward the wall stud
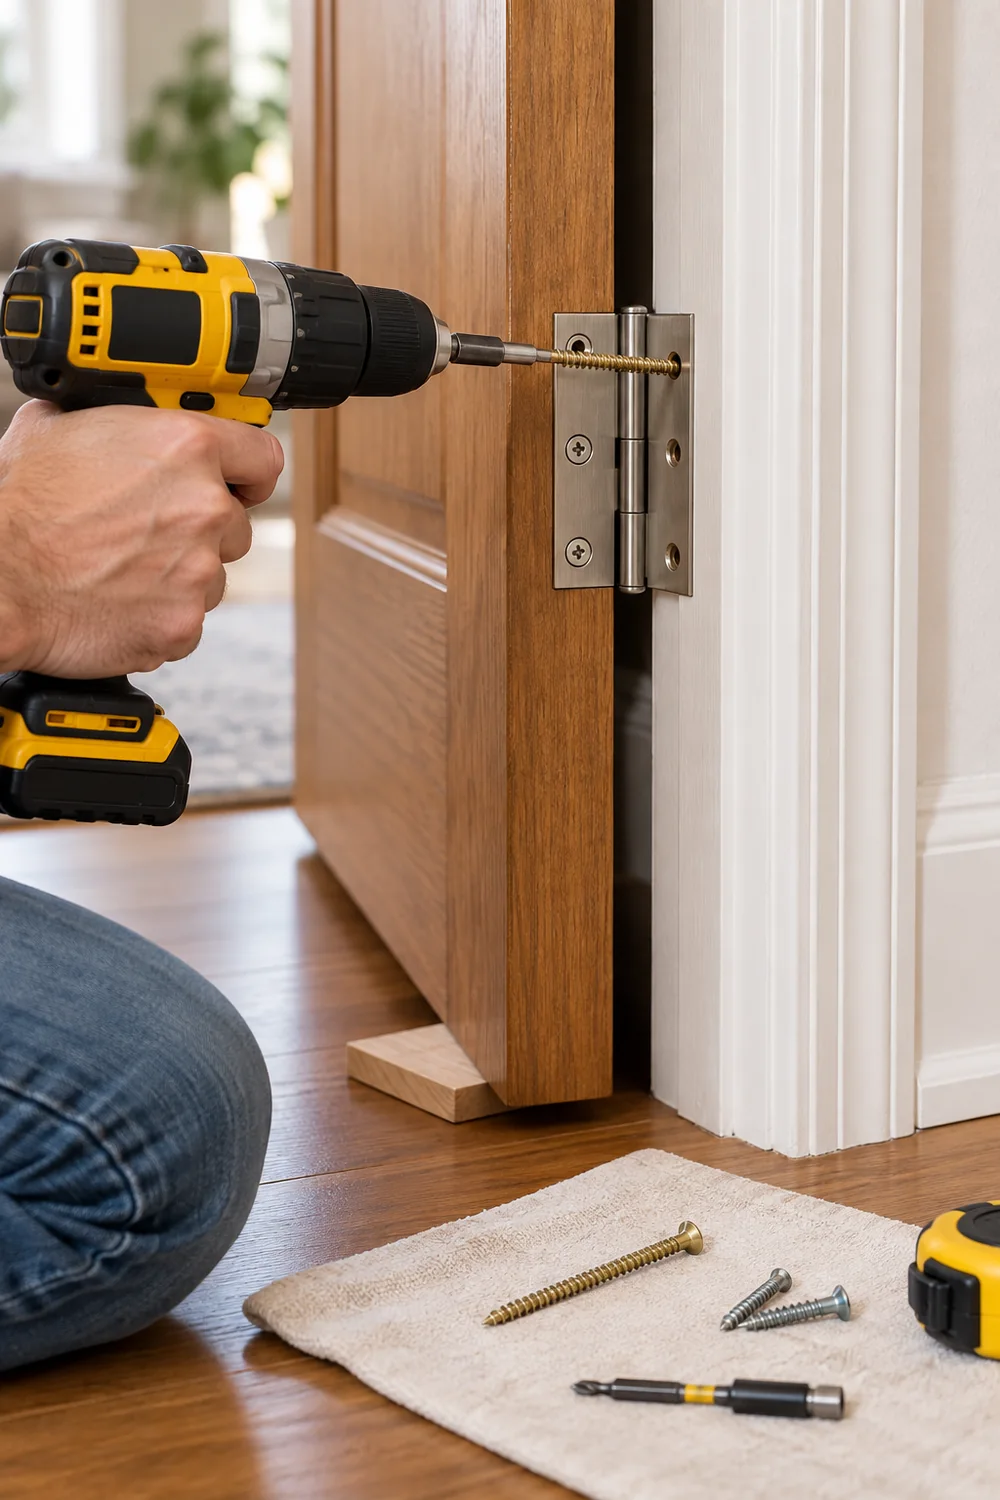
Remove one screw from the frame-side leaf of the top hinge. Choose the hole closest to the door stop and replace the short screw with a 3-inch wood screw. Drive it until the hinge is secure, then stop. The longer screw reaches the wall framing and can pull a sagging jamb back into position. Recheck the door after one long screw before adding another.
Repair any stripped screw hole
Remove a screw that spins without tightening. Coat two or three wooden toothpicks with wood glue and press them into the empty hole. Snap or trim them flush with the surface. Let the glue set for at least 30 minutes, or follow the label if it requires longer. Reinsert the screw by hand so the new wood fibers are not torn out.
Check the hinge leaves and mortises
Look along each hinge while the door is open. Both leaves should sit flat, and the hinge barrel should look straight rather than twisted. Remove paint buildup from the edge of a hinge with a utility knife. If a leaf stands above the wood, shave a very thin layer from the mortise with a sharp chisel. Remove less than 1/16 inch, then refit the hinge before cutting more.
Test the swing and latch
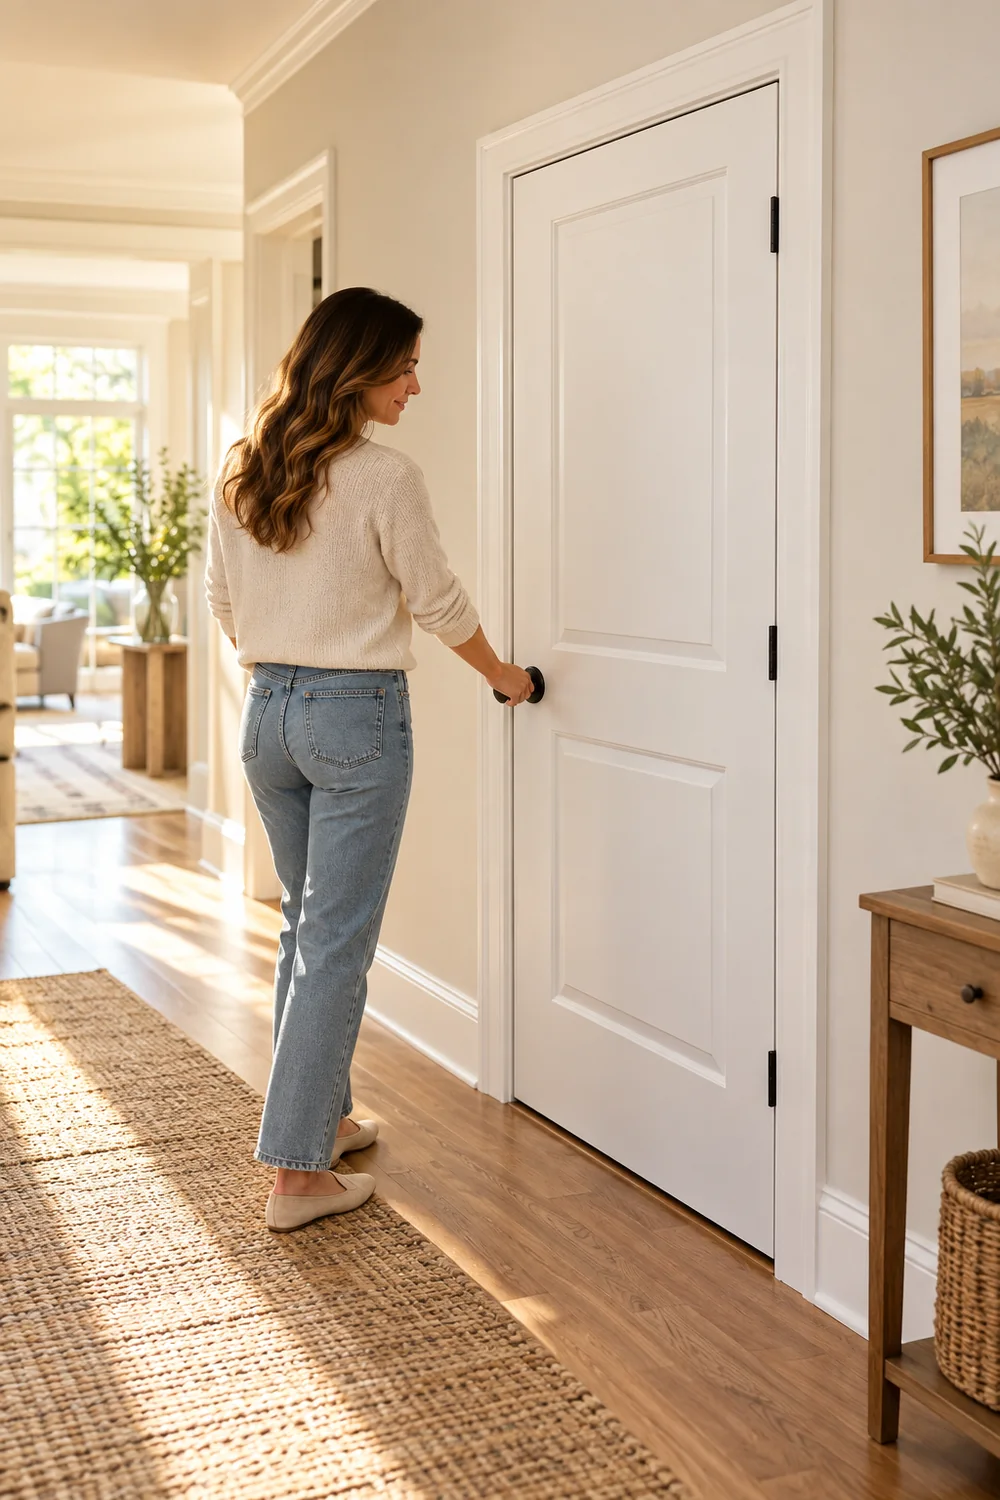
Remove the support from beneath the door and swing it through its full range three times. Close it gently without turning the knob. Check the marked rub point and listen for scraping. If the door clears the frame but the latch still misses the strike plate, hold the door closed and mark the center of the latch on the jamb with pencil.
Reposition the strike plate
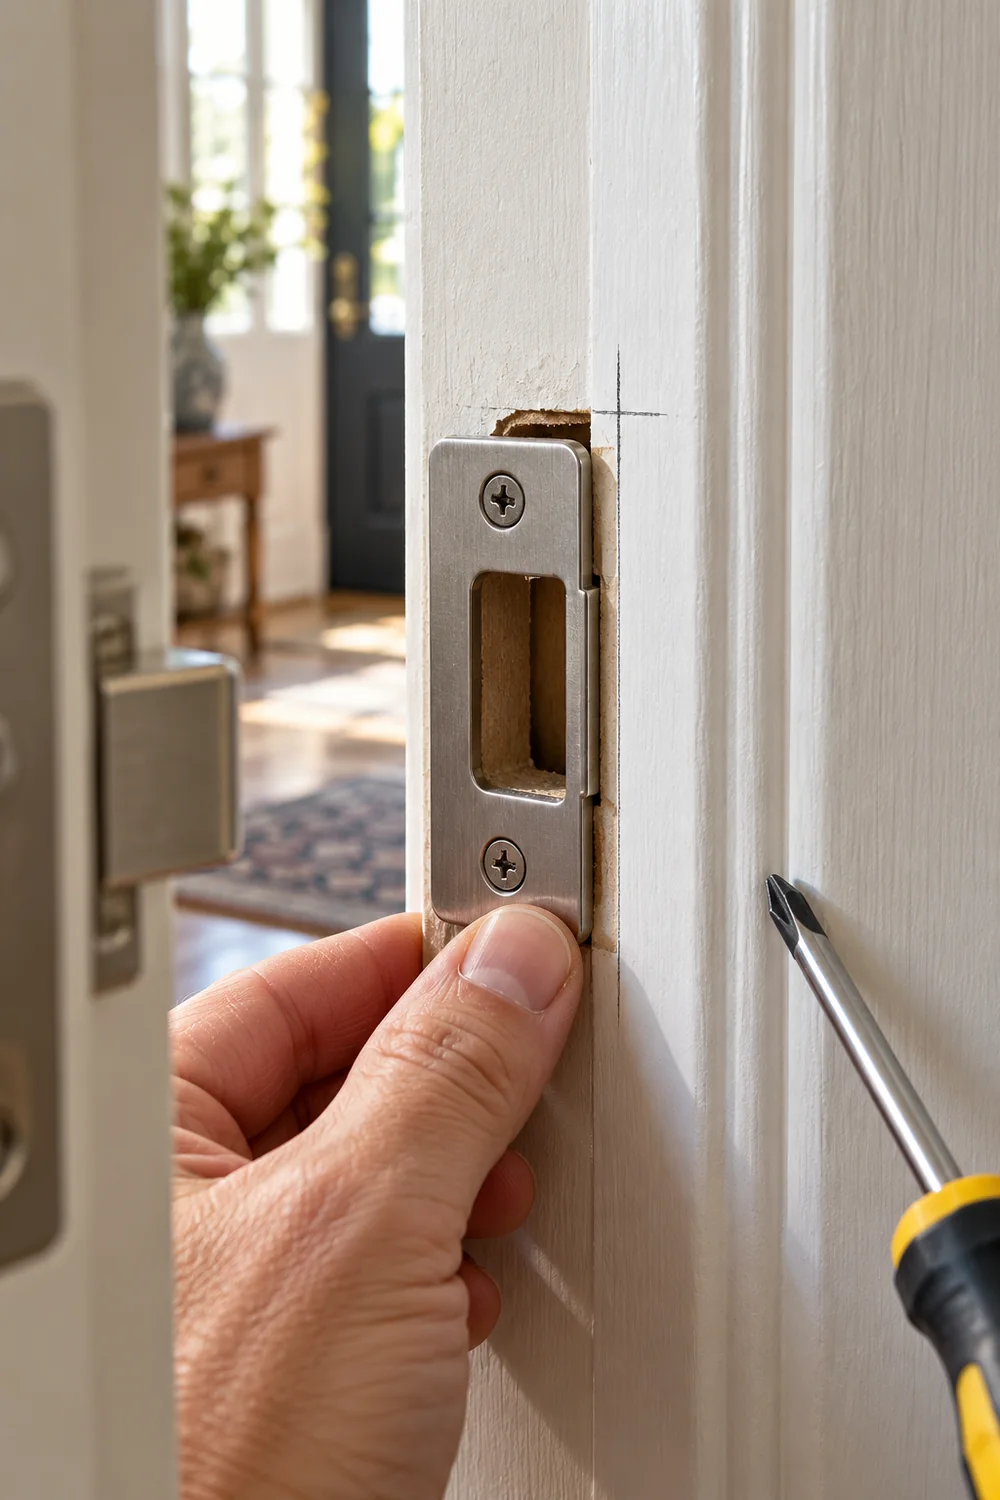
Loosen the two strike-plate screws and move the plate toward the pencil mark. Small changes of 1/16 to 1/8 inch are often enough. Tighten the screws and test the latch. If the old screw holes pull the plate back to its former position, fill those holes with glued toothpicks and let them set before drilling fresh pilot holes.
Enlarge the latch pocket if needed
Remove the strike plate and inspect the hole behind it. If the latch reaches the plate opening but hits wood inside the jamb, mark the contact point. Pare away a small amount of wood with a sharp chisel, keeping your hands behind the cutting edge. Refit the plate after every few cuts. The latch needs clearance, not a large hollow in the frame.
Sand a swollen edge as a last step
Use this step only when the hinges are tight, the strike is aligned, and the door still rubs because the wood has swollen or carries thick paint. Mark the contact strip, remove the door if needed, and sand with 120-grit paper in the direction of the grain. Check the fit often. Finish with 180-grit paper once the door closes without contact.
Seal exposed wood
Brush primer onto any bare wood created by sanding or chiseling. Cover the top and bottom edges as well if they were worked. Let the primer dry according to the label, then add matching paint or a clear finish. Sealing slows moisture absorption, which helps prevent the same edge from swelling during humid weather.
Complete a final closing test
Close the door from several positions and confirm that it latches without lifting, pushing, or slamming. Check that the gap looks even and the knob turns freely. Remove pencil marks and vacuum any wood dust. If the frame is cracked, badly bowed, or pulling away from the wall, stop adjusting hardware and ask a carpenter to inspect the opening.
Door Alignment Troubleshooting
| If This Happens | Try This |
|---|---|
| Door drops after screws are tightened | Repair stripped holes and install one long screw in the top hinge. |
| Latch sits below the strike opening | Correct hinge sag before moving the strike plate. |
| Door rubs only in humid weather | Let it dry, then sand and seal the exact swollen area. |
| Gap changes from top to bottom | Check for a loose hinge, twisted hinge leaf, or bowed jamb. |
Frequently Asked Questions
Why did my door suddenly stop closing?
Loose hinge screws, humidity, new flooring, settling, and paint buildup are common causes. Mark the contact point before changing anything.
Can I fix a sagging door without removing it?
Yes. Many sagging doors improve after the top hinge is tightened and one frame-side screw is replaced with a 3-inch screw.
Should I move the strike plate first?
No. Correct loose or sagging hinges first. Moving the plate too early can hide the cause and leave uneven gaps.
How much can I sand from a door?
Remove the smallest amount that stops the rub, checking the fit after several passes. Large cuts can create a drafty gap and may mean the frame needs repair instead.
Quick Reference Card
Start here: Mark the rub, support the door, tighten the hinges, and test it.
- Mark the tight spot.
- Support the outer corner.
- Tighten every hinge.
- Add one 3-inch screw to the top hinge.
- Repair stripped holes.
- Test the door.
- Move the strike plate only if needed.
- Sand and seal only as a last resort.
How to Fix a Misaligned Door for the Long Term
You now know how to fix a misaligned door without cutting away more wood than necessary. In many cases, secure hinge screws and a small strike adjustment restore a clean, quiet close. Check the hardware again after a few weeks, especially on a heavy door.
Save this guide to your home-repair Pinterest board so you can find the steps when another door starts sticking.