
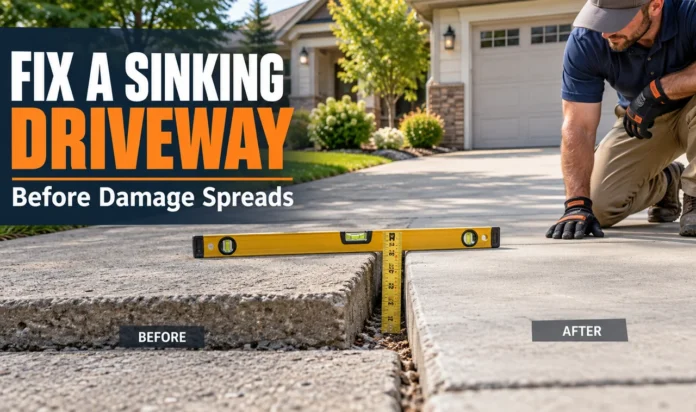


A low corner or uneven joint may look harmless at first, but water can keep washing soil away beneath the slab. Cracks spread, edges begin to rock, and the drop becomes harder to repair. Learning how to fix a sinking driveway starts with measuring the movement and finding where the missing support went.
This guide covers the work in the order it needs to happen. You will measure the low area, track the water causing the problem, correct drainage, check the slab, and choose between lifting and replacement. You will also know which jobs are safe to handle and which need a concrete repair contractor.
The inspection and drainage work usually takes 2 to 4 hours. Professional slab lifting may take only a few hours, but scheduling and curing can extend the project across 1 to 3 days. This method works because it corrects the cause before raising the concrete. Lifting a slab without stopping water or soil loss can leave it sinking again.
Do not drive over a slab that rocks, has several wide cracks, or has dropped beside the garage foundation. Keep that section clear until a professional checks it.
What You Need
Slab-lifting pumps, injection foam, and pressure grout are contractor equipment and are not included in the homeowner tool list.
Repair Plan at a Glance
- Measure the drop across the sunken area.
- Trace the water reaching the driveway.
- Redirect downspouts away from the slab.
- Pack washed-out soil along the driveway edge.
- Check the concrete for structural damage.
- Choose slab lifting or concrete replacement.
- Arrange a professional void inspection.
- Lift the slab with controlled injection.
- Seal the lifting holes after the slab sets.
- Close open joints and small cracks.
- Regrade the soil beside the driveway.
- Test the drainage during the next rain.
- Record the slab height and monitor movement.
Measure the Drop Across the Sunken Area
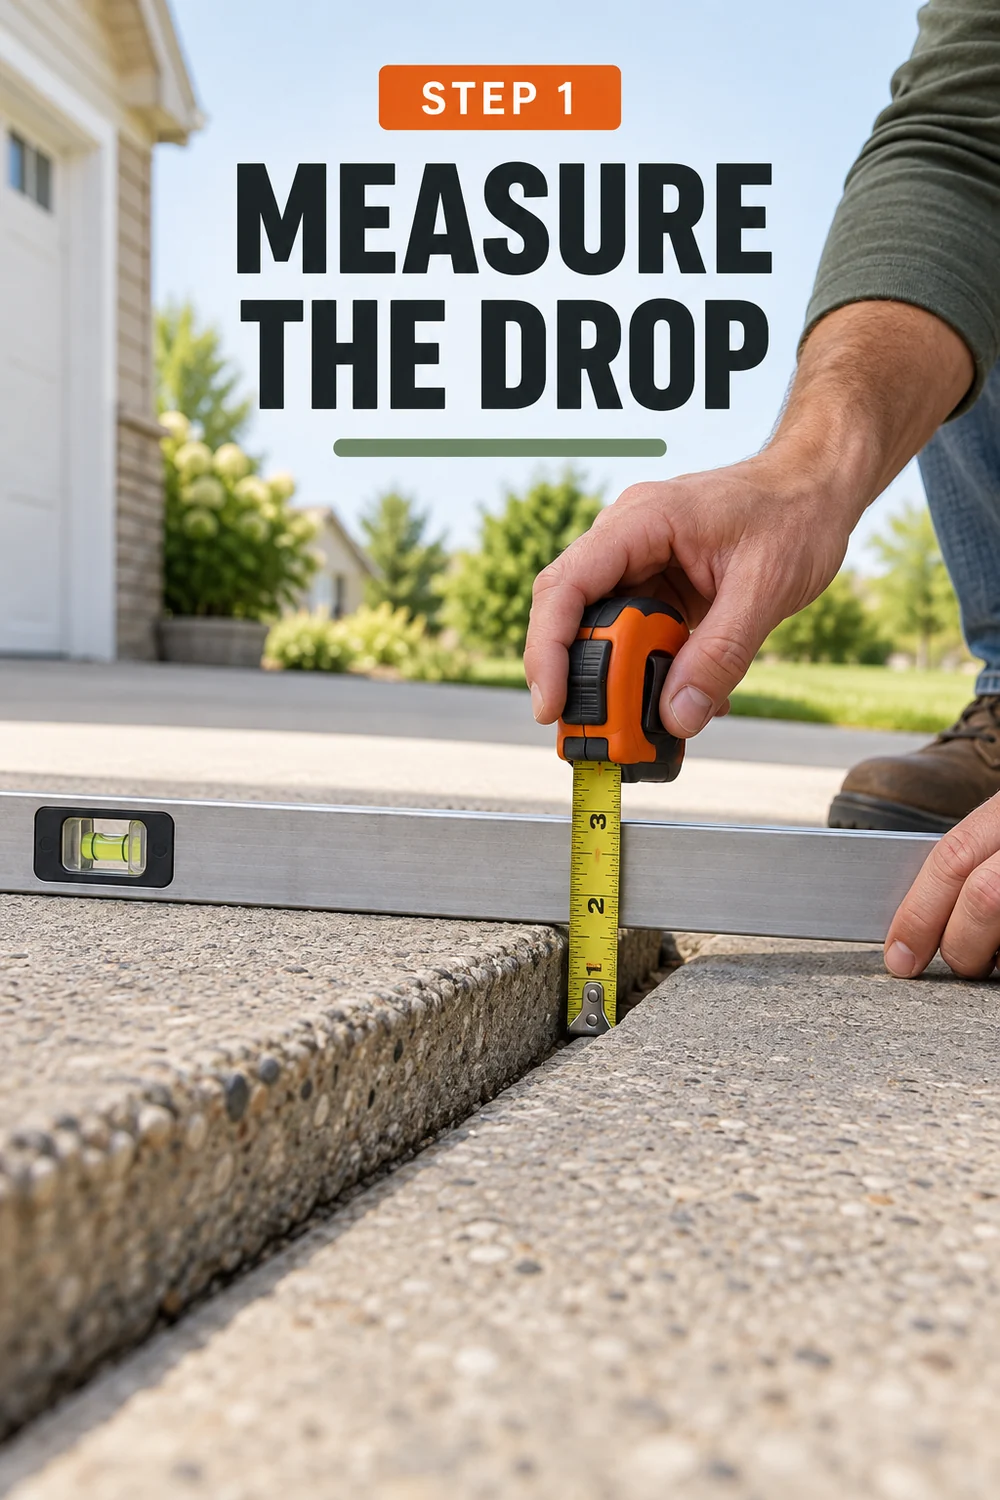
Lay a 6-foot straightedge from a stable section across the lowest point. Measure the deepest gap to the nearest 1/8 inch. Repeat the reading every 12 inches along the affected joint or edge.
Outline the low area with chalk and write each measurement beside its location. Take one wide photo and one close photo. These readings show how much the slab moved and give you a baseline for checking future settlement. If the concrete rocks under weight, stop using that section until it is inspected.
Trace the Water Reaching the Driveway
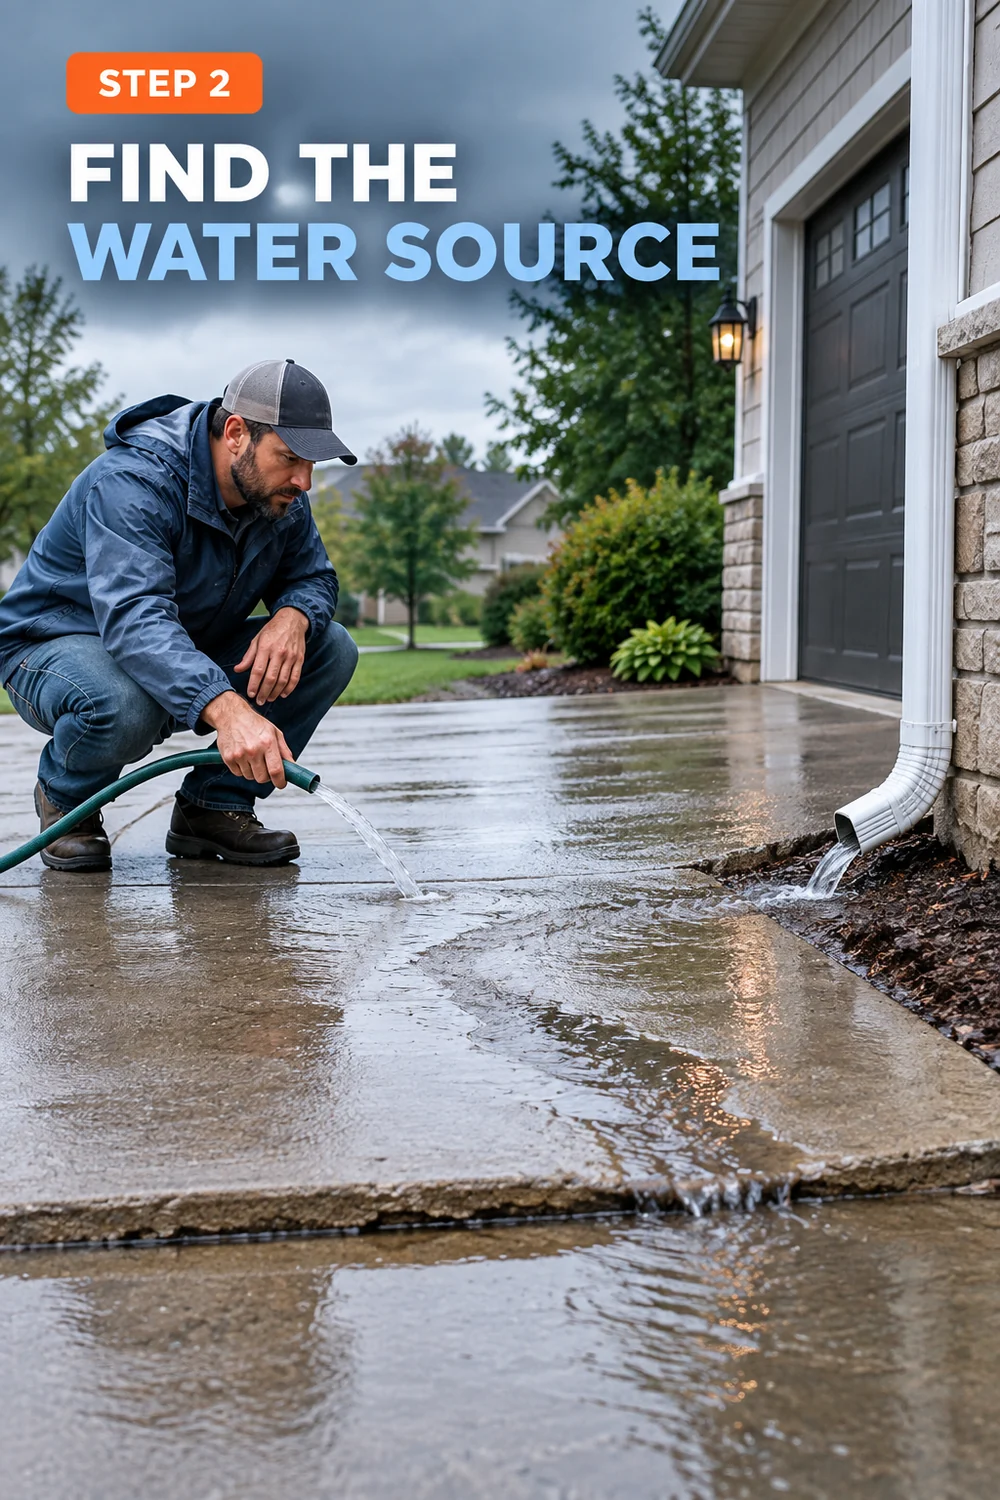
Water leaves clues around the low area. Check the driveway after rain, or pour 2 gallons of water near the suspected path and watch where it travels. Look uphill for a downspout outlet, a low lawn edge, a leaking gutter, or soil that slopes toward the concrete.
Photograph the wet path before it dries. Mud lines, exposed aggregate, and small channels beside the slab often show where soil has washed away. Raising the concrete without stopping this flow can allow the settlement to return.
Redirect Downspouts Away From the Slab
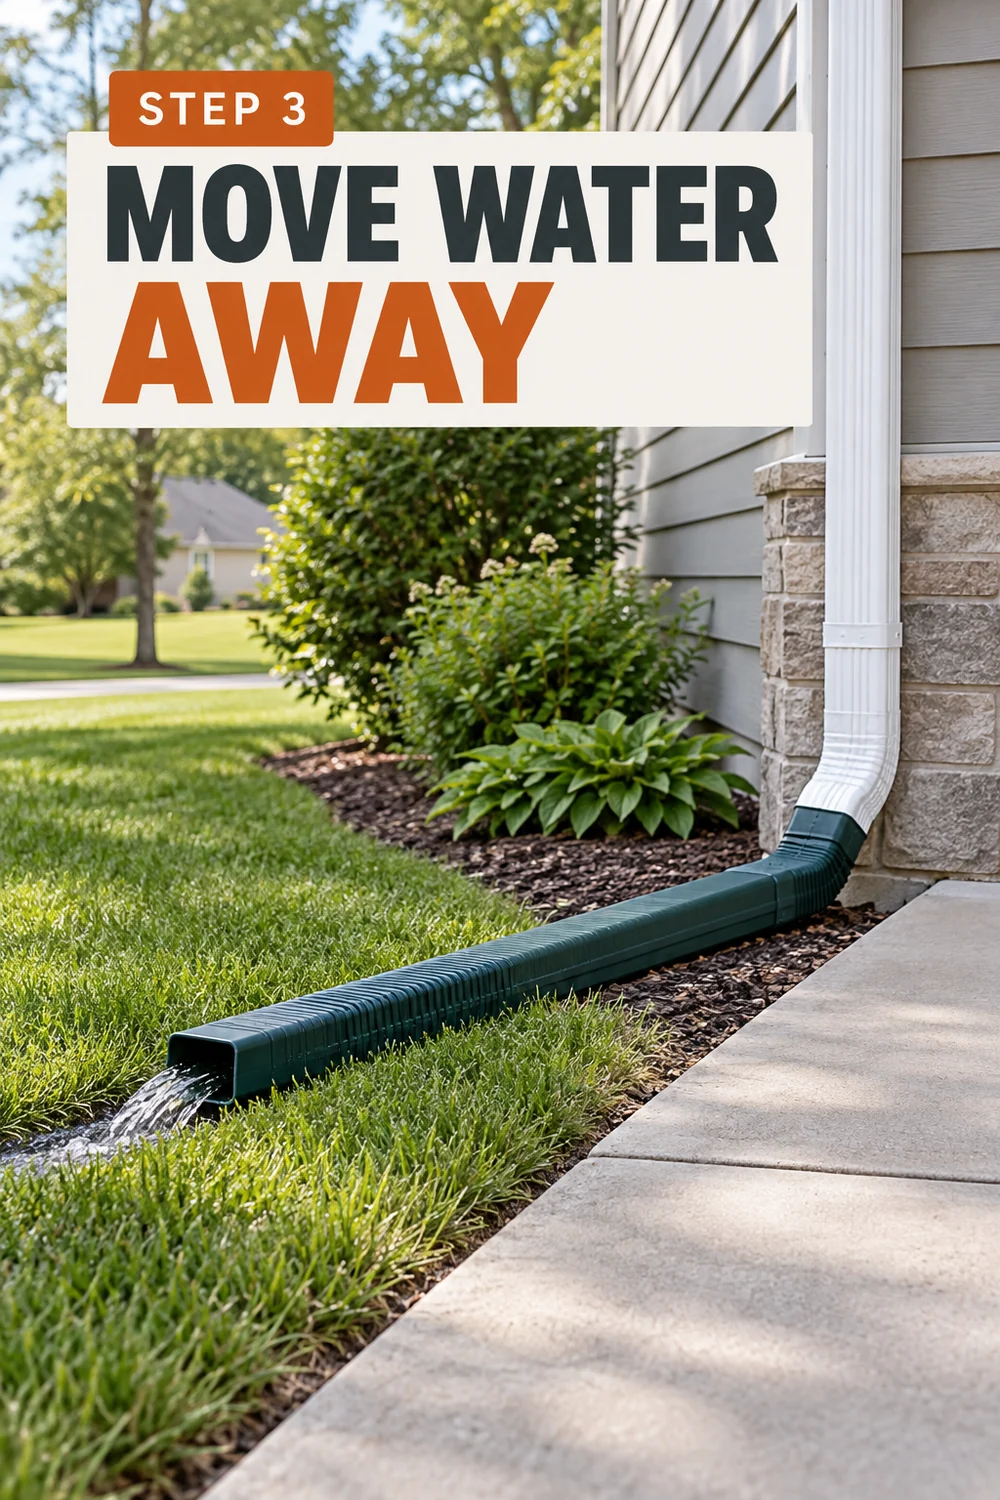
Fit a rigid or flexible extension onto every downspout that empties near the sunken section. Carry the outlet at least 6 feet away and point it toward a lawn area or approved drain that slopes away from the house and driveway.
Secure the connection so it cannot separate during heavy rain. Pour 2 gallons of water into the gutter outlet and confirm that none returns toward the slab. If the only route sends water toward a neighbor’s property or a public walkway, ask the local authority or a drainage contractor where it may discharge.
Pack Washed-Out Soil Along the Driveway Edge
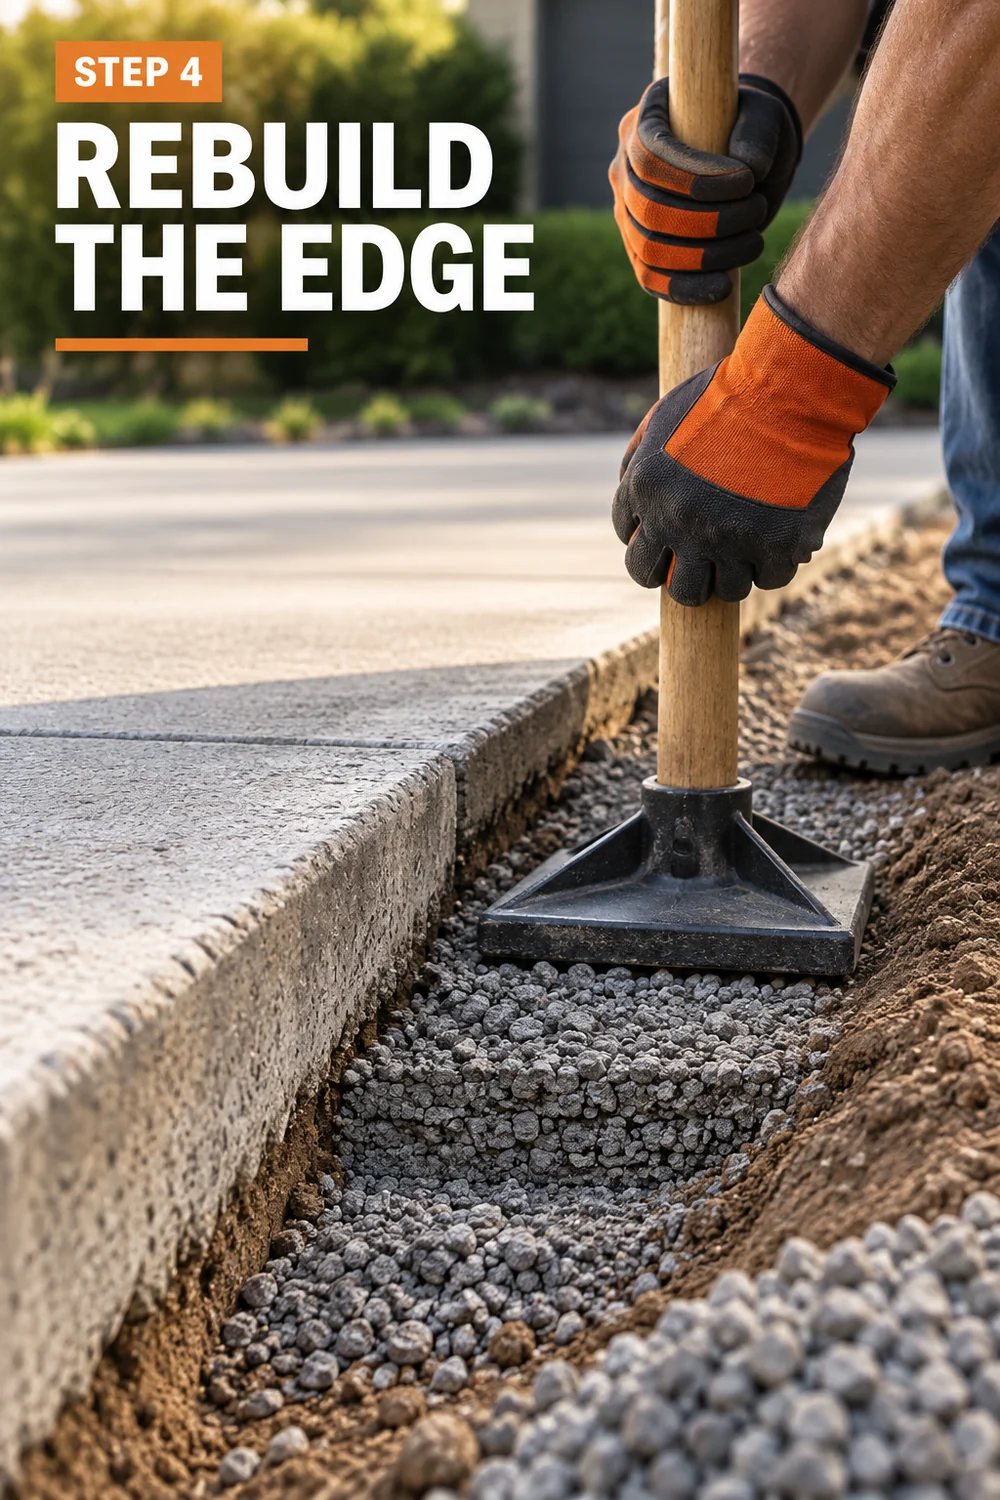
Loose soil cannot support the concrete edge. Remove leaves, mud, and soft material until firm ground appears. Add compactable soil or ¾-inch-minus gravel in layers no thicker than 2 inches. Tamp each layer until your shoe leaves almost no mark.
Build the finished surface slightly higher than the nearby ground so rain runs away from the slab. Do not force material deep beneath the concrete with a shovel. Edge packing controls surface erosion; it does not fill a large hidden void.
Compact several thin layers instead of adding one deep layer. A thick layer can feel firm on top while remaining loose underneath.
Check the Concrete for Structural Damage
Study the full slab in bright daylight. Mark every crack with chalk and check both sides for a height difference. A mostly intact slab that settled as one piece may be suitable for lifting.
Multiple crossing cracks, broken corners, deep crumbling, exposed steel, or movement beside the garage foundation point to a larger failure. Photograph each problem and place a ruler beside wider cracks so a contractor can judge their size before visiting.
Stop driving over the area if the slab rocks, a crack opens under load, or one edge has dropped by more than 2 inches. These signs need an on-site inspection.
Choose Slab Lifting or Concrete Replacement
Base the repair on the slab’s condition, not the size of the low spot. Choose professional slab lifting when the concrete remains in one or two solid pieces and the problem comes from an empty space beneath it. A contractor may use cement grout or expanding polyurethane to raise and support the slab.
Choose replacement when the concrete has several intersecting cracks, deep surface loss, failed reinforcement, or damage caused by a collapsed drain. Replacing badly broken concrete costs more, but lifting it will not reconnect the failed pieces or rebuild a damaged base.
Arrange a Professional Void Inspection
Ask a concrete-lifting contractor to check beneath the sunken section before quoting the repair. Share your measurements, drainage photos, and marked crack locations. The inspection should identify where support is missing and whether the slab can move as one piece.
Request a written estimate that names the lifting material, the areas being treated, the expected finished height, and the warranty. Get at least two estimates when the repair covers more than one slab.
Ask how the contractor will control water after the lift. Raising the slab without correcting drainage may leave the same soil exposed to washout.
Have the Slab Lifted With Controlled Injection
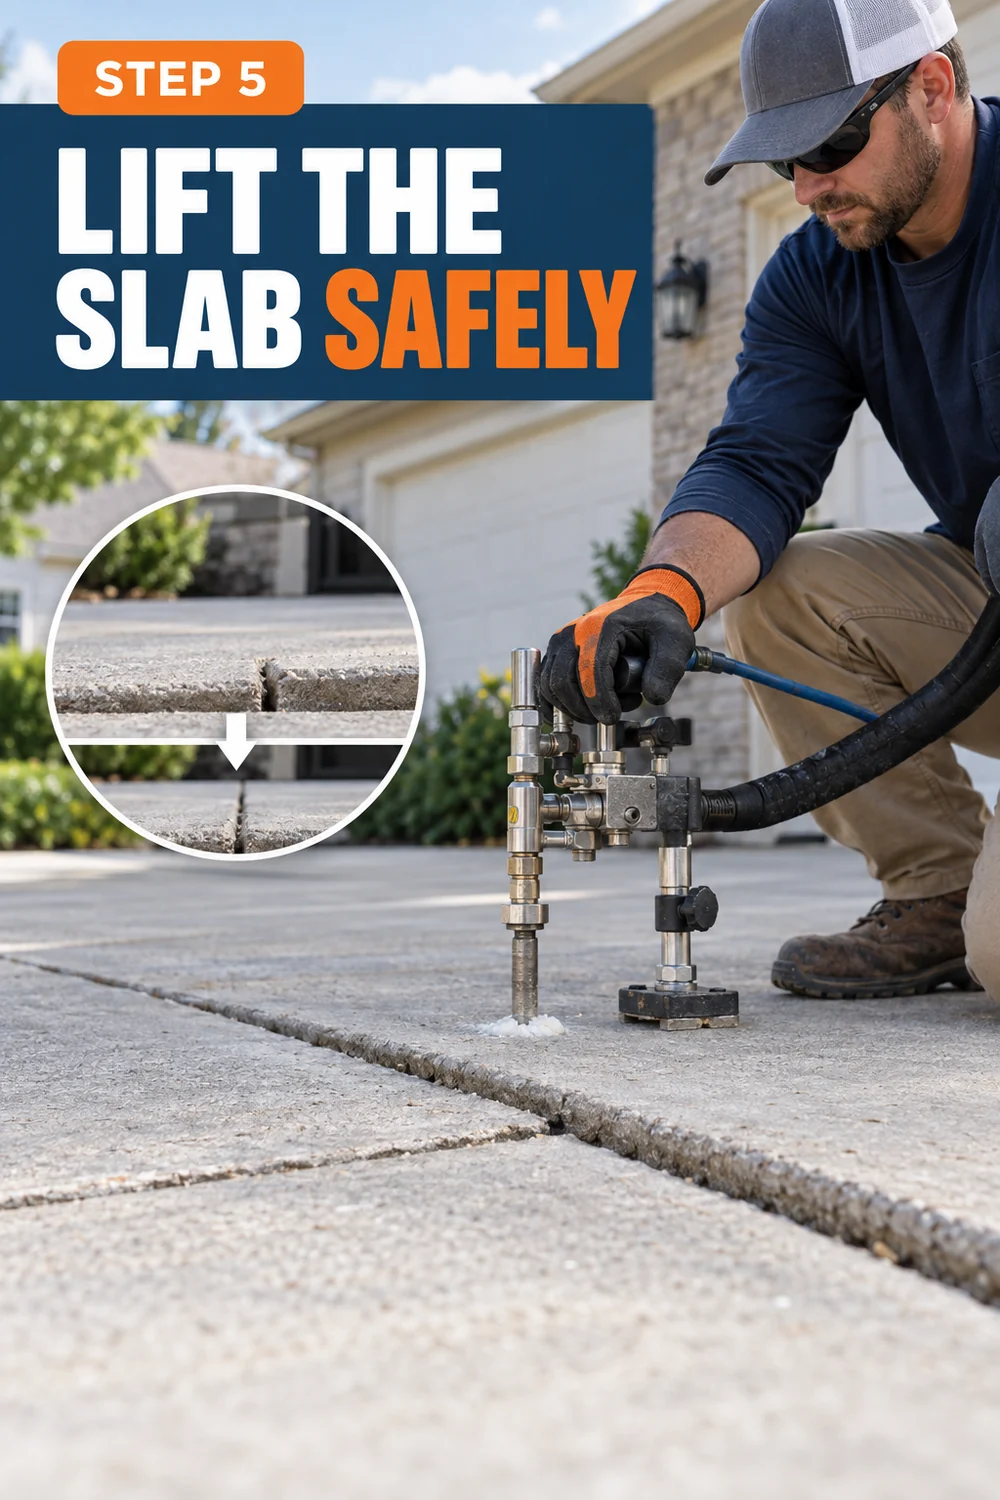
Keep vehicles, pets, and loose items away while the crew works. The contractor will drill a planned set of holes, place injection ports, and add grout or polyurethane beneath the concrete. Material should enter in controlled amounts so one section does not rise faster than the rest.
Watch the joints near the garage, sidewalk, and neighboring slabs. The goal is to restore drainage and remove the trip edge—not force every surface into one flat plane. Stop the work if a crack suddenly widens or an adjoining slab begins to move.
Seal the Lifting Holes After the Slab Sets
Have every injection hole cleaned and filled flush with a repair material that matches the concrete as closely as possible. Raised plugs can catch tires and snow shovels, while low plugs collect water.
Keep traffic off the repaired area for the full cure time provided by the lifting contractor. Grout and polyurethane systems have different waiting periods, so write the stated time on painter’s tape and place it across the driveway entrance.
Close Open Joints and Small Cracks
Wait until the lifting holes have cured. Scrub loose grit from each joint and vacuum it clean. Press closed-cell backer rod into gaps wider than ¼ inch, leaving enough space above it for the sealant depth listed on the tube.
Apply flexible concrete joint sealant in one steady pass. Keep the nozzle inside the gap instead of spreading sealant across the driveway surface. Smooth the bead with the tool recommended by the manufacturer. Leave working expansion joints flexible; never fill them with rigid patching concrete.
Regrade the Soil Beside the Driveway
Build the soil beside the repaired edge in compacted layers no thicker than 2 inches. Keep the finished soil about 1 inch below the concrete surface so runoff stays on top of the driveway instead of pushing under its edge.
Shape the ground to carry water away from the slab. Cover bare soil with grass seed, gravel, or mulch that will not wash into the joint. Keep mulch several inches below the concrete edge because deep loose mulch can hold water against it.
Test the Drainage During the Next Rain
Watch the repaired area during steady rain, or run water through the nearest downspout for 5 minutes. Water should move away without entering a joint, collecting beside the slab, or flowing toward the garage.
Mark any puddle that remains for more than 30 minutes after the water stops. A small wet mark may need minor grading. Water disappearing beneath the concrete needs another contractor inspection before soil begins washing away again.
Record the Slab Height and Monitor Movement
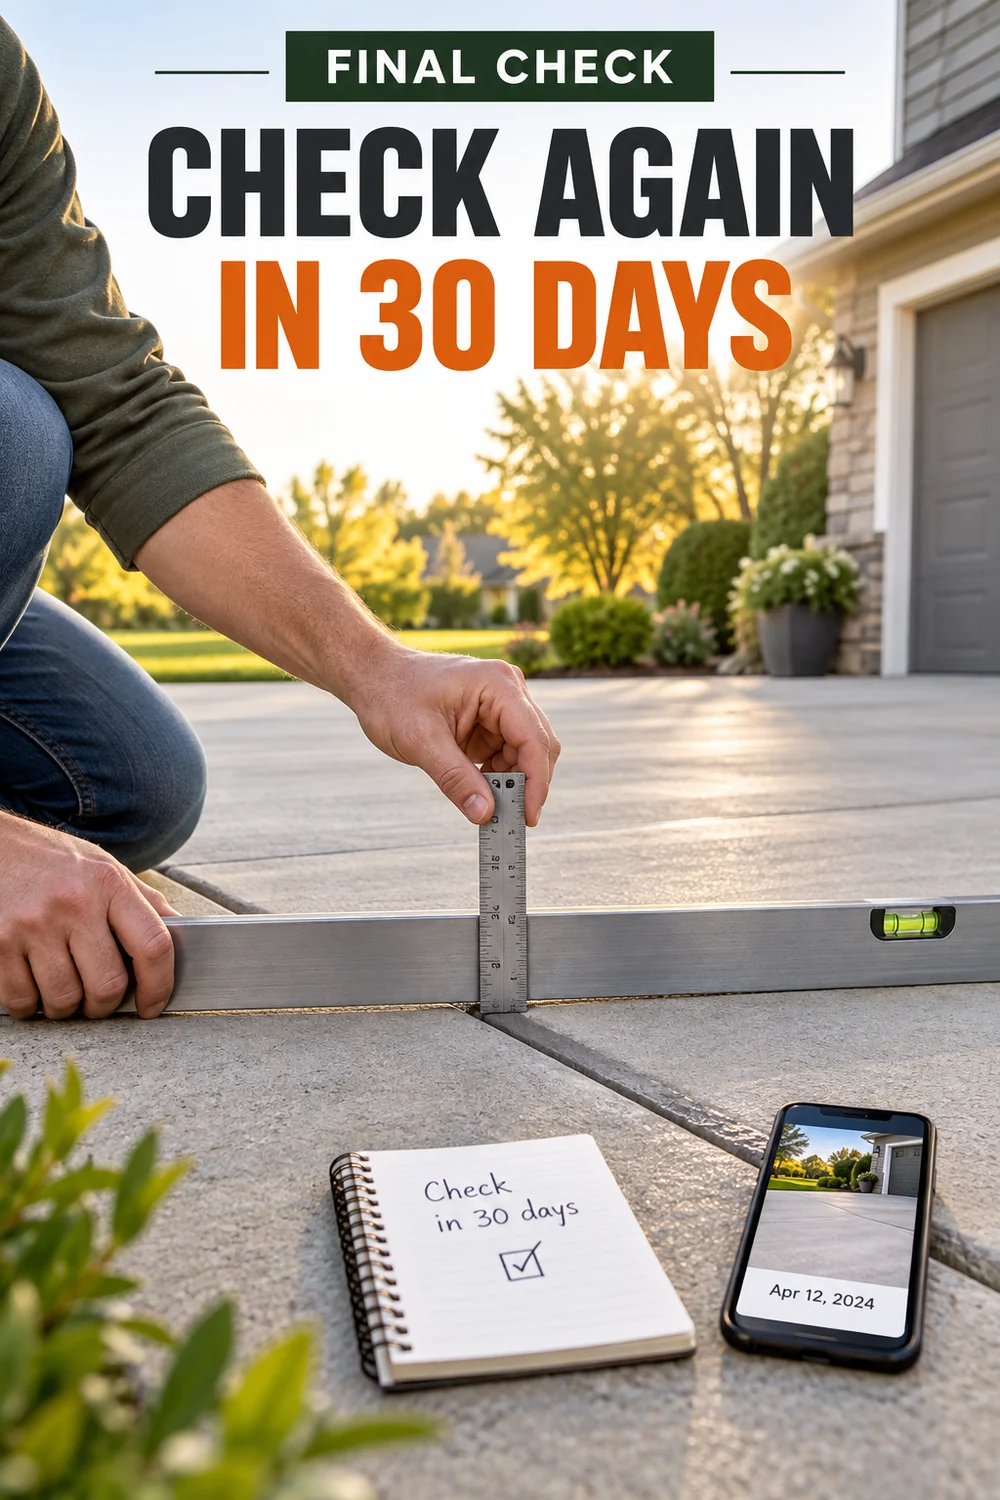
Return to the chalk measurement points after 30 days. Place the same 6-foot straightedge in the same direction and record each gap to the nearest 1/8 inch. Take photos from the original camera positions.
Check the readings again after 6 months and after the first freeze-thaw season in colder areas. A difference of ⅛ inch may come from measurement placement. Continued movement, widening cracks, or a fresh trip edge means the water source or loss of support has not been fully corrected.
Troubleshoot Problems After the Repair
Driveway Repair Troubleshooting
| If This Happens | Try This |
|---|---|
| The slab begins sinking again | Recheck downspouts, soil erosion, and underground drainage. Contact the lifting contractor before adding more fill. |
| Water pools after the lift | Mark the puddle and photograph it. Ask the contractor whether the slab pitch needs correction or the nearby soil needs regrading. |
| Joint sealant pulls away | Remove the loose bead, clean and dry the joint, check the backer rod depth, and apply fresh flexible concrete sealant. |
| A new crack appears | Stop driving over that section. Measure the crack and send a dated photo to the contractor who performed the lift. |
| Soil washes away from the edge | Redirect the runoff and rebuild the edge using compactable material placed in 2-inch layers. |
Frequently Asked Questions
Sinking Driveway FAQ
No. Consumer spray foam is not made to support vehicle loads or control slab movement. Slab lifting needs rated material, injection equipment, and pressure control.
No. The surface needs a controlled slope that moves water away from the garage, house, and repaired joints.
It may reduce the height difference across a crack, but it will not reconnect broken concrete. Flexible sealing may still be needed after lifting.
The result depends on the base, soil, water control, slab condition, and lifting material. Repairs last longer when the cause of the soil loss is corrected first.
Yes. A slab that slopes toward the garage can direct water inside, and movement beside the foundation may place stress on nearby joints. Have those conditions inspected promptly.
Know What to Expect Before and After the Repair
- One slab sits lower than the next.
- Water collects near the low edge.
- Soil has washed away beside the concrete.
- Open joints allow more water underneath.
- The trip edge has been reduced or removed.
- Water moves away from the garage and slab.
- The concrete has firm support beneath it.
- Joints and lifting holes are properly sealed.
Use This Quick Reference Card
Sinking Driveway Repair Quick Reference
Straightedge, level, tape measure, ruler, chalk, camera, hose, downspout extensions, compactable fill, hand tamper, backer rod, flexible concrete sealant, caulk gun, brush, gloves, and safety glasses.
- Measure the drop to the nearest ⅛ inch.
- Trace the water reaching the low area.
- Extend downspouts at least 6 feet away.
- Pack washed-out edges in 2-inch layers.
- Check the slab for cracks and broken sections.
- Choose lifting or concrete replacement.
- Arrange a professional void inspection.
- Have the slab raised with controlled injection.
- Seal every lifting hole flush with the surface.
- Close open joints using flexible sealant.
- Regrade the soil beside the driveway.
- Test the drainage for at least 5 minutes.
- Measure the slab again after 30 days.
The slab rocks, several cracks cross each other, the drop exceeds 2 inches, or movement reaches the garage foundation.
Protect the Repair From Future Settlement
You now know how to fix a sinking driveway by treating the cause before raising the concrete. The slab has support again, the joints are sealed, and water has a safer route away from the repair.
Check the area after heavy rain and compare your measurements after 30 days. Small checks now can prevent another large repair later.
Save this guide to your Home Exterior Repairs Pinterest board so the steps are ready when you need them.