
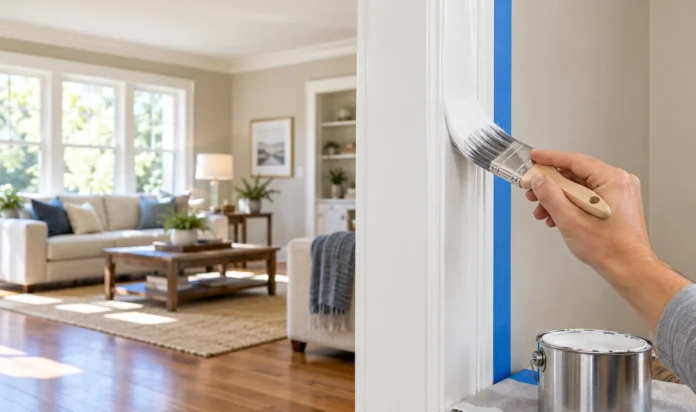


White trim can make a room look crisp, but it also shows every ridge, drip, and shaky edge. The problem is rarely a lack of painting skill. Most brush marks start with a dusty surface, thick paint, the wrong brush, or going back over paint after it has begun to set.
This guide explains how to paint white trim without brush marks using tools you can find at any home-improvement shop. You will clean, repair, sand, prime, and paint in the order that gives the coating time to level. The hands-on work takes about 3 hours for an average room, plus drying time. Work on one section at a time and the edges will stay neat.
What You Need
- Protect the floor
- Wash the trim
- Repair gaps
- Sand the finish
- Remove the dust
- Prime bare areas
- Prepare the paint
- Load the brush
- Paint in sections
- Finish the final coat
- Remove the tape
Protect the floor and nearby walls
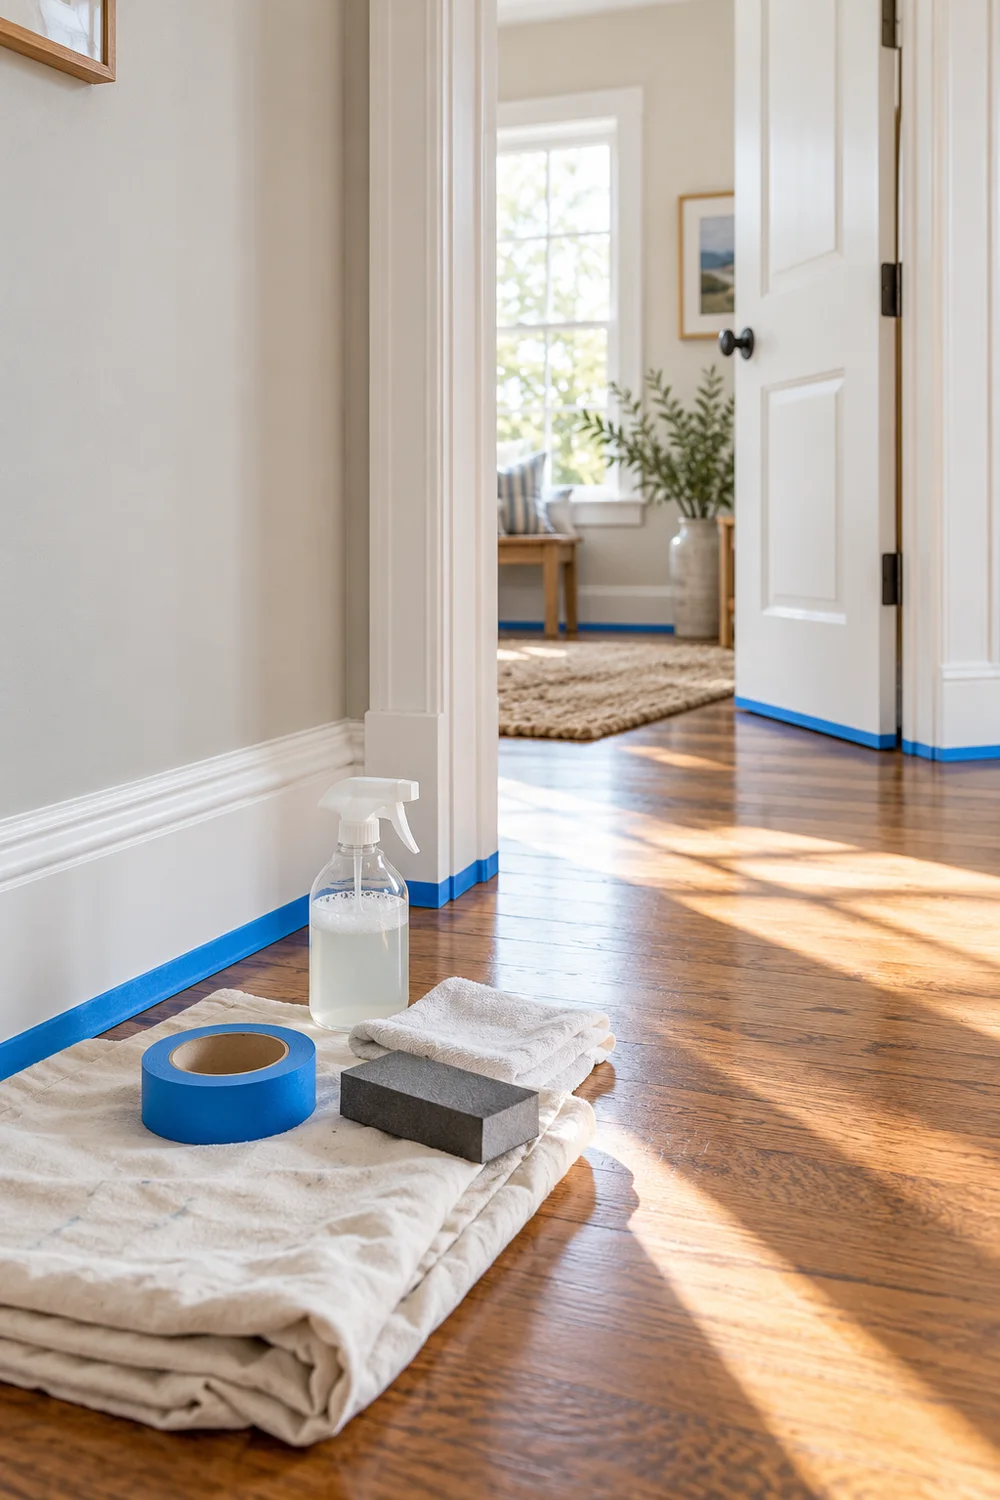
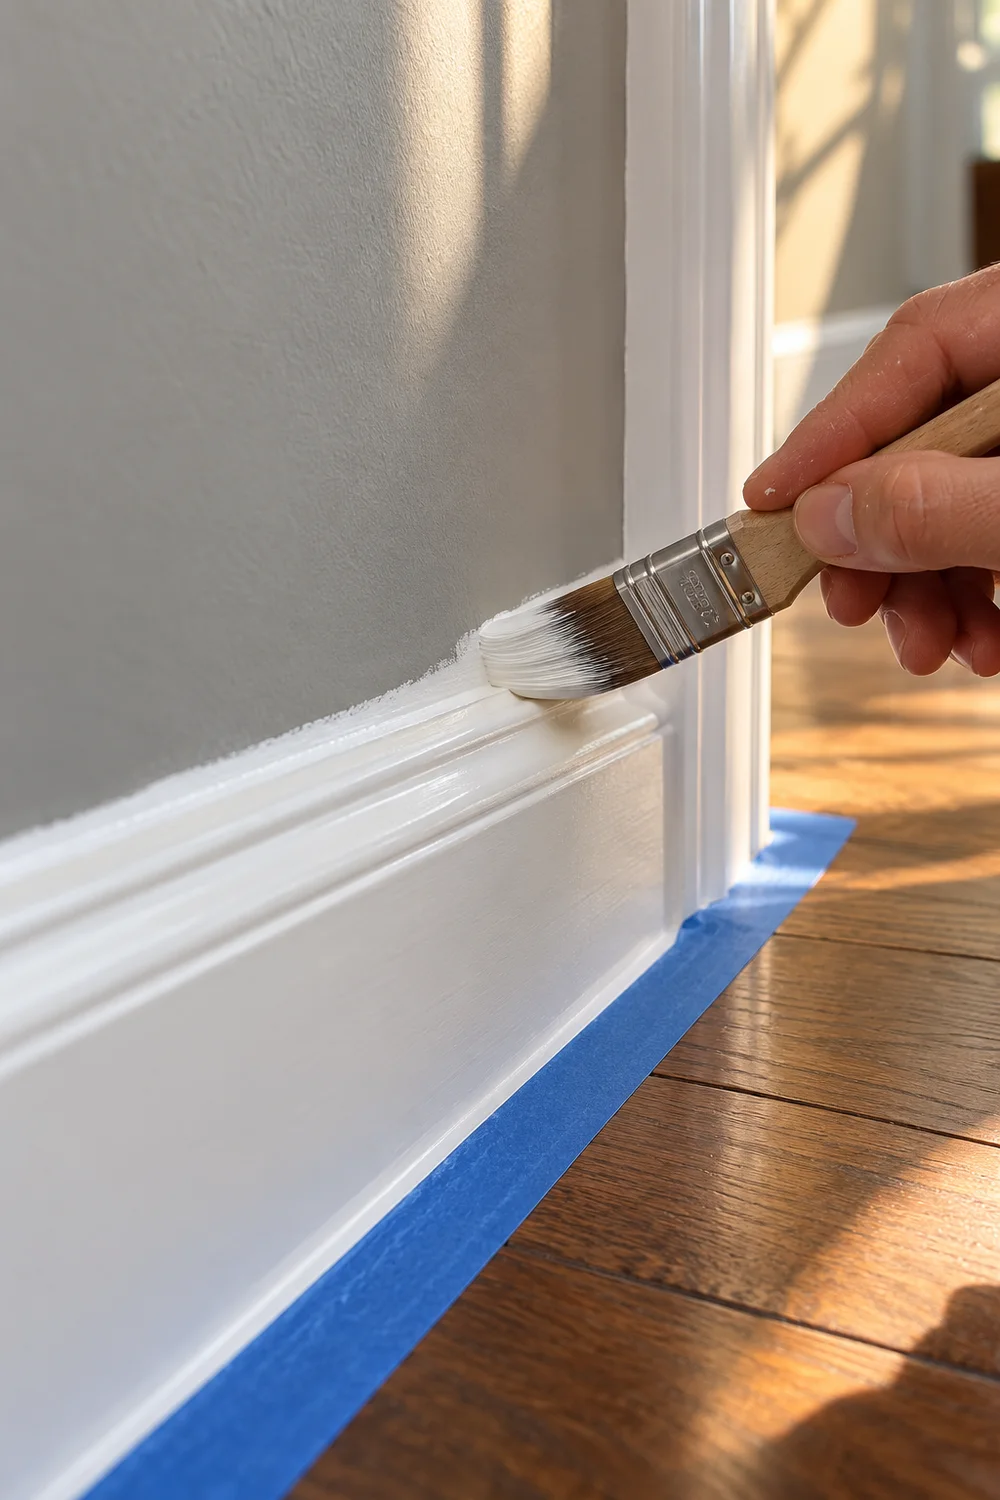
Lay a drop cloth tight against the baseboard and press it flat so it cannot touch wet paint. Apply painter’s tape where trim meets flooring, hinges, or hardware. Use tape on the wall only if your hand is not steady. Press the tape edge down with a clean filling knife. This keeps paint from creeping underneath, but do not stretch the tape because it can lift later.
Wash away grease and dust
Mix a small amount of mild cleaner with warm water. Wipe every surface, paying close attention to door handles, kitchen trim, and the top edge of baseboards. Follow with a clean damp cloth, then allow at least 30 minutes to dry. Paint cannot level well over oily residue. If the cloth still picks up gray dirt, wash that area again before moving on.
Fill dents, nail holes, and open seams
Press paintable wood filler into dents and nail holes with a flexible knife. Use a thin bead of paintable acrylic caulk in narrow seams where trim meets the wall. Smooth the bead with a damp finger and wipe away the excess. Let filler and caulk dry for the time printed on the label—often 30 to 60 minutes. Thick patches need longer and may shrink.
Sand the old finish until it feels dull
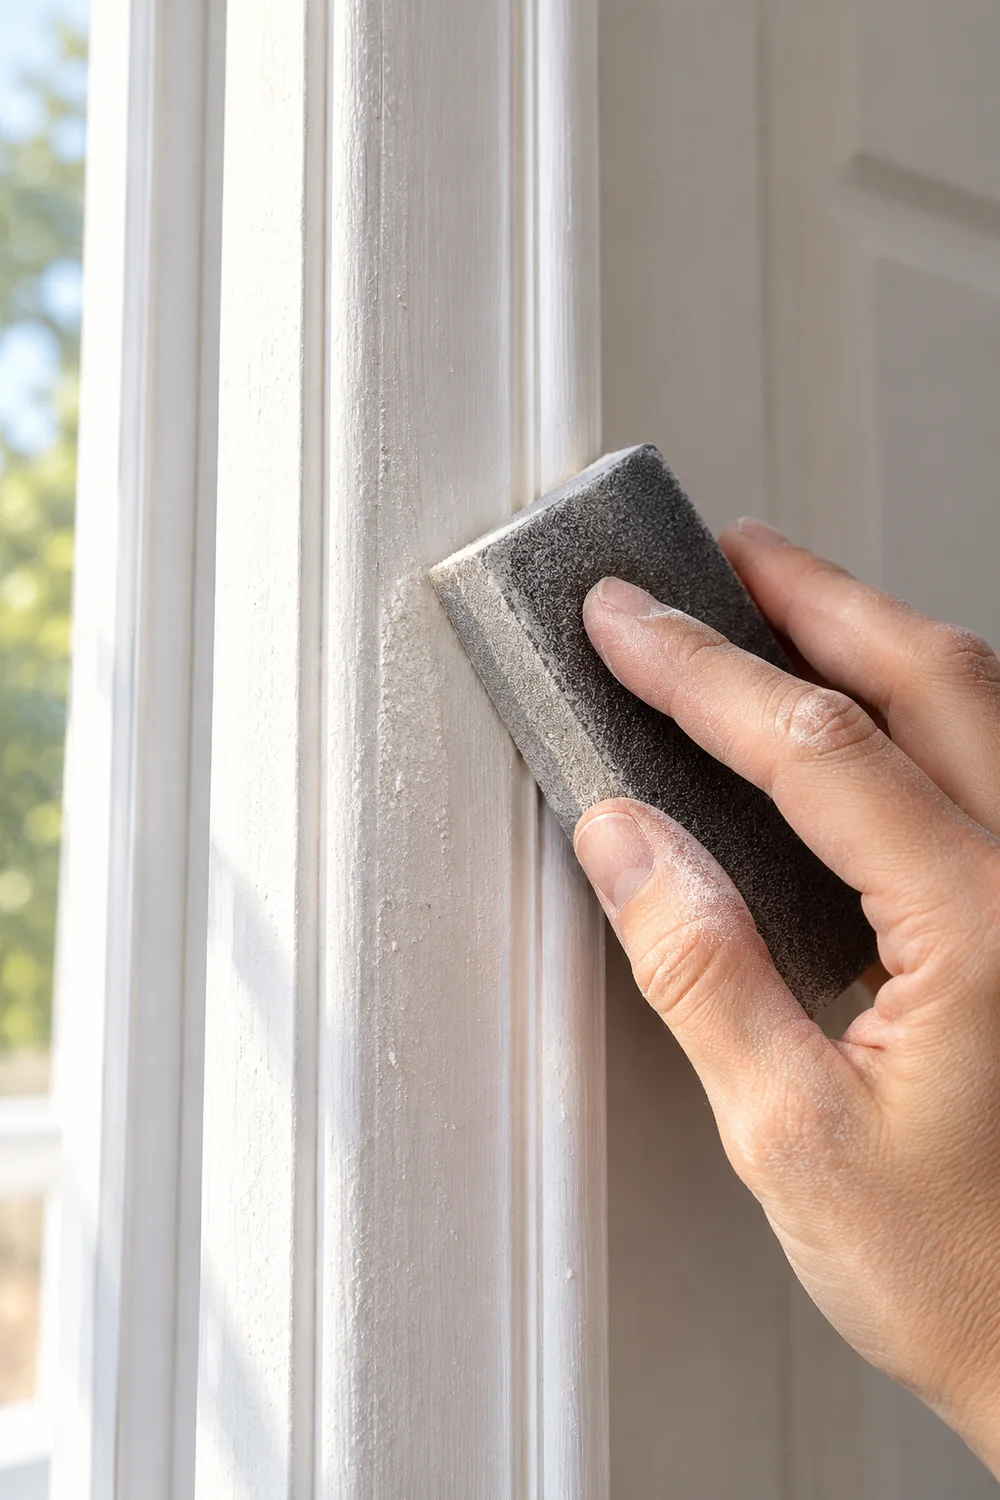
Use a 180-grit sanding sponge on glossy or rough trim. Move with the wood grain using light pressure. Your goal is to dull the shine and flatten defects, not strip the trim to bare wood. Fold the sponge to reach grooves. Finish repaired spots with 220-grit paper so their edges disappear under paint.
Remove every trace of sanding dust
Vacuum the trim, floor, ledges, and nearby wall. Wipe the trim with a barely damp microfiber cloth or tack cloth. Check corners with your fingertip; they should feel smooth, not gritty. Wait another 15 minutes if you used a damp cloth. Even fine dust can collect in the brush and leave tiny bumps that look like brush marks.
Prime bare wood and repaired patches
Brush a thin coat of high-adhesion primer over exposed wood, filler, dark stains, and any surface changing from oil paint to water-based enamel. If the old coating is sound and the new paint label allows it, spot priming is enough. Let primer dry fully, then sand it gently with 220-grit paper and wipe clean. A smooth primer coat gives enamel a level base.
Prepare the white trim paint
Choose a water-based acrylic or urethane trim enamel in satin or semi-gloss. Stir slowly from the bottom for 2 minutes; shaking can trap bubbles. Pour only 1 inch of paint into a small pail and close the main can. If the paint feels unusually thick, follow the manufacturer’s thinning directions. Do not add water unless the label permits it.
Load the brush without soaking it
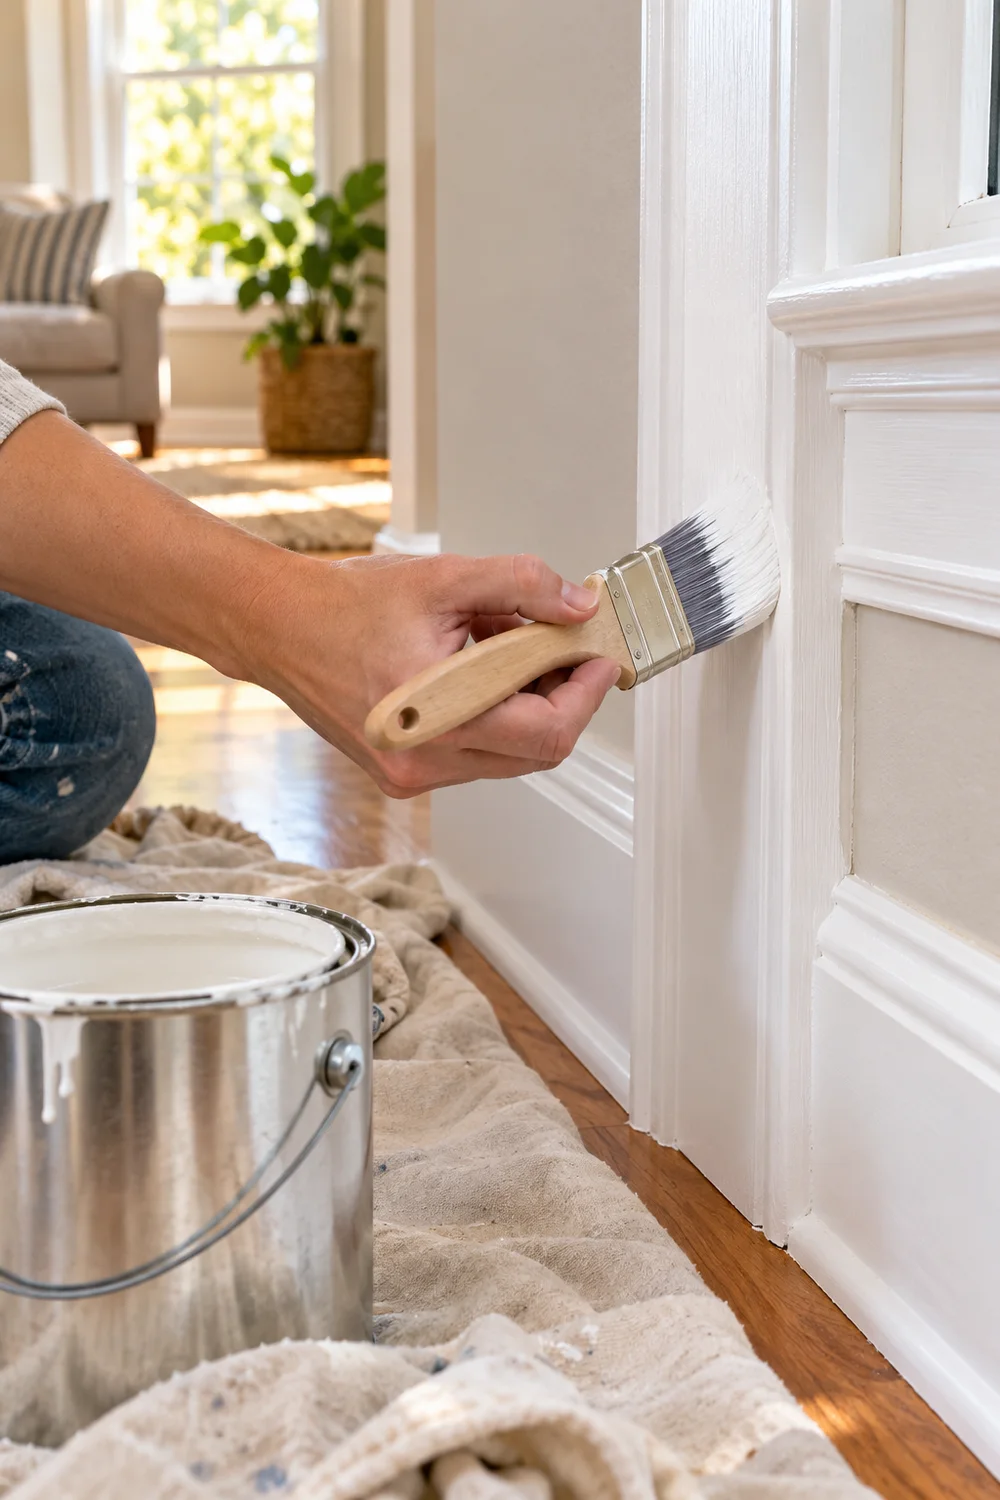
Dip only the first one-third of the bristles into the paint. Tap both sides gently against the pail instead of scraping them hard across the rim. The brush should hold paint without dripping. A quality 2-inch angled synthetic brush gives better control than a wide general-purpose brush. Replace a brush that has bent or split tips because damaged bristles leave tracks.
Paint one short section at a time
Start at a corner and cover a section about 2 to 3 feet long. Lay on the paint with two or three strokes, spread it across the face and edges, then finish with one light stroke in the direction of the trim. Keep a wet edge as you move forward. Stop brushing once the paint starts to feel sticky; late strokes drag the surface and create ridges.
Apply the second coat after full drying
Read the recoat time on the can; most trim enamels need 2 to 4 hours. When the first coat feels hard rather than cool or tacky, inspect it under side light. Sand dust nibs or raised marks with 220-grit paper, then clean the surface. Apply the second coat a little thinner than the first. Two thin coats level better and cure harder than one heavy coat.
Remove the tape before the paint hardens
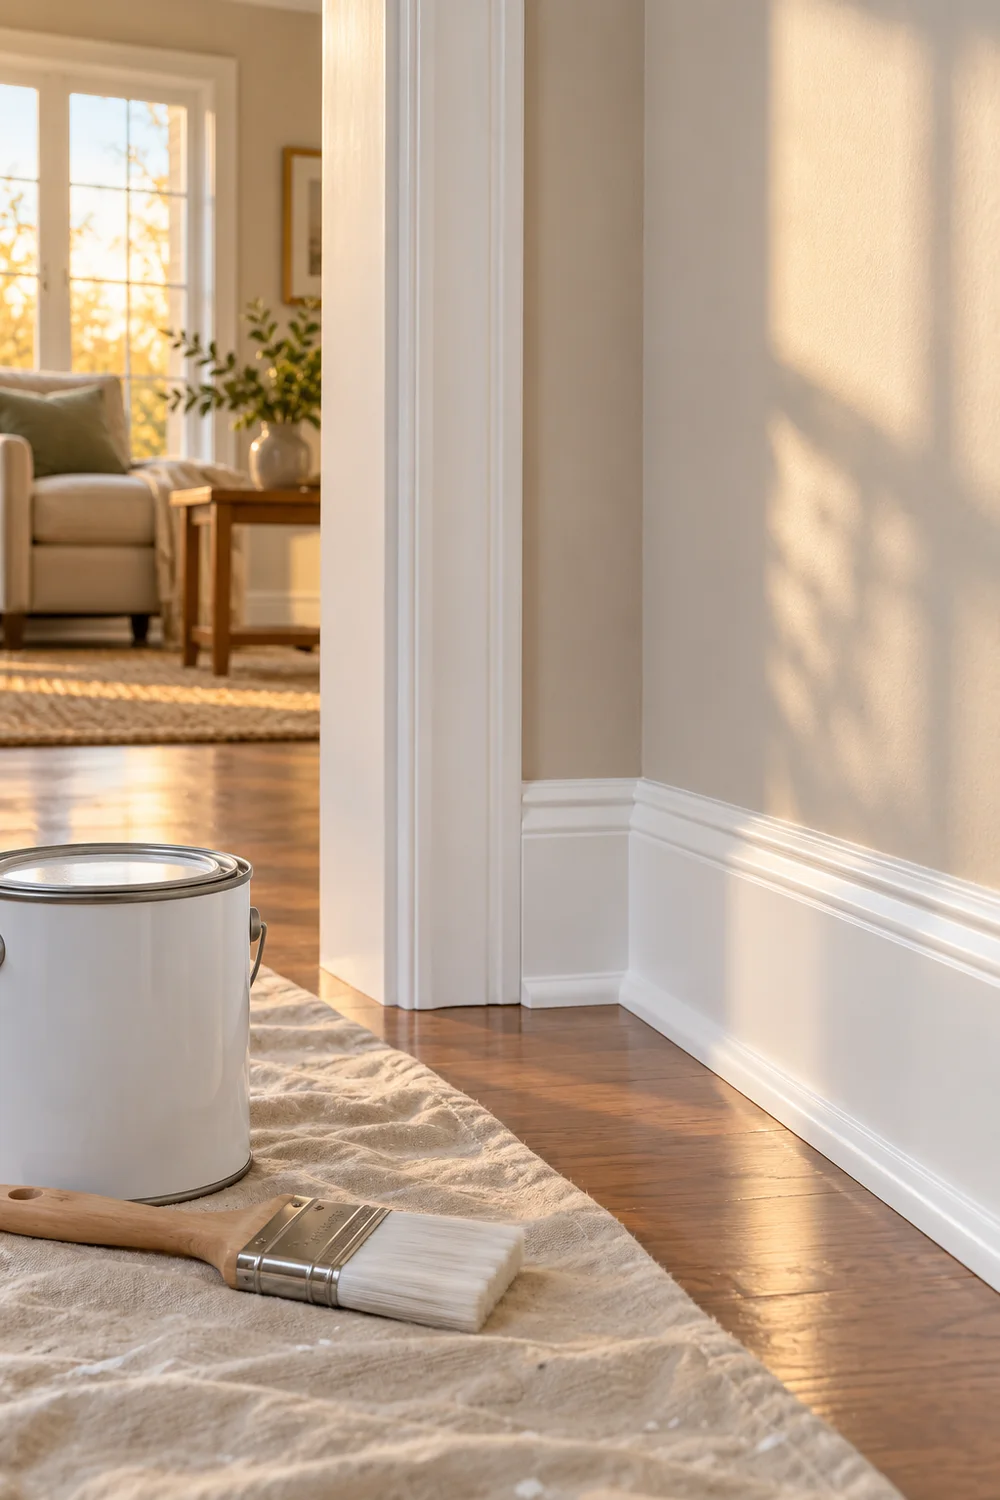
Pull painter’s tape while the final coat is still slightly soft, usually within 30 to 60 minutes. Draw it back over itself at a 45-degree angle. If paint bridges across the tape edge, score the seam lightly with a sharp utility knife before pulling. Leave doors and windows open until they move without sticking, and avoid hard cleaning for about 7 days.
Fix common trim-painting problems
| If this happens | Try this |
|---|---|
| Brush ridges remain | Let the coat dry, sand with 220-grit, and apply a thinner coat. |
| Paint sags or drips | Unload the brush and feather the wet drip upward immediately. |
| Edge looks uneven | Use shorter strokes and reload before the brush becomes dry. |
| Paint peels from glossy trim | Remove loose paint, sand the shine away, prime, and repaint. |
Frequently Asked Questions
What paint finish is best for white trim?
Satin hides small flaws, while semi-gloss is tougher and easier to wipe clean. Both work well when the surface is prepared correctly.
Can I use a foam roller on trim?
A small high-density foam roller works on wide, flat boards. Follow it at once with a light brush pass if you want a more traditional smooth finish.
Why does my white trim paint look yellow?
Old oil-based paint can yellow with age. Stains may also bleed through. Seal the surface with a stain-blocking primer before applying fresh white enamel.
Finish with a smooth, clean result
You now know how to paint white trim without brush marks: clean first, flatten defects, use a quality brush, and keep every coat thin. Give the enamel enough time to dry before doors or furniture touch it. Once the room is back together, save this guide to Pinterest so the same method is ready for your next baseboard, window, or door project.