
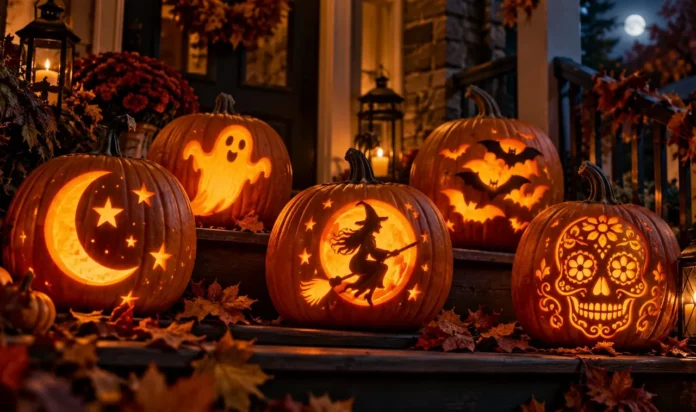


You do not need a steady hand to carve a pumpkin that makes the whole street slow down. Most impressive pumpkins were never drawn freehand. They started as a paper pattern taped to the rind, transferred dot by dot, then carved along the lines.
That is the whole secret behind these printable pumpkin-carving patterns. Each of the 21 designs below is made to trace, poke, and cut with total confidence. Pick your difficulty, print at the right size, and let the stencil do the hard work.
You will find easy wins for kids, medium designs that look far harder than they are, and a few showpieces for the carver who wants a real challenge. New to this entirely? Our pumpkin carving for beginners guide covers tools and safety, and the first section below walks through the poke transfer method, so you can start tonight.
Grab your templates, a poker tool, and a small saw. By the time the porch light clicks on, your pumpkin will look like you planned it for weeks.
The Classic Grin: A Printable Pumpkin-Carving Pattern Every Beginner Should Try
Start here. The classic grin is the most forgiving pattern in carving because wide shapes hide wobbly cuts, and slips just add character.
Print the grin so the mouth spans two thirds of the pumpkin’s face. Scoop the flesh to about an inch thick first, since thin walls carve easier.
Hand this to a nervous first timer. It carves in under half an hour and still earns sidewalk compliments.
The poke transfer method, step by step
Tape the printed pattern flat against the pumpkin so no edge lifts or bubbles.
Poke holes along every line with a pushpin or nail, spacing the dots about a quarter inch apart.
Peel the paper away and connect the dots with a marker so the design shows clearly.
Saw along the marked lines, cutting the biggest shapes first and details last.
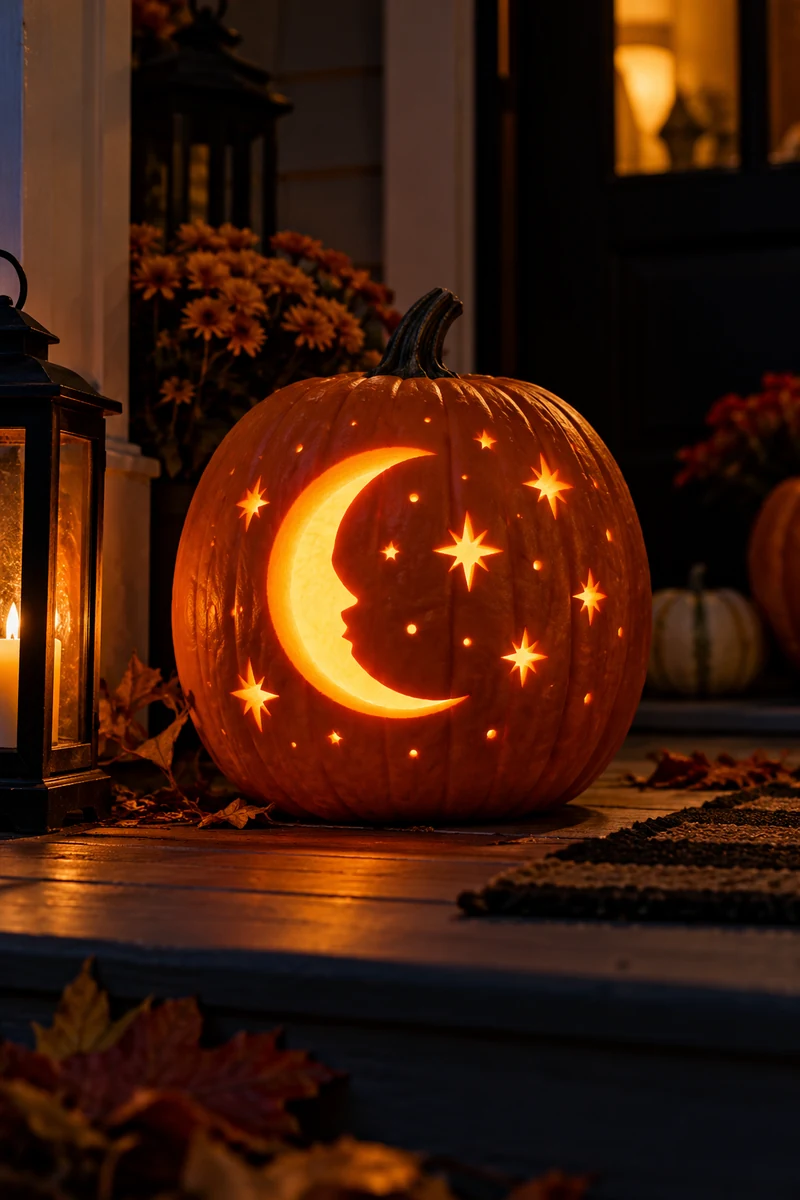
Crescent Moon and Scattered Stars
A crescent moon glowing against dark rind looks magical, and the curves are easy for a beginner to follow. Print the moon large enough to fill one side.
Scatter stars in different sizes. Small stars carve fast with a drill bit, so keep the points chunky enough to survive the scoop.
A tall, narrow pumpkin lets the moon stretch top to bottom, and a warm LED makes it glow beautifully from the street.
Black Cat Silhouette
Every Halloween porch needs a black cat: arched back, curled tail, glowing from inside.
See it as one connected silhouette, which means fewer fiddly cuts and instant Halloween shorthand on a plain pumpkin.
The trick is the tail: print it at least half an inch thick or it cracks. A medium round pumpkin gives the cat room to stretch.
Haunted House on the Hill
The problem with haunted house patterns is the tiny windows. Cut them too small and they vanish once the candle goes in.
Print the house larger than feels right, windows at least fingertip wide. The hill anchors the design and hides the curve.
- ▸Roof lines: a full inch thick.
- ▸Windows: fingertip wide or wider.
- ▸Door: at least two inches tall.
Choose a big, flat sided pumpkin. The flatter the face, the cleaner the roofline.
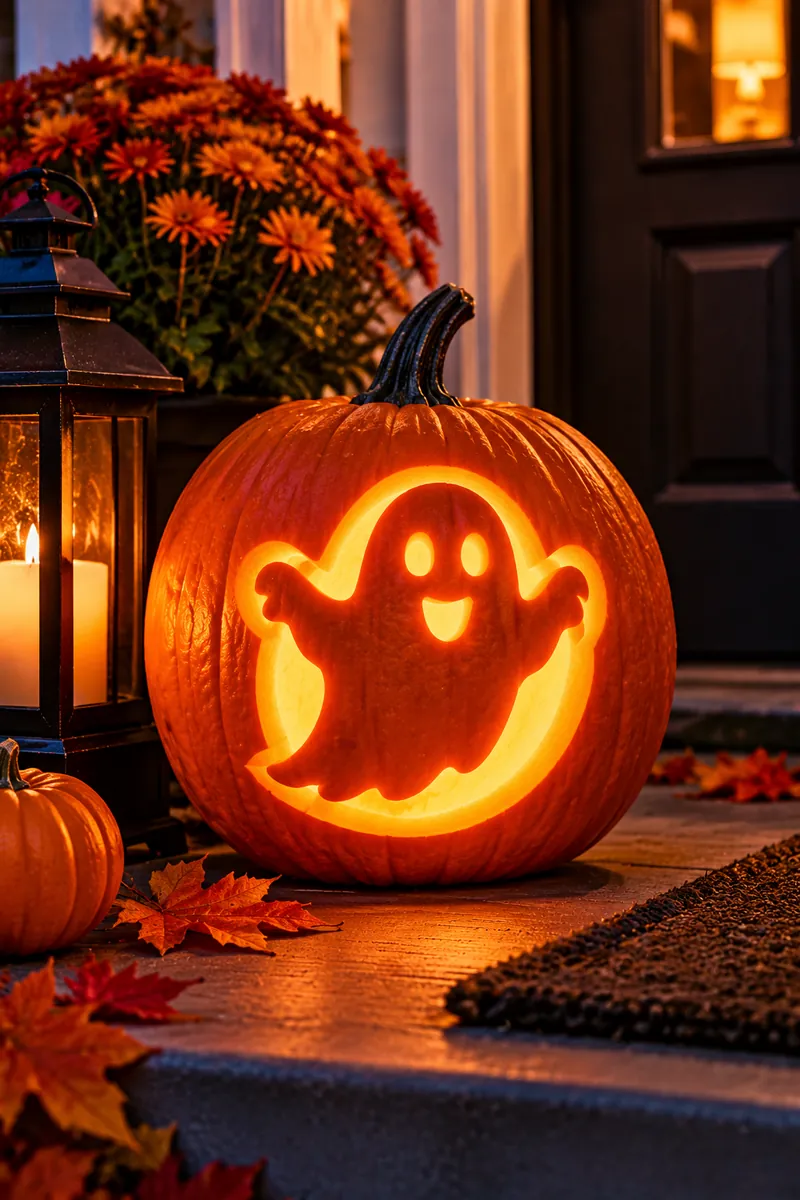
Friendly Ghost
Print the ghost, tape it on, poke the outline. That is the whole plan.
A ghost is one smooth shape with zero corners. Carve the body as one cutout, then poke round eyes and an oval mouth with a drill.
This suits small hands and short attention spans, a top pick for family carving night. Prop it near the walkway where trick or treaters see it first.
Spider Web Across the Crown
Tiny rule: cut the web’s anchor lines first, then the rings.
Anchors give the saw a path, and the rings connect them into a web. Print it to fit the pumpkin’s crown so it drapes over the curve.
A drill makes the cleanest ring holes; a small saw handles the spokes. Best on a wide, squat pumpkin, with a plastic spider hung from the stem.
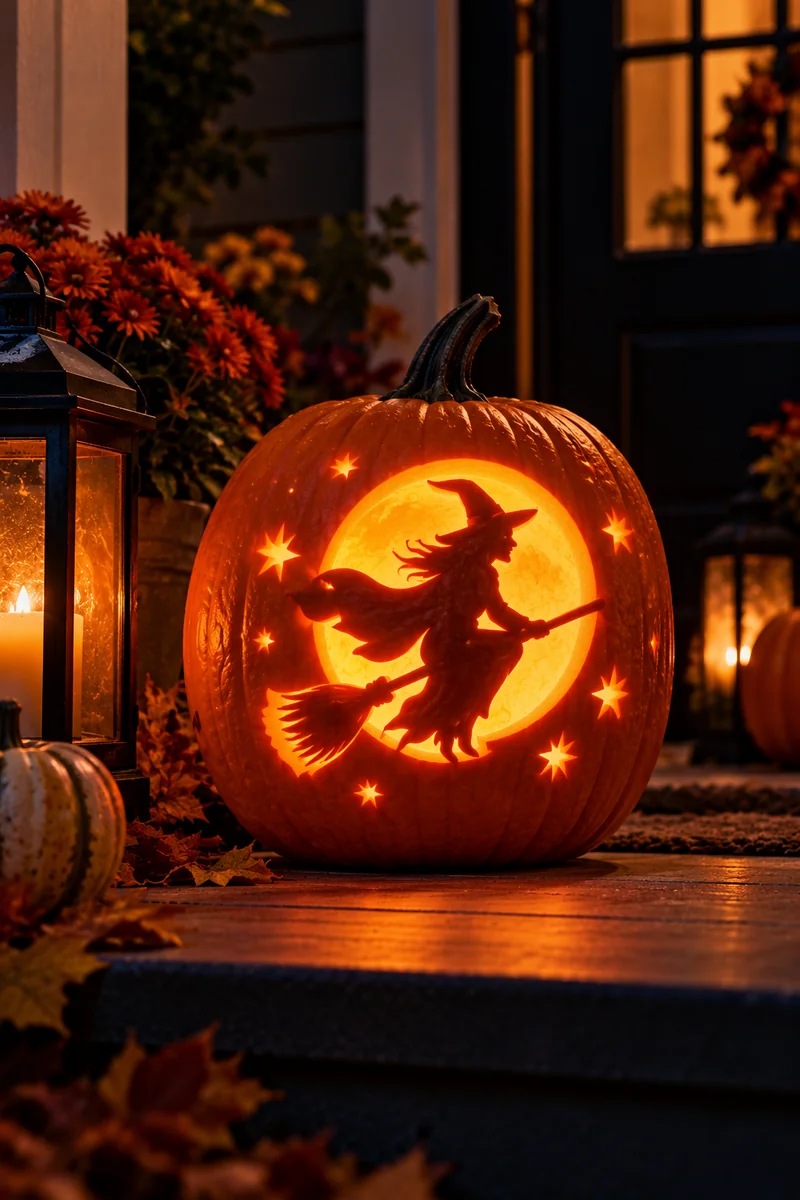
Witch Flying on a Broomstick
Most people assume the flying witch is only for artists. The myth falls apart once you see the pattern.
The broomstick is one long straight cut and the hat is a simple triangle. The gaps between fingers and bristles are the real work, so print at full size and never shrink it.
- Cut the broomstick first.
- Next the hat, then the body.
- Save the bristles for last.
Pick your smoothest pumpkin, since bumps fight the saw on long cuts.
Wide-Eyed Owl
I have carved a lot of owls, and the eyes make or break every single one.
Print the eyes at least two inches wide, since small eyes vanish in the glow. Carve them as full cutouts, leaving pupils as thin rind bridges.
Eye size rule: when in doubt, go bigger. A tall pumpkin suits the upright shape, and the eyes carry the whole design.
Grinning Skull
A skull beats a classic jack face when you want spooky without cute. The shapes are similar, but the mood flips completely.
Print it with hollow cheeks at least an inch wide. Narrow cheeks tear when you pull the cut piece out. Teeth read best as short vertical bars with gaps, not one long grin.
Set it low near the steps on a pale, round pumpkin so trick or treaters meet it eye to eye.
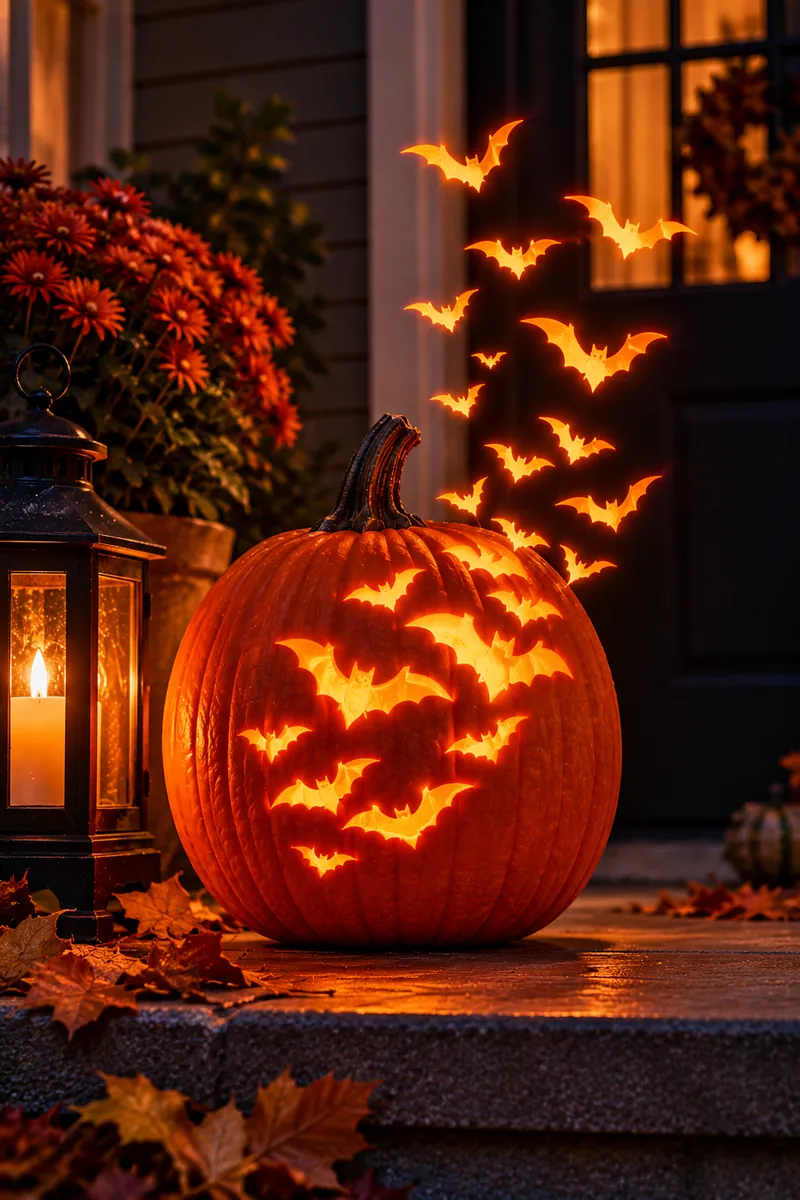
Bat Swarm
The mistake everyone makes with bats is carving them huge. One giant bat looks like a blob.
Five small bats look like a swarm, and small shapes are easier to cut. Print bats in three sizes, scatter them across the face, and cut the smallest first to warm up.
A drill bit makes fast work of bodies; a small saw handles wings. Angle the swarm upward, like the bats are escaping into the night.
Stencil carving toolkit
Candy Corn Trio
Three stacked candy corn triangles, and you have the sweetest pumpkin on the block.
Print the trio to fit the pumpkin’s height. Carve each as a solid cutout and let the rind between them form the stripes.
This is a great pick when you want more easy pumpkin-carving ideas that kids can finish before bedtime. Painted rims in yellow, orange, and white make the colors pop by day.
Creepy Bare Tree
Twisted branches against a glowing background give this pattern its haunted forest feel.
Print the tree tall and let the limbs reach the pumpkin’s shoulders. Keep every branch at least half an inch thick, since thinner branches snap during carving or collapse overnight.
A keyhole saw follows curves better. Add a paper moon behind it and the scene tells a full story.
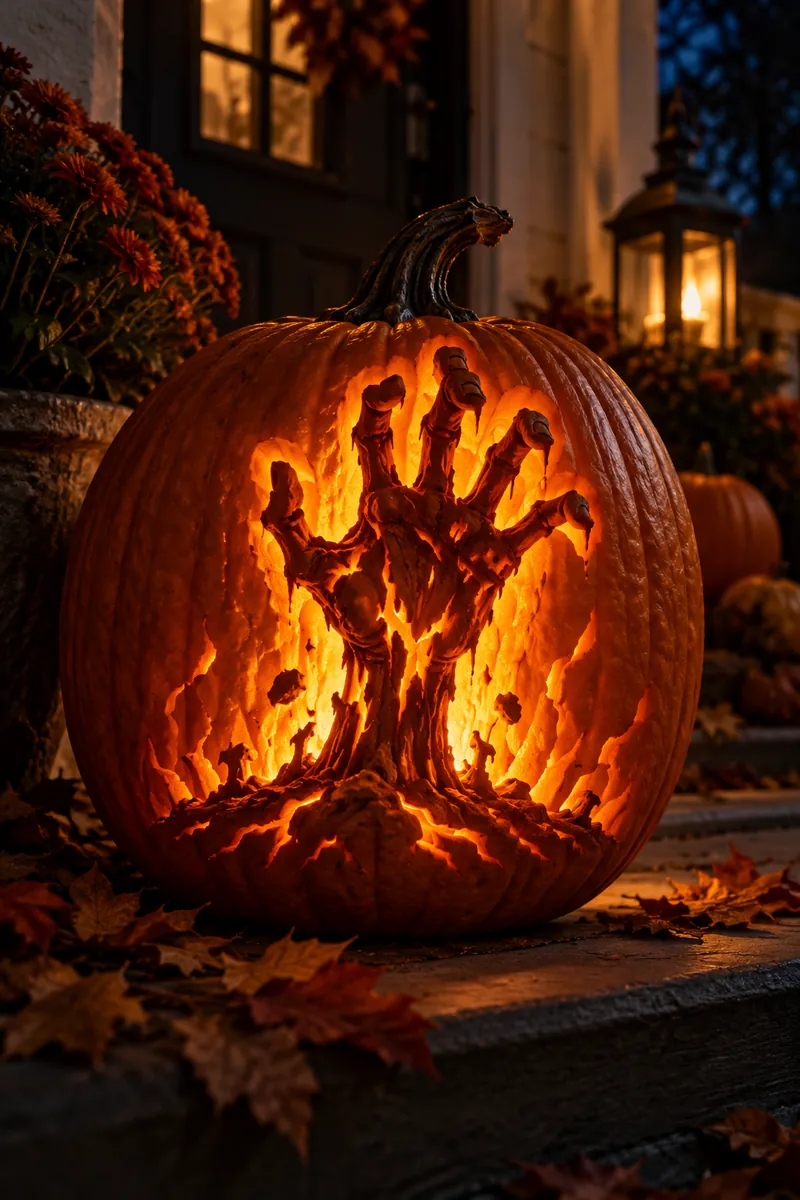
Zombie Hand Rising
The hard part of a zombie hand is the fingers. Long, thin, and every one wants to snap off.
Print the hand large, with each finger at least three quarters of an inch wide. Carve the wrist and palm first to anchor the shape, then work outward to the fingertips.
A big pumpkin is non negotiable, and wear a glove, because slips happen on long cuts.
Silly Surprised Face
Print the face, tape it on, poke the dots. Big round eyes and a wide oval mouth make this the easiest expressive face here.
Cut the mouth as one oval and the eyes as two circles. A drill gives perfect circles in seconds, which is the whole trick.
This rescues lopsided pumpkins, since a goofy face suits a goofy shape. Let the kids poke the dots; it is the safest job at the table.
Print every pattern at full page size.
Poke the dots close together so lines stay clear.
Shrinking a detailed pattern to fit a small pumpkin.
Sawing tiny details before the big shapes are cut.
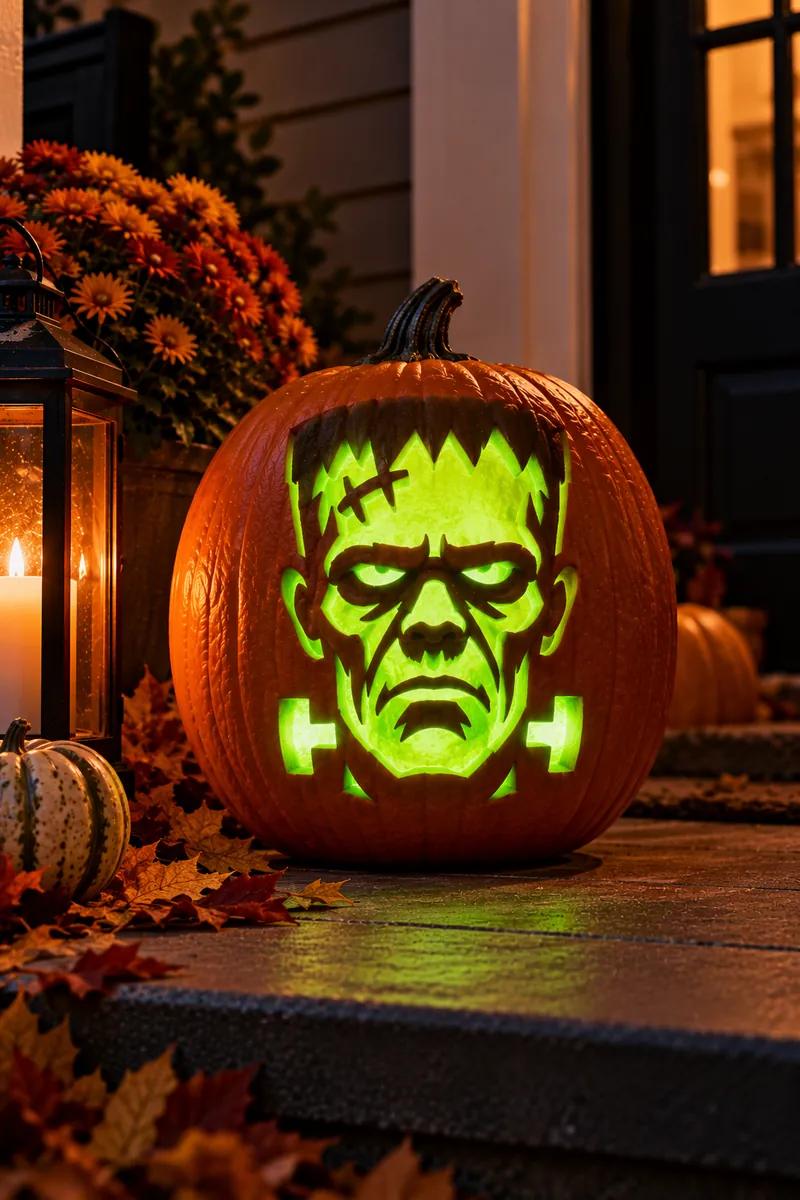
Frankenstein’s Monster
Think of the monster’s flat head and neck bolts, lit green from a porch bulb. That is the whole appeal.
This pattern reads instantly, even from across the street. Print the head wide so the forehead has room, and keep the bolts chunky or they vanish.
A square-ish pumpkin flatters the flat head. The forehead scar is one straight cut, so do not overthink it.
Vampire Grin
Tiny rule: the fangs carry this design, so give them room.
Print the mouth wide with each fang at least an inch long, or it reads as a regular smile. Carve the mouth as one shape first, then notch the fangs downward from the top edge to keep the tips sharp.
An oval pumpkin stretches the grin nicely. A red LED inside turns the whole thing deliciously sinister.
Falling Autumn Leaves
Leaf patterns forgive: no two leaves match, so every wobble looks intentional.
Print three leaf shapes in different sizes and scatter them like they are falling. Carve the veins as thin bridges of rind left standing inside each cutout.
Tool tip: a drill makes quick work of small leaves; a saw handles the big ones. This still looks right in early October, weeks before Halloween.
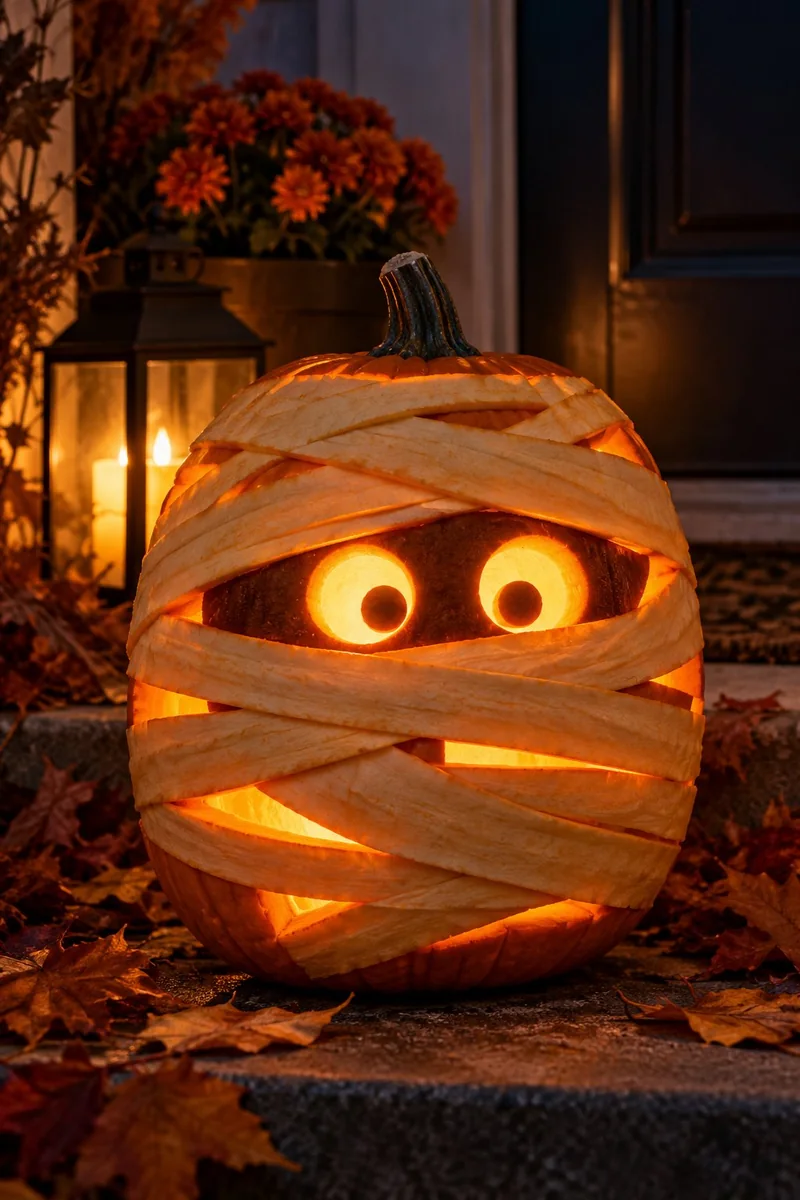
Mummy Wrap Face
The mistake is cutting the wrap strips too thin. Thin strips tear, and then your mummy looks defeated.
Print the pattern with wrap bands at least an inch wide, crossing at angles over two round eyes. The eyes stay solid while everything around them glows, which gives the mummy its stare.
Any round pumpkin works. Leave the stem on; it makes a perfect topknot.
Perched Crow
A crow beats a cat silhouette when you want something less expected. Similar shapes, but guests remember the crow longer.
Print the bird large, beak pointing sideways. A side profile carves cleaner, and the tail feathers need room to fan.
The legs are fiddly, so keep them thick or skip them and perch the bird on a branch. A tall pumpkin gives the crow its full upright pose.
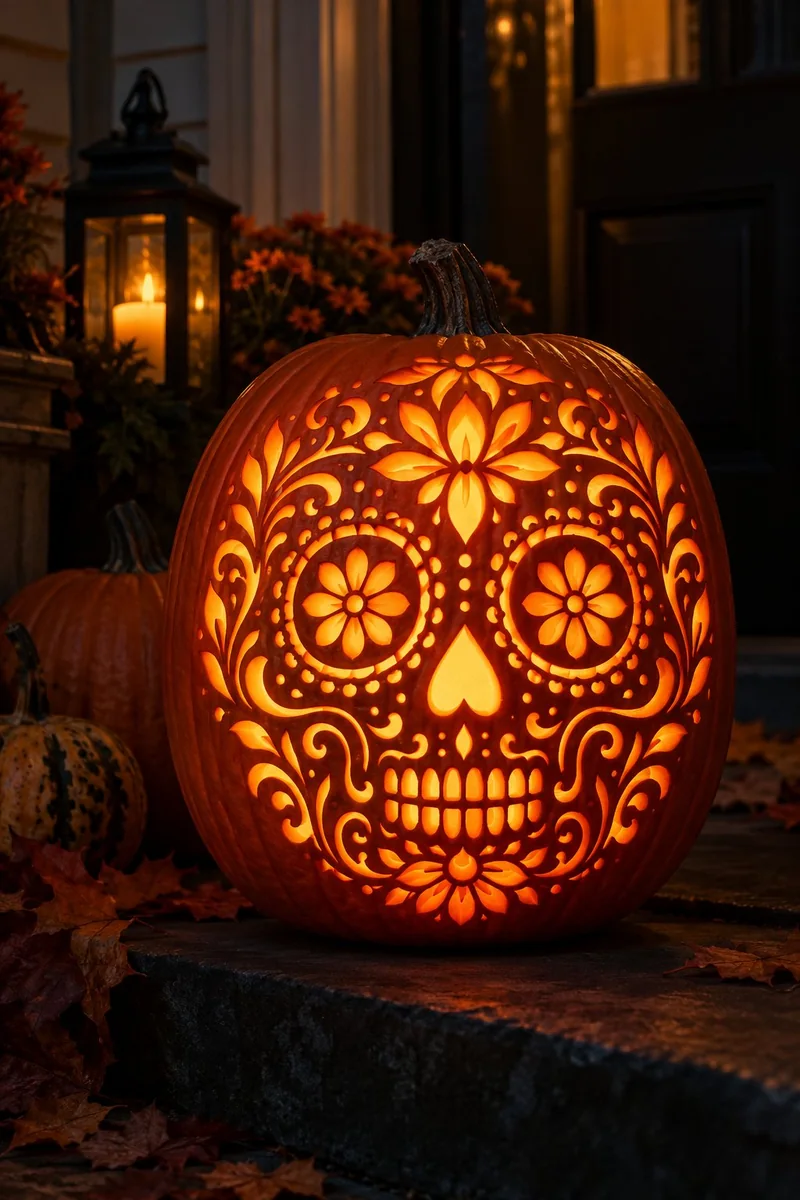
Sugar Skull
People think sugar skulls need an artist’s hand. They don’t. The pattern does the drawing.
Your only job is patience. Print at the largest size your pumpkin allows, because small details are where saws slip. Work from the center outward so your hand rests on solid rind.
This is a craft knife job, not a big saw job. Put on a podcast; it takes an evening, and it is worth it.
Print sugar skulls as large as the pumpkin allows. Big details forgive, small details punish.
“BOO” in Lights: Pumpkin-Carving Patterns That Shout From the Porch
I have watched trick or treaters sound out porch pumpkins for years, and lettering always wins a laugh.
Print the letters tall and blocky, at least three inches high. Carve each as a solid cutout and keep the counters, the holes inside letters like O, chunky, since thin bridges tear.
A wide, flat faced pumpkin makes the best billboard; space the letters evenly.
Your Turn to Carve
These 21 printable pumpkin-carving patterns prove you do not need drawing talent. A printed pattern, a steady poke, and a little patience beat freehand courage every time.
Start with an easy win like the ghost or the grin, then work your way up to the witch or the sugar skull as your confidence grows. If you want more frightful inspiration, browse these spooky pumpkin-carving ideas next.
Save this list to your Halloween board so every pattern waits for carving night. Your porch is about to get more interesting.