
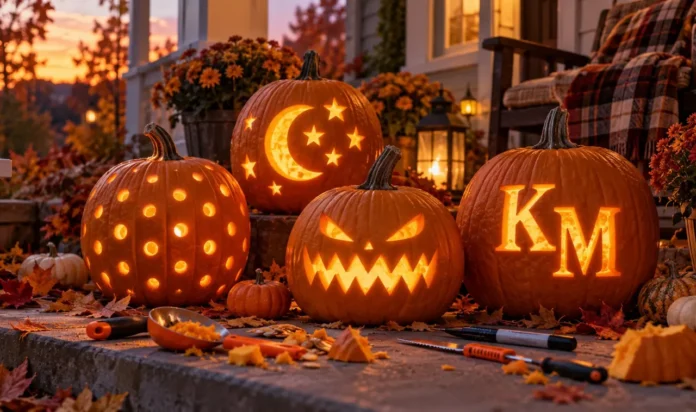


The pumpkin is sitting on your porch, the little carving saw is in the kitchen drawer, and the printer is out of ink. Again. Here is the good news: you do not need it. Some of the best-looking jack-o’-lanterns start with nothing more than a marker, a steady hand, and shapes a child could draw.
Pumpkin carving without a template is not a compromise. It is a different skill, and honestly a faster one. No taping paper to a curve, no poking a thousand transfer dots, no squinting at a faded printout. You draw right on the rind, cut what you drew, and light it up.
The trick is choosing designs that suit a free hand: bold shapes, forgiving lines, and a few household helpers like tape, lids, and cookie cutters that act as your guides. Below are 15 ideas that need zero printing, zero tracing, and zero art training. If you want even more simple starting points, browse these easy pumpkin carving ideas first, then come back. Grab a dry-erase marker and let’s go.
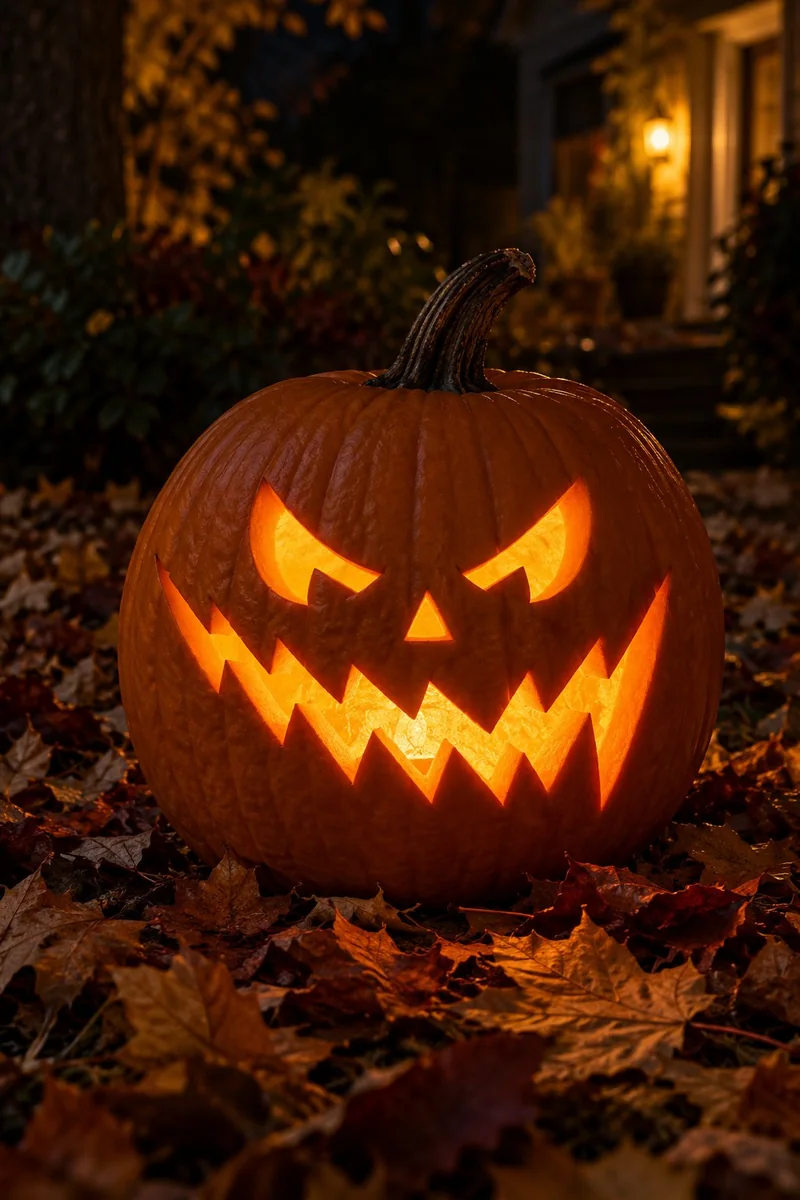
1. Draw the Classic: Triangle Eyes and a Toothy Grin
The original jack-o’-lantern earned its fame for a reason. Three bold shapes read clearly from the street, and triangles forgive a wobbly hand.
- Draw two triangles for eyes, points facing up or down, your call.
- Add a wide grin with two square teeth in the middle.
- Cut on the lines, push the pieces out from the inside, and light it.
Keep every shape big. Small triangles turn into mush once the knife moves. This is the design to carve first while your hand is fresh.
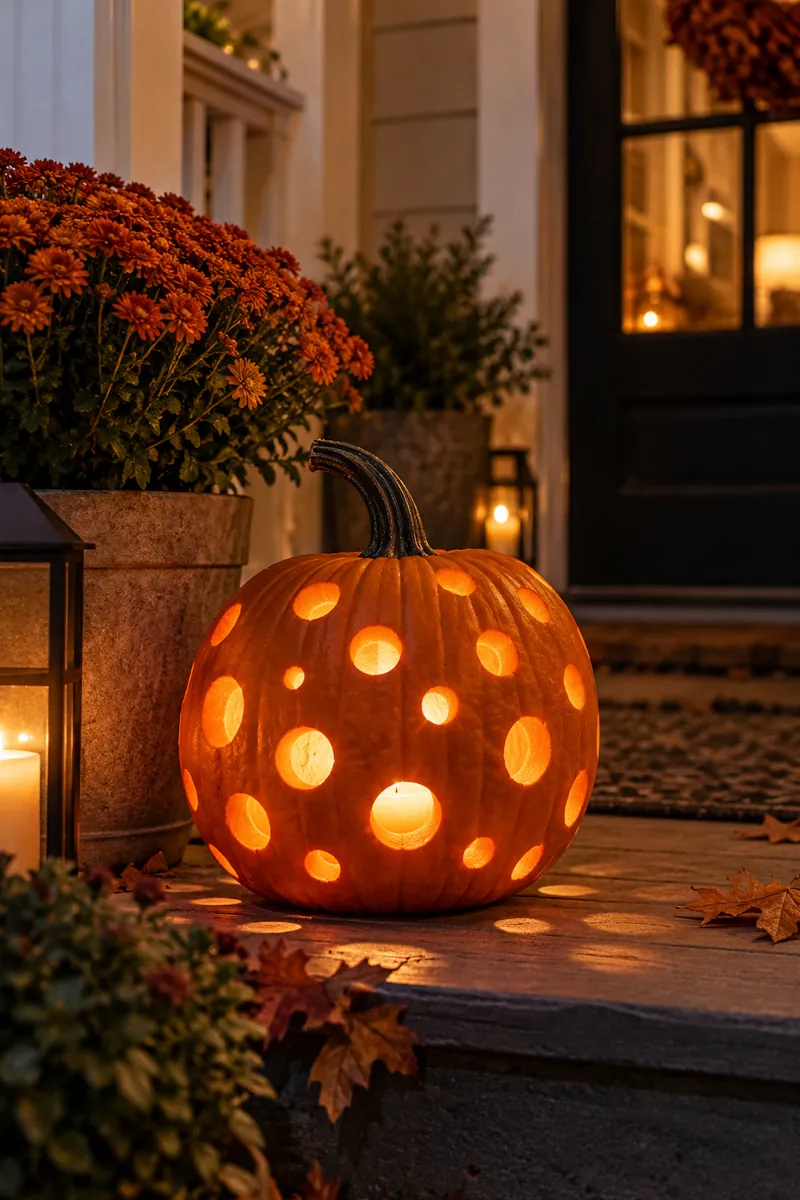
2. Drill a Field of Glowing Polka Dots
No drawing skill needed at all, and the result looks far fancier than the effort. Dots of light scattered across a dark porch stop people mid-step.
- Use a drill with a large bit, or an apple corer twisted by hand.
- Vary the sizes: big dots near the top, tiny ones trailing down.
- Leave the face area empty or add two dot eyes for a surprise face.
Wipe the rind first so the bit does not slip. A battery tea light inside keeps the glow steady all evening.
3. Punch Out Cookie-Cutter Shapes
Shaky hands? Let the kitchen drawer do the drawing. Metal cookie cutters press a perfect outline into the rind, and you just follow it with the saw.
- Stars, hearts, and moons work best; skip anything with thin fiddly bits.
- Press firmly, then trace the dent with your marker so the line stays visible.
- Tap the cutter with a mallet for thick-walled pumpkins.
🧰 Your freehand toolkit
Pull the shapes out from the inside with a spoon handle. Little stars around a big moon make a whole scene with zero drawing.
4. Tape Stripes: The Secret Weapon of Pumpkin Carving Without a Template
People assume straight lines need a ruler and a printed grid. They need tape. Two strips of painter’s tape make a cleaner edge than most stencils ever could.
Run tape in chevrons, diamonds, or simple horizontal bands around the pumpkin. Cut along each tape edge, peel the tape, and you have crisp geometry that looks planned. It reads modern and graphic lit up at night, more art gallery than haunted house.
Tip: press the tape down hard, especially over bumps, or the saw will wander underneath it.
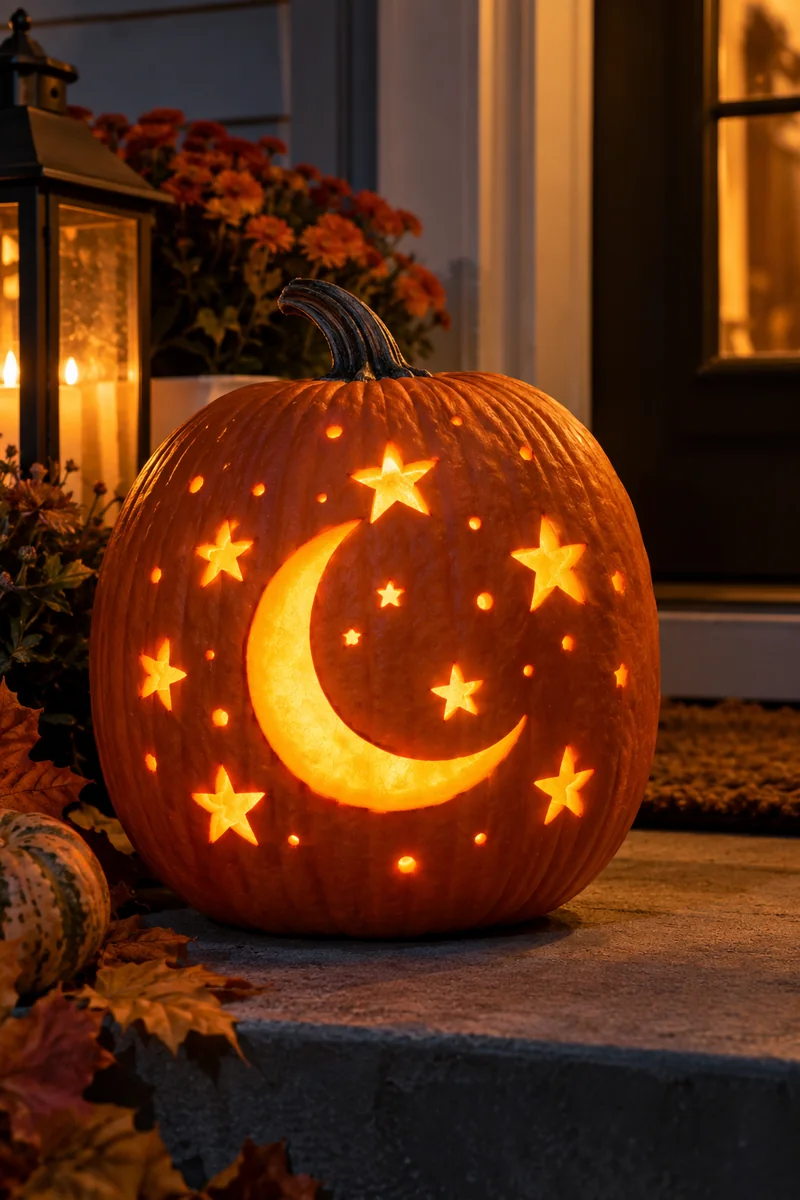
5. Trace Cup Rims for a Moon-and-Stars Scene
A crescent moon looks hard until you realize it is just two overlapping circles. Your kitchen has the only tools you need.
- Trace a drinking glass for the full moon circle.
- Shift a smaller cup over one edge and trace again for the crescent bite.
- Dot stars around it with the marker cap or a bottle lid.
Cut the moon shape out and drill the stars as holes. The mix of one big glowing shape and tiny pinpricks looks dreamy on a dark step.
6. One Big Eye: The Goofy Monster
My nephew calls this one “the surprised pumpkin,” and it gets more laughs than any scary face on the block. One oversized eye is funnier than two perfect ones.
- Trace a jar lid for one huge circle eye, slightly off-center.
- Give it a small round pupil hole inside, or leave it whole for a blank stare.
- Add a lopsided open mouth, like a little “o” of surprise.
Asymmetry is the whole joke here, so do not fix a crooked mouth. Crooked is the point.
7. Zigzag a Lightning-Bolt Mouth
Here is a tiny rule that upgrades any basic face: replace the smile with a zigzag. One jagged line turns cute into electric.
- Draw the zigzag with 5 or 6 sharp points, wider than you think.
- Pair it with angry slanted eyebrows for a stormy look.
- Or pair it with round dot eyes for a silly robot vibe.
Cut slowly on the points; rushing snaps the tips. This mouth also works great stretched across a long, tall pumpkin. For extra drama, run the zigzag all the way around the rind like a crack splitting it open. A flickering LED inside makes the whole thing look struck by lightning.
8. Heart Eyes and a Sweet Smile
I have watched this design melt more than one teenager who claimed pumpkins were “for little kids.” Hearts are easy to draw and impossible to mess up badly.
Sketch two plump hearts for eyes and a simple curved smile. Cut the hearts as holes so they glow, or carve just the rind off and let the light shine through the thinner flesh for a softer look. If you are brand new to carving, these pumpkin carving ideas for beginners pair well with this one.
Tip: draw the hearts bigger than feels right. Small hearts close up and vanish once lit.
9. Cut a Spiderweb With Straight Lines Only
The classic mistake is trying to carve curved web strands. Real webs are mostly straight spokes, which is great news for a free hand.
- Draw 6 to 8 straight spokes radiating from one corner, like bicycle spokes.
- Connect them with shallow curved arcs, sagging slightly downward.
- Cut the spokes as thin slits and leave the arcs uncut, or vice versa.
💡 Quick Tip
Draw the web with marker first and step back three feet. If it reads as a web from there, it will read as a web lit up at night. Fix it now, not mid-cut.
Add a drilled dot spider hanging from one strand. One dot, eight tiny slit legs, done.
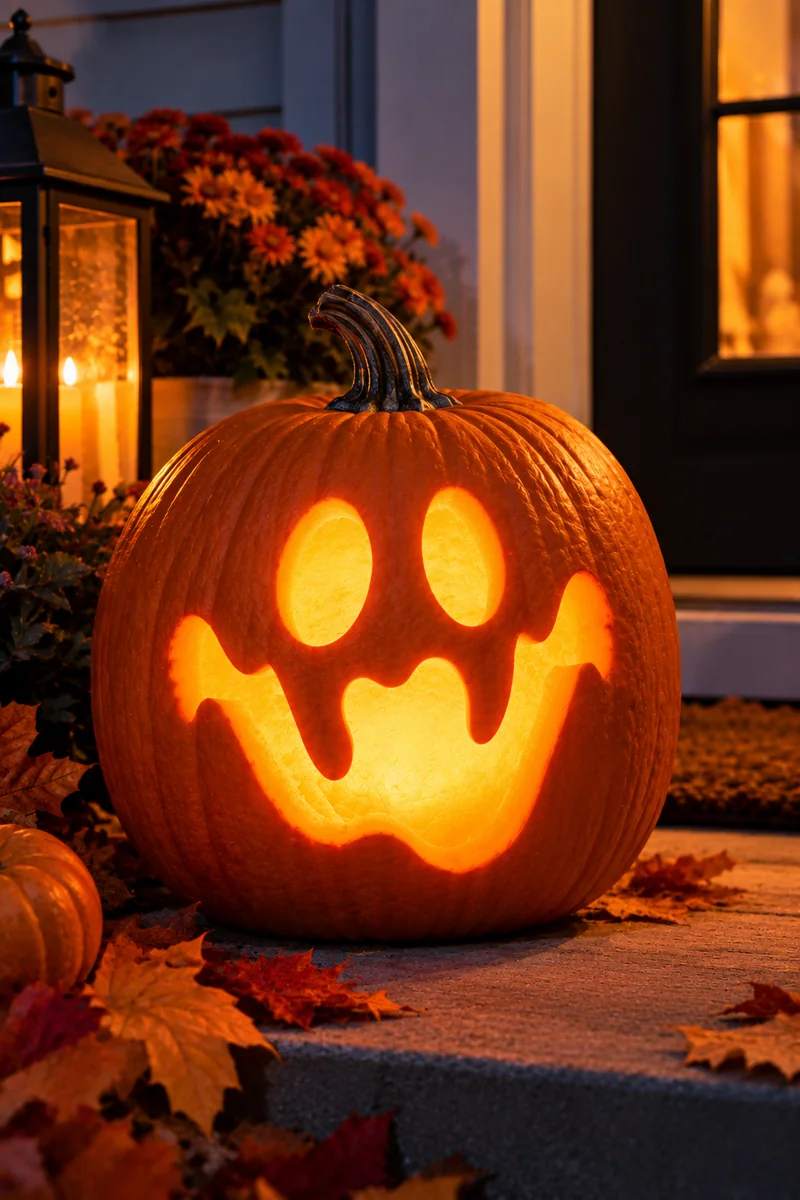
10. The Friendly Ghost Face
Ghosts are the most forgiving spooky shape in existence. Wobbly edges just make them look more ghostly.
- Two tall ovals for eyes, stacked a little close together.
- A wavy open mouth, like a long “ooo” sound.
- Optional: scallop the bottom edge of the pumpkin into a ghostly hem.
Cut the features as clean holes and keep everything else solid. The contrast of bright face on dark rind does all the work. Cluster three of these in different sizes for a little ghost family.
11. Triangle Ears Make an Instant Cat
Start with any simple face, then add two triangle ears on top, and suddenly it is a cat. The ears do 90 percent of the work.
- Carve your favorite easy face first, round eyes suit cats best.
- Draw two triangles on the top curve and cut them as notches.
- Scratch whisker dots into the rind with a fork, no cutting needed.
Black cats read spookiest, but an orange cat with a goofy grin gets the most compliments. Either way, the silhouette sells it from the sidewalk.
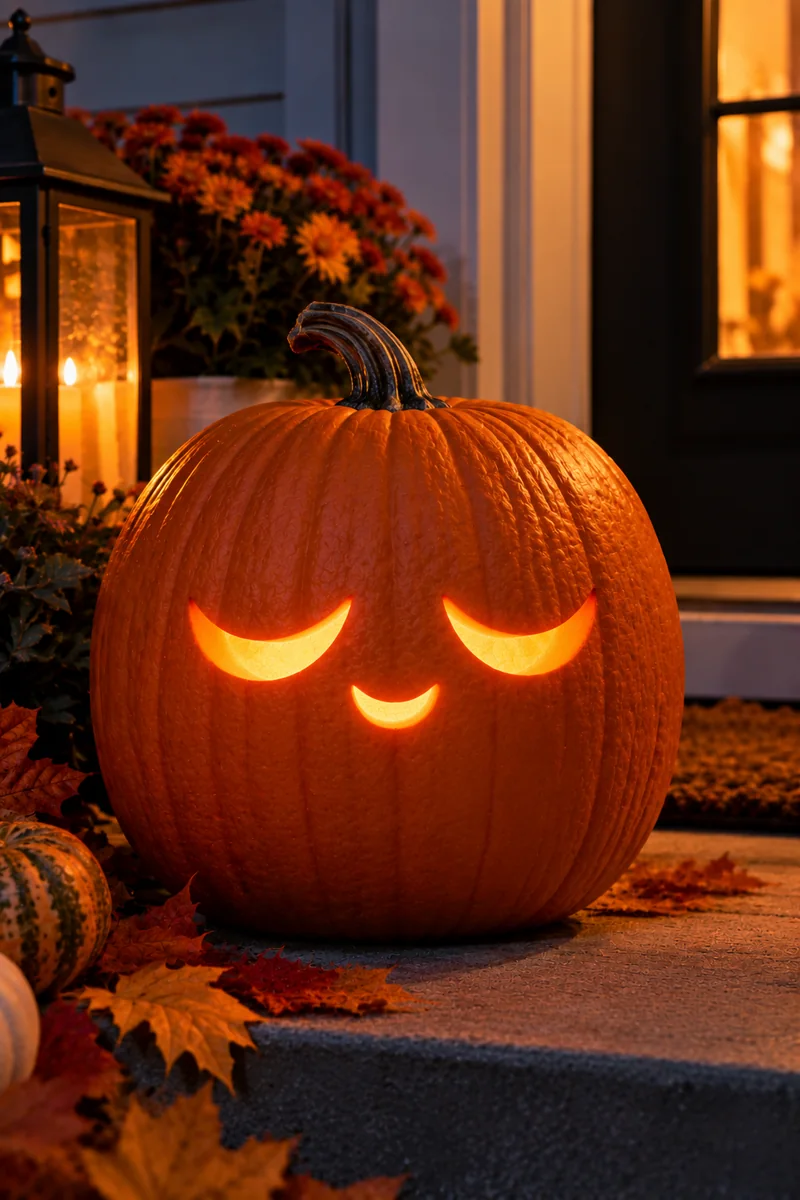
12. Half-Moon Eyes for a Sleepy Pumpkin
There is a quiet hour at dusk when the porch light is not on yet and the pumpkin glows alone. This sleepy face was made for exactly that moment.
Draw two downward curves like closed eyelids, add tiny lash flicks at the corners, and finish with a small calm smile. Cut the curves as thin slits so only soft lines of light show.
Keep the eye curves shallow and wide.
Make lashes short, just a flick.
Deep narrow slits that look angry.
Long spiky lashes that read as scary.
Pair it with a plaid blanket on the porch swing and you have the coziest corner on the street.
13. Scatter a Starry Night Sky
A drill makes round holes; a knife makes star holes. Use both and the sky gets interesting.
- Drill small round holes for distant stars, scattered randomly.
- Cut 4-point stars with the knife for the bright ones, bigger near the top.
- Leave one area empty so the eye has somewhere to rest.
Random beats even here. If you catch yourself making rows, stop and poke the next hole somewhere surprising. Real night skies are gloriously messy. A color-changing LED inside turns the whole sky into a slow light show, which kids love watching while they wait for trick-or-treaters.
14. Swirl a Simple Vine
One curling vine with three leaves looks like you hired a professional, and it is just one wavy line. Curves are kinder than corners when your hand shakes.
- Draw one big lazy S-curve across the pumpkin.
- Add simple leaf ovals along it, pointed at both ends.
- Cut the vine as a slit and drill the leaves as holes, or reverse it.
Let the vine wander off one edge. Designs that do not try to be symmetrical always look more natural.
15. Carve Big Blocky Initials
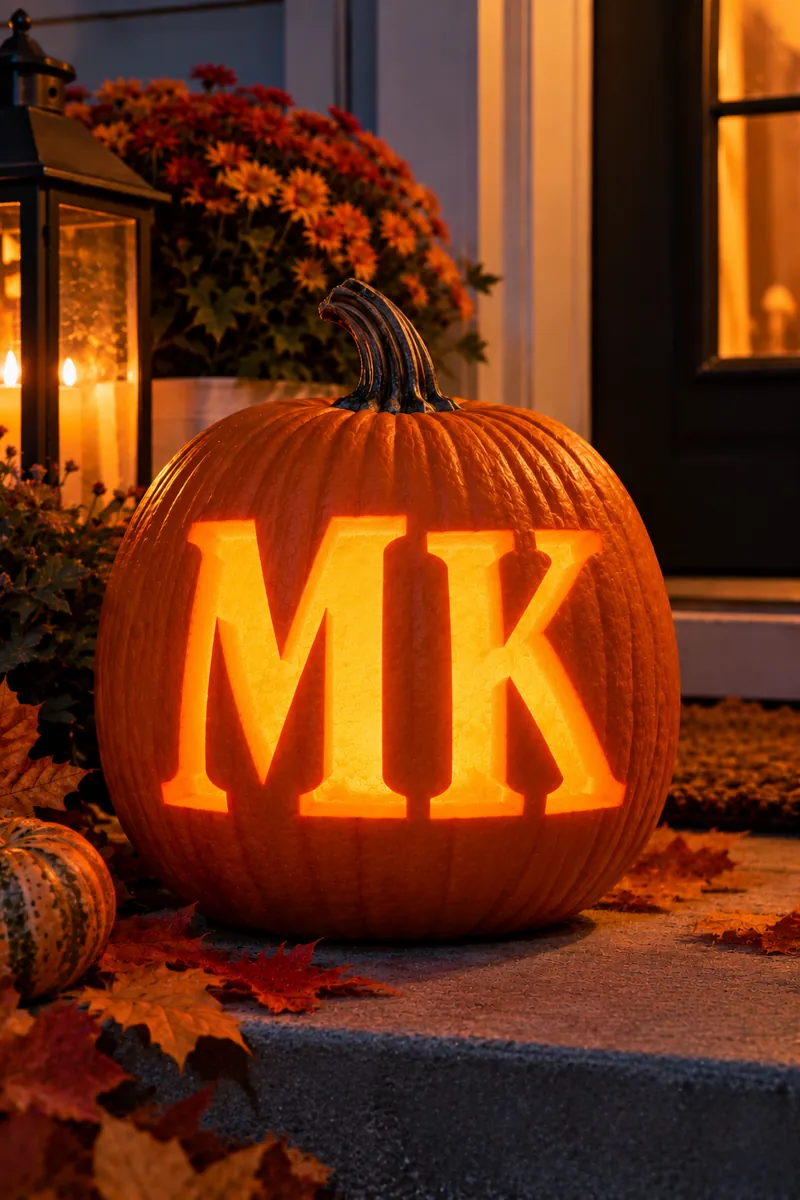
Letters scare people because skinny printed fonts are genuinely hard to carve. The fix is embarrassingly simple: go big and go blocky.
- Draw tall block letters with straight edges only, no curves.
- Make each letter at least a hand-span tall.
- Connect the insides of letters like A and O with a small bridge of rind so they do not fall out.
Every design here works because the shapes are bold and simple. When in doubt, draw it bigger.
A single glowing initial on the porch step looks sharp and personal, and guests always ask how you did it without a stencil.
Once you try pumpkin carving without a template, the printer starts gathering dust. You will reach for the marker first every October, because drawing straight on the rind is faster, more forgiving, and honestly more fun. Pick one idea tonight, keep the shapes big, and let the candlelight do the rest.
Save this list for carving night, and if you want faces specifically, these simple pumpkin faces are the perfect next project. Happy carving, and may your triangles be ever in your favor.