
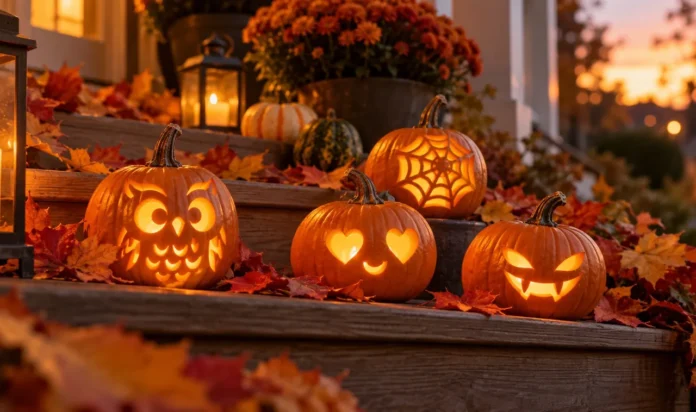


Big pumpkins hog all the Halloween glory, but I have a soft spot for the little ones. A mini pumpkin fits in your palm, costs next to nothing, and carves in minutes instead of wearing out your arm. The only catch is that most carving guides assume you are working with a giant. Tiny surfaces need smaller tools, simpler shapes, and designs that still read clearly at pint size.
That is exactly what this list covers. These small pumpkin-carving ideas are built for minis and small pie pumpkins, with notes on which size suits each design and how to adjust your technique for a tiny canvas. You will find sleepy faces, glowing dot patterns, tiny animals, and a fairy house you can finish before your coffee cools. Pair them with a few cute pumpkin carving ideas for variety, grab a melon baller for scooping, and let’s get carving. All you need is a small sharp tool and a little patience.
1. Tiny Sleepy Face
Start with the easiest win on this list.
A sleepy face needs only three cuts: two curved lines for closed eyes and one tiny smile. On a mini pumpkin, keep every cut under an inch long so the face stays in proportion. Use a small paring knife or a pumpkin carving saw, and cut slowly since the rind is thin. The closed eyes read as peaceful rather than spooky, which makes this one a sweet fit for a windowsill or a mantel grouping.
Tip: poke the smile first with a toothpick so you can check the placement before you commit to the cut.
2. Drilled Polka Dots
If knives make you nervous, a drill does the carving for you.
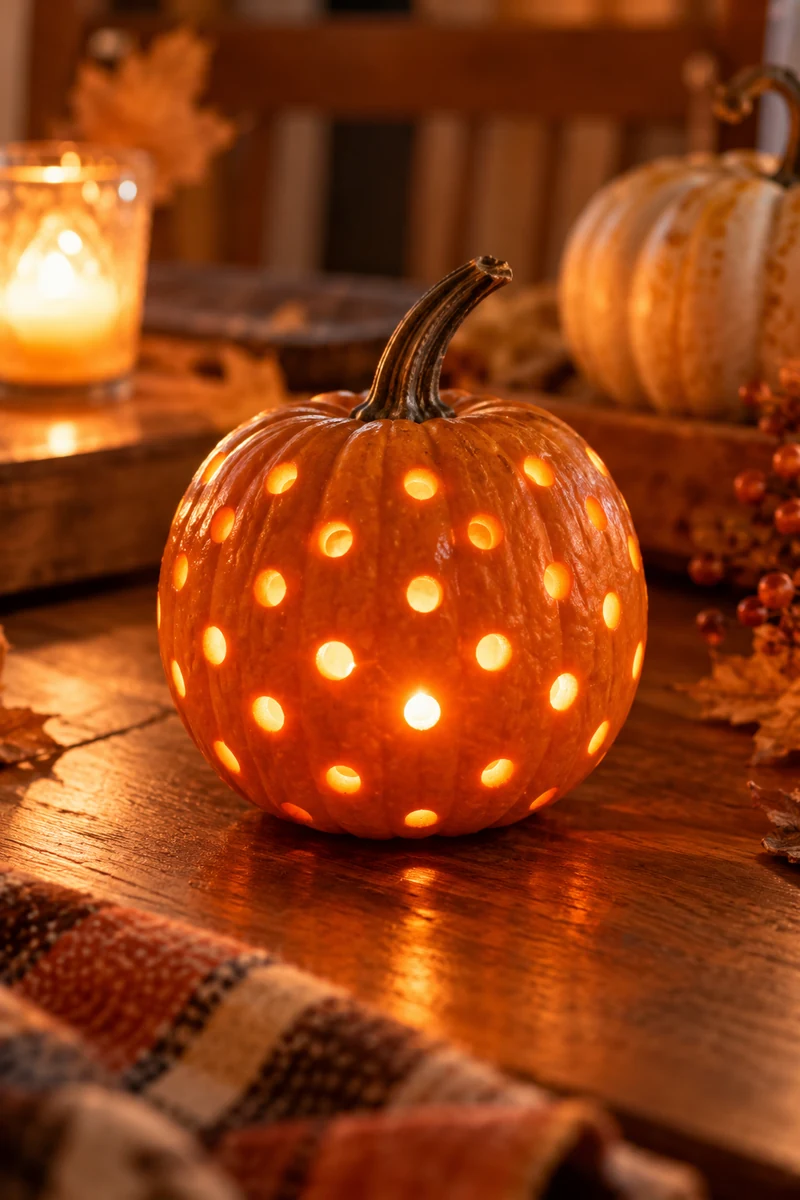
Mark dots on a mini pumpkin with a washable marker, spacing them about half an inch apart. A 1/4 inch bit makes dots that glow boldly, while a 1/8 inch bit gives a finer, starrier look. Drill straight in, pull straight out, and brush the loose bits away with an old toothbrush. Try both on two minis and keep your favorite.
- Draw your dot pattern with a marker.
- Drill each dot with light, steady pressure.
- Pop a tea light inside and dim the lamps.
3. Cat Silhouette
Cat people, this one is yours.
A cat silhouette reads clearly even on a small pie pumpkin because the shape is so simple: pointed ears, round head, curved tail. Tape a paper template to the pumpkin and poke along the outline with a pin, then connect the dots with your saw. Cut the whole cat as one hollow shape so the candlelight shines through the full outline. Set it near the door and the ears catch the light first.
🐈 Quick Tip
Shrink any template to about 3 inches wide before printing. A full-size cat stencil will swallow a small pumpkin whole.
4. Mini Ghost
Ghosts are forgiving, which makes them ideal for a first mini.
Carve two oval eyes and one oval mouth, all tilted slightly for a surprised look. Because the shapes are simple ovals, wobbly cuts still look charming. A mini pumpkin needs only a tea light to glow brightly, and the thin walls let plenty of light through.
- One mini pumpkin, any shape
- A small carving saw
- A spoon or melon baller for scooping
- One LED tea light
Line three of them along a shelf and they look like they are floating.
5. Teeny Owl
Owl eyes do all the work here.
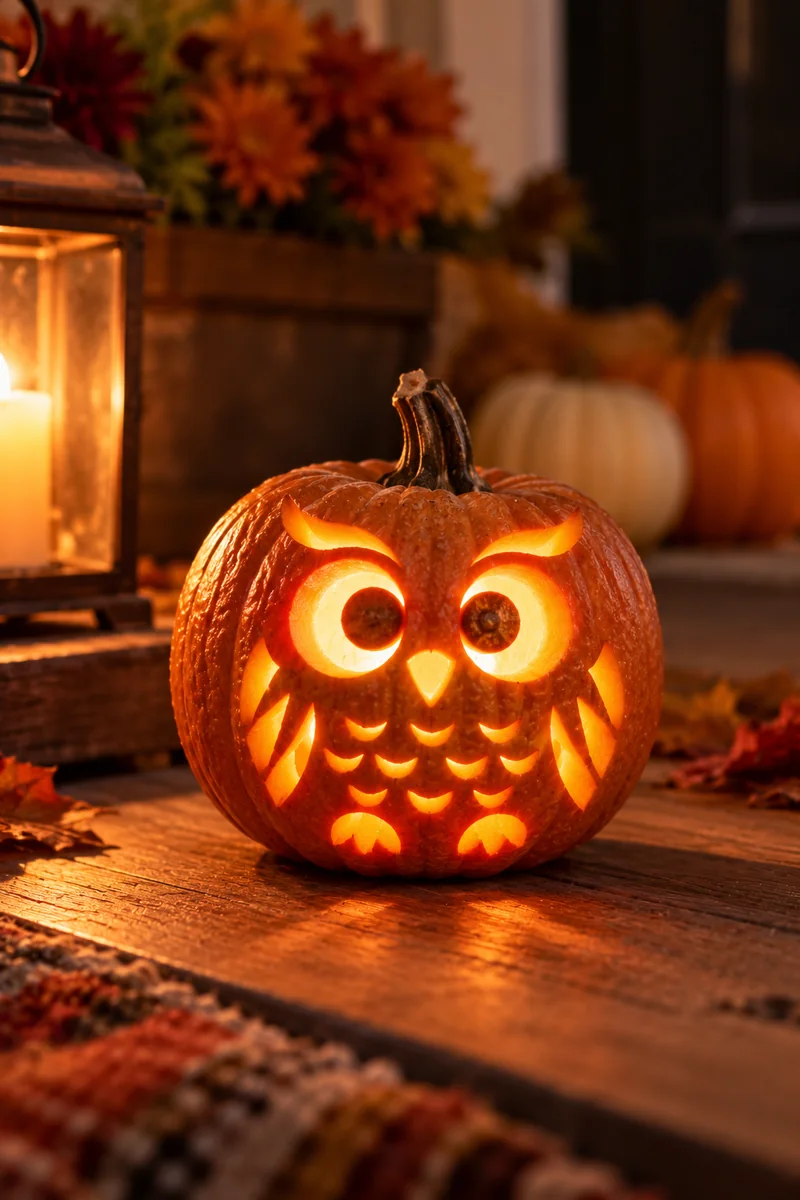
Carve two big circles for eyes and a small triangle beak between them, placed low on the pumpkin. On a mini, circles about the size of dimes give the best wide-eyed look. Add two tiny triangle ears at the top by cutting shallow notches instead of full cutouts. The rind is thin enough that light glows through the shallow cuts.
- Scoop the mini clean with a melon baller.
- Cut the two eye circles.
- Notch the beak and the ear tips.
It looks wise beyond its two inches.
6. Starry Night
This one turns a small pumpkin into a planetarium.
Drill small holes in a scattered pattern across the whole surface, denser at the top and sparser near the bottom. When lit, the pumpkin throws starry speckles onto the walls around it. Use the smallest bit you own for the finest stars.
- Cluster five holes close together for a constellation.
- Scatter single holes around it for the background sky.
- Keep holes away from the bottom so it sits steady.
It earns its keep after dark, when the walls join the show.
7. A Mini Trio: Small Pumpkin-Carving Ideas for Your Porch Steps
One mini looks cute. Three look intentional.
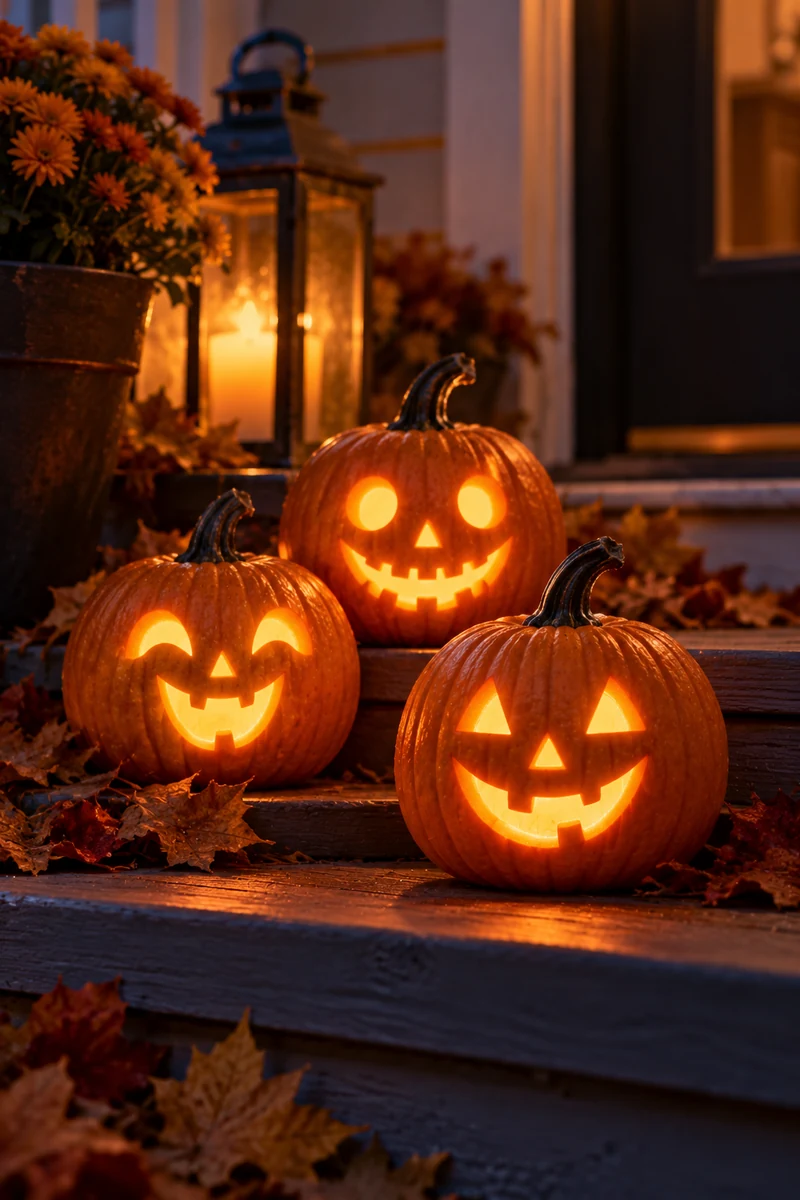
Carve a simple face on each: one happy, one sleepy, one surprised. Keep the faces to two or three cuts each so the trio feels like a set instead of three separate projects. Stagger them on steps or stack them on a crate for height. Guests notice the grouping before they notice any single face.
8. Heart Eyes
For the romantics of Halloween.
Swap the usual triangle eyes for two small hearts and finish with a simple smile. Hearts are easy to cut on a mini because you can poke the shape with a pin first and follow the dents. Keep the hearts small, about the size of your thumbnail, so they fit the tiny face.
Tip: cut the hearts slightly smaller than you think. They look bigger once lit.
It is the least spooky pumpkin on the porch, and proud of it.
9. Tiny Bat
A bat silhouette needs only wings and a small body, which fits a mini perfectly.
Draw the shape with the wings spread wide across the front, then cut it as one hollow piece. The angled wings read clearly even at two inches tall. Kids love this one, so pair it with more pumpkin carving ideas for kids for a full craft afternoon.
- Sketch the bat with a washable marker.
- Cut the outline in one steady piece.
- Hang the mini from a branch with twine for a flying effect.
A hanging bat swaying in the breeze beats a sitting pumpkin every time.
10. Mini Spiderweb
All lines, no filling in.
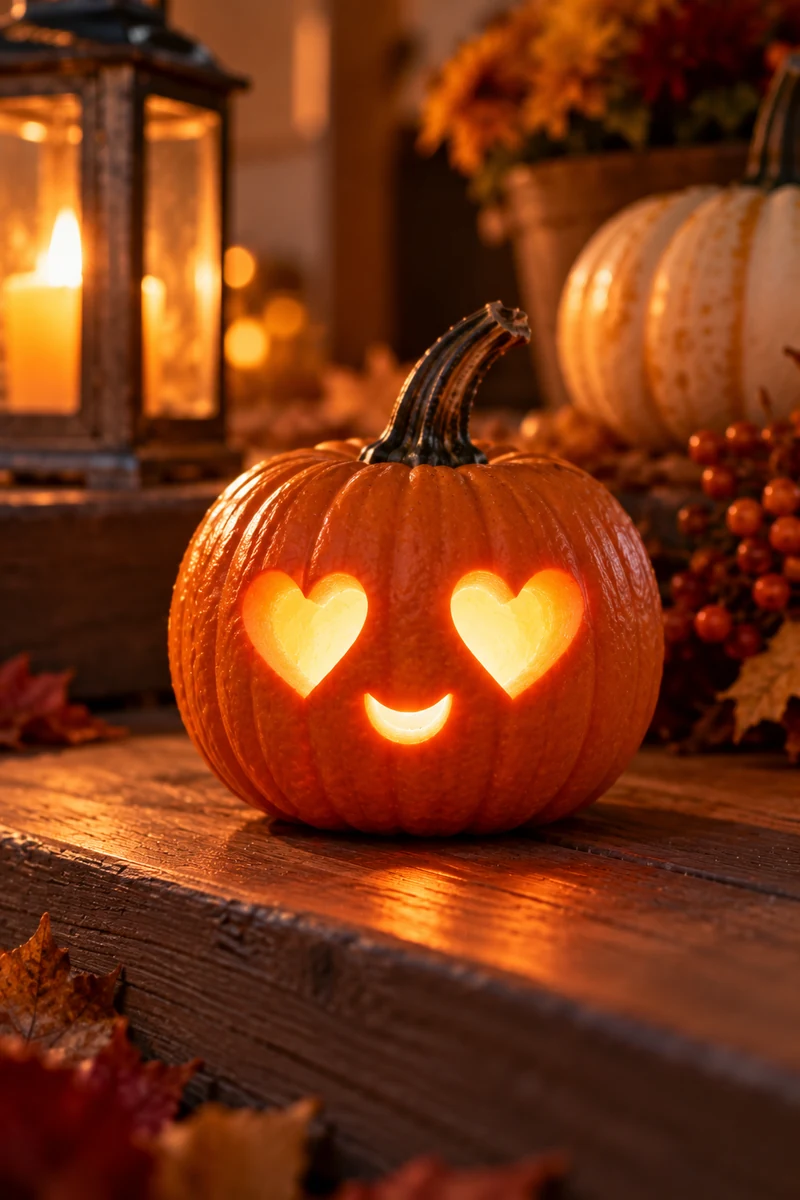
Carve thin straight lines radiating from the top center, then connect them with curved cross lines to form the web. On a small pie pumpkin you have room for about eight spokes, which is plenty. Keep the lines thin so the web looks delicate instead of chunky. Add a tiny spider by cutting a small oval body with eight leg lines near one edge.
- Cut the spokes first, then the cross curves.
- Reversing the order makes the rind wobble.
- Keep the spider small so it does not crowd the web.
11. Crescent Moon
A crescent moon is one bold shape, which is exactly what tiny pumpkins need.
Cut a single crescent on the front, wide in the middle and tapering at the tips. Because it is one cutout, the glow is strong and the shape reads from across the yard. Add three small drilled stars around it if the pumpkin has room.
What to grab first
12. Vampire Fangs
Spooky, but make it tiny.
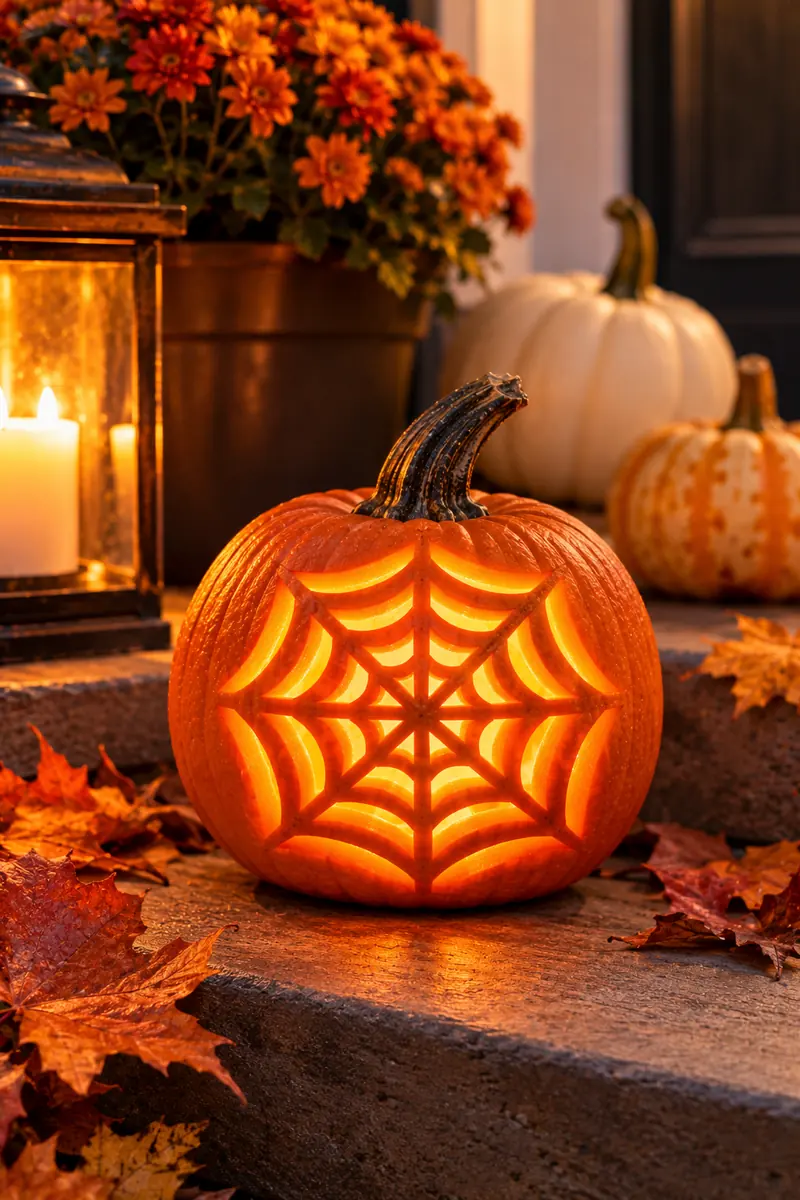
Carve narrow angry eyes and a wide grin, then leave two small triangles uncut inside the grin to form fangs. The trick is cutting the mouth as one wide shape and letting the fangs stay behind as rind. On a mini, keep the whole face in the top half so the fangs sit close to the eyes and look properly menacing.
Tip: draw the fangs on the rind first so you do not accidentally cut them away.
Two inches of vampire is the right amount of vampire.
13. Fairy House Diorama
Hollow a small pumpkin and carve a round door plus two tiny windows instead of a face.
The light inside turns it into a glowing fairy house. This works best on a small pie pumpkin rather than a mini, since you need room for the door. Scoop thoroughly so the walls are even and the light spreads softly instead of pooling in one spot.
- Cut a round door shape low on the front.
- Cut two small square windows above it.
- Add a pebble path and a tuft of moss around the base.
It looks like someone tiny lives there, and honestly, maybe they do.
14. Tiny Bee
Stripes do the heavy lifting.
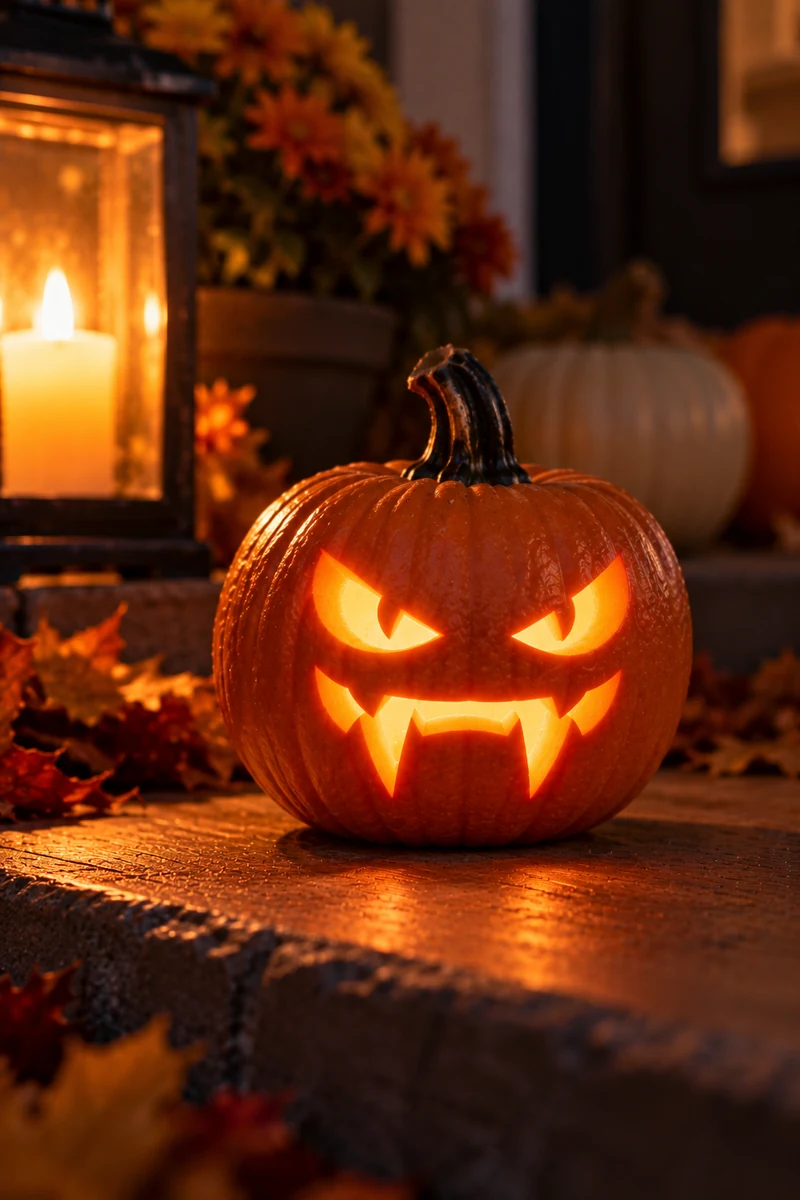
Carve three curved stripes around the middle of a mini pumpkin and add two small wings as shallow cuts near the top. The stripes read instantly as a bee, even without a face. If you want a face, add two dot eyes above the top stripe.
Cut stripes as thin, even curves.
Keep the wing cuts shallow so light glows through.
Carving stripes too deep, since they merge into one blob.
Adding a stinger. It snaps off within a day.
The cutest stinger-free bee you will ever meet.
15. Mummy Wrap
Wrap a mini pumpkin in strips of white gauze and let the wrap do the talking.
Leave two gaps in the wrapping for the eyes, then carve simple ovals in the gaps. The gauze hides uneven carving, which makes this the most forgiving idea here. Secure the strips with a dab of glue on the back where nobody looks.
- Mini pumpkin, any shape
- White gauze or cheesecloth strips
- Small saw for the eyes
- One glue dot for the back
It looks wrapped with care, which is more than most mummies get.
16. Cookie-Cutter Shapes
Let the kitchen tools help.
Press a small metal cookie cutter into a mini pumpkin and tap it gently with a mallet until it punches through the rind. Stars, hearts, and tiny ghosts all work. This technique suits minis best because the rind is thin enough to punch cleanly. Twist the cutter slightly as you pull it out for a crisp edge.
- Hold the cutter firmly in place.
- Tap it. Do not smash it.
- Push the cutout through from the inside.
Every cutter in the drawer is suddenly a carving template.
17. Frankenstein Mini
Green paint plus a carved face turns any mini into Frankenstein.
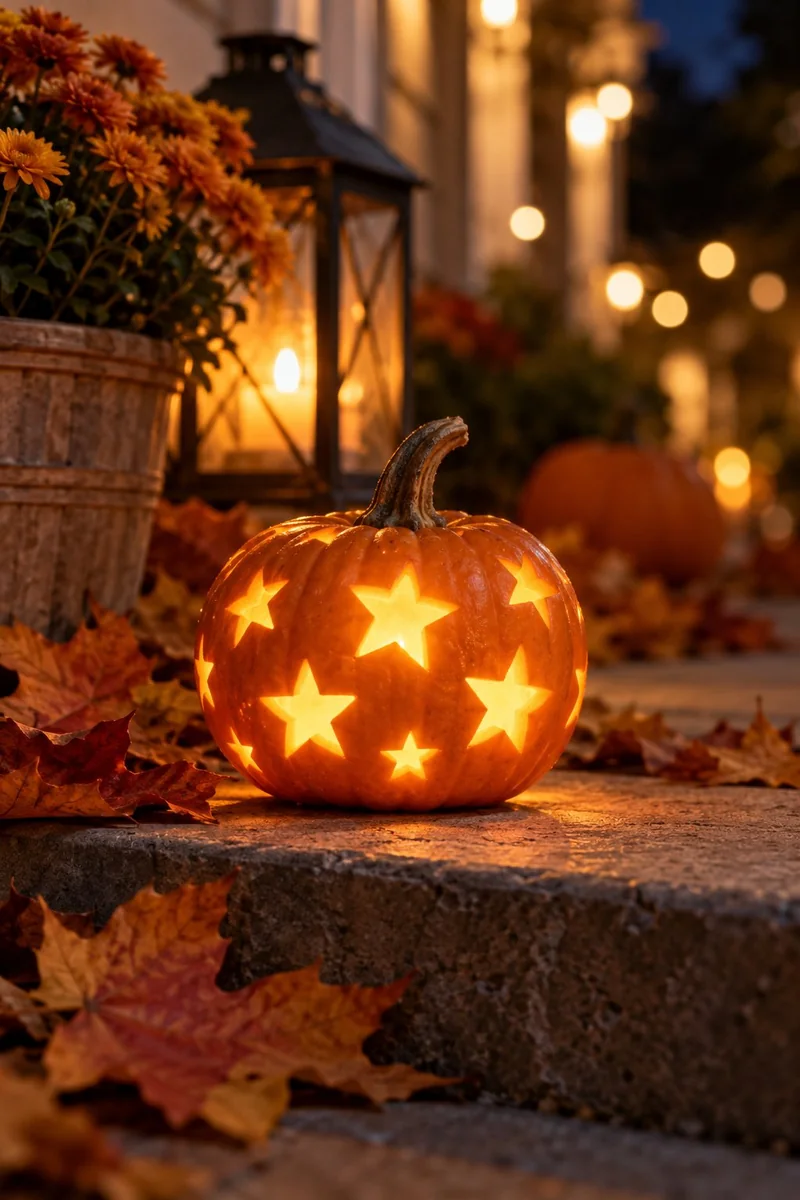
Paint the pumpkin green first and let it dry fully, then carve square eyes, a flat mouth with stitch lines, and two bolt shapes on the sides. The bolts can be shallow cuts since the paint shows through them. Keep every feature blocky. Round shapes lose the monster look fast.
Blocky is the whole personality here.
18. Glowing Initial
End with something personal.
Carve the first letter of your family name into a mini pumpkin and set it by the door. Block letters work best at small sizes. Loopy script gets lost on a two-inch face. Draw the letter with a marker first, keeping it centered and large enough to fill most of the front. One strong letter glows beautifully, and guests love spotting their initial.
Tip: carve the letter as an outline rather than hollowing it fully. The stained-glass effect is lovely.
It is the smallest monogram on the street.
Small pumpkins prove that Halloween charm has nothing to do with size. A mini takes minutes to carve, costs little, and still throws a warm glow across the porch. Start with one sleepy face tonight and see how fast the bowl of minis empties.
These small pumpkin-carving ideas pair well with more easy pumpkin carving ideas when you want to mix sizes along the steps. Save this list for your next patch run, and carve a few extras. Someone always asks to take one home.