
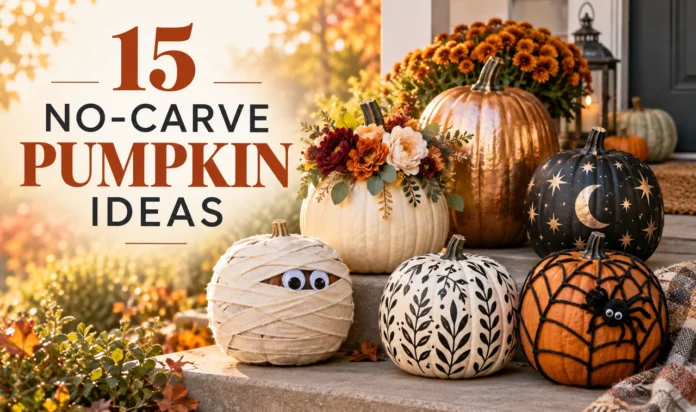


Carving a pumpkin sounds fun until you are elbow deep in slimy strings at nine at night, holding a knife that is far too blunt. The design goes wonky, the lid will not sit right, and the whole thing starts to sag before Halloween even arrives. Decorating without carving fixes most of that. It costs less and it is safer around kids. The pumpkin also stays whole, so a painted or wrapped one can sit on your mantel or dinner table long after a carved one has given up. These Halloween pumpkin decorating ideas need no carving tools and no art skills. Most use things you already have in a drawer, like tape, yarn, a paint pen or a bit of glue. Some take ten minutes. A few need an afternoon and a film playing in the background. Pick two or three that suit your porch, or work through the whole list across a weekend. Here are 15 to start with.
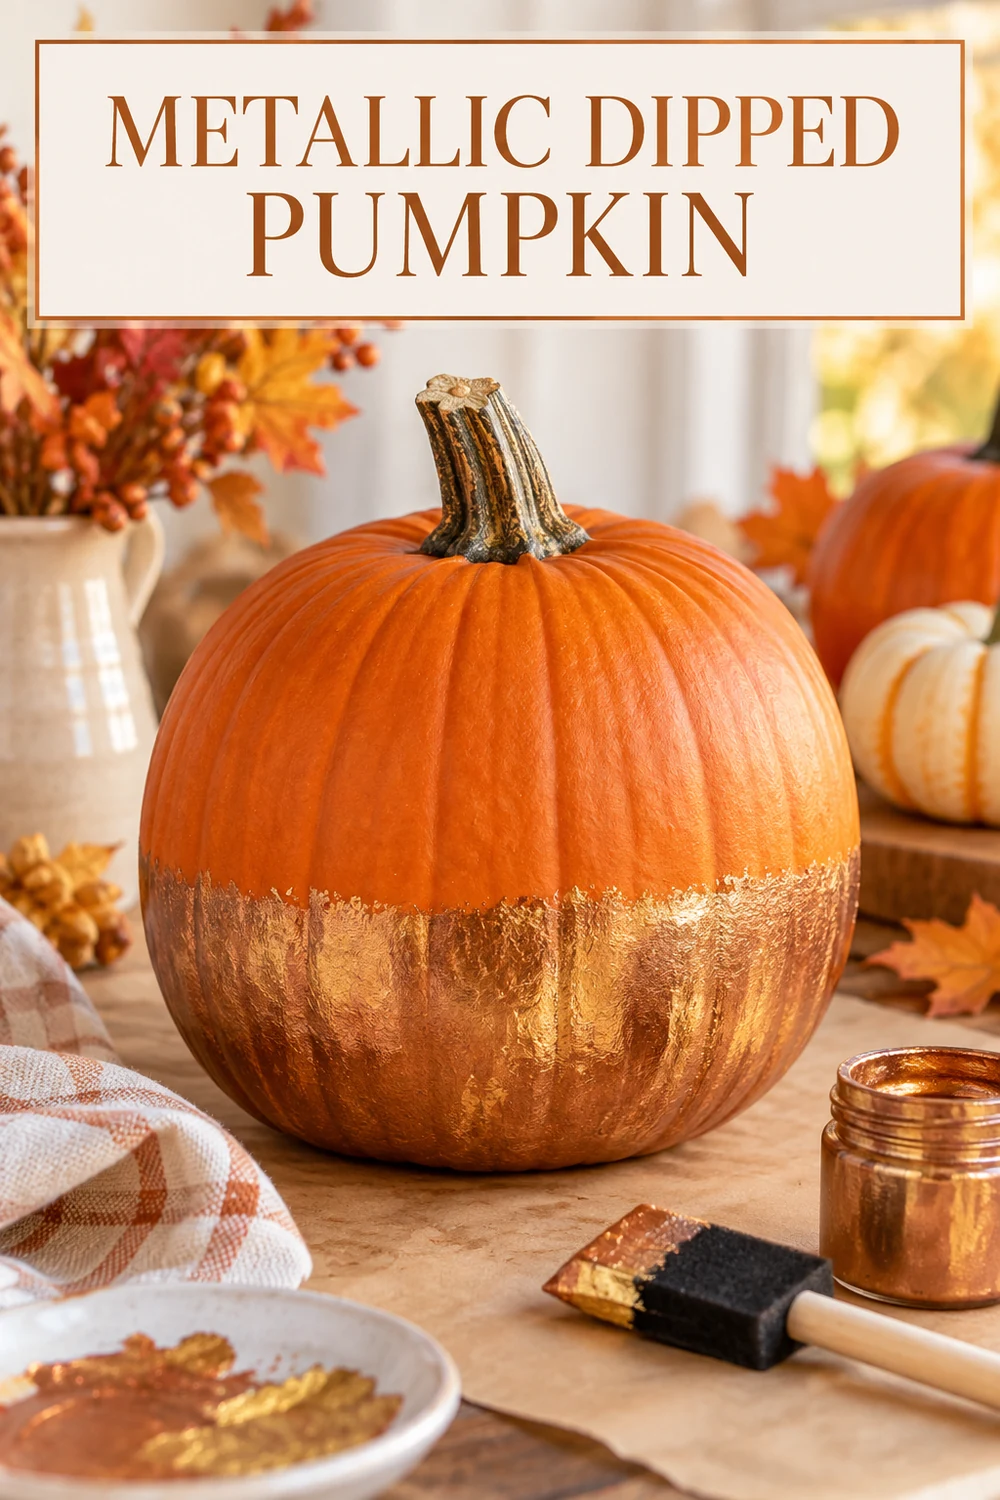
1. Dip the Bottom Third in Gold or Copper Paint
A dipped pumpkin looks expensive and takes about ten minutes of actual work. Load a small foam brush with metallic paint and coat the bottom third. Keep the edge slightly wavy instead of ruler straight, because an uneven line looks handmade in a good way. Gold or copper suits an orange pumpkin best. Three small choices change the finish:
- Wipe the skin with a dry cloth first. Dusty skin makes paint bead up.
- Use two thin coats rather than one thick one.
- Dry it on a sheet of baking paper so it does not stick to the table.
2. Wrap a Washi Tape Stripe Around the Middle
Some pumpkins are just too smooth and too plain to catch anyone’s eye from the road. Washi tape fixes that in minutes. It sticks to the skin, comes in dozens of patterns, and usually peels off cleanly the day after Halloween. Black and gold stripes look sharp. Bold polka dots look playful.
- Choose a smooth pumpkin. Bumpy ribs make the tape lift.
- Use tape at least a centimetre wide so it holds.
- Stick to one or two patterns so it looks planned.
Cheap, quick and easy to undo.
Wipe the skin dry with a cloth so the tape can grip.
Start at the back, then pull the tape gently around the widest part, keeping it level by eye.
Overlap the ends at the back, press with your thumb, then trim the extra with scissors.
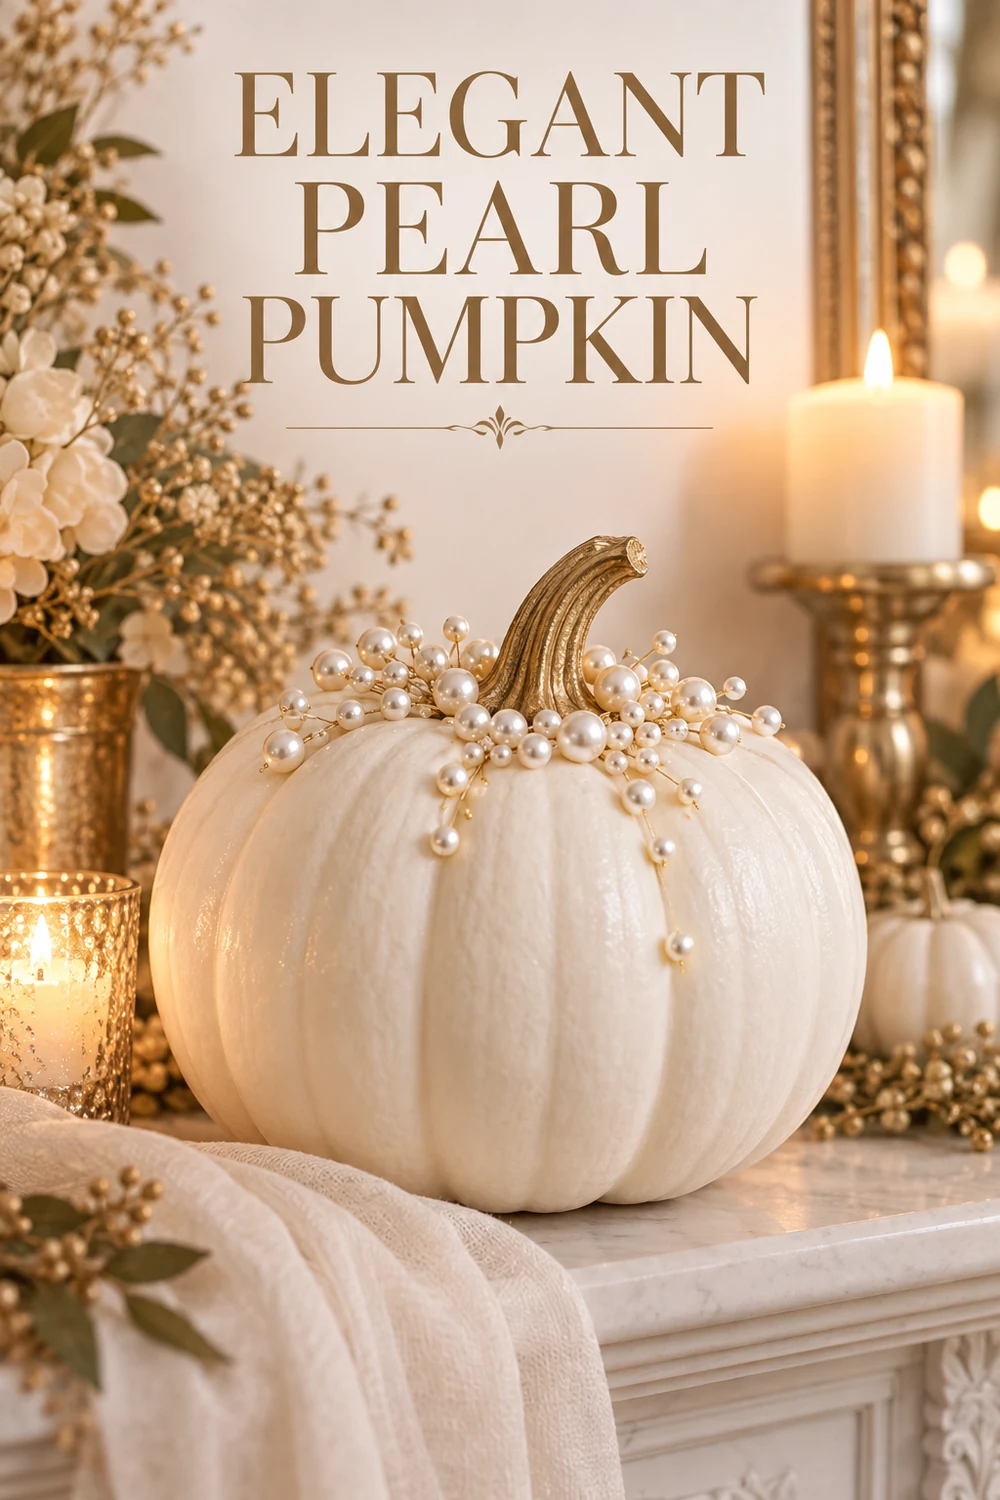
3. Press Pearl Pins Into a Cluster Near the Stem
A small cluster of pearl pins gives a plain pumpkin a jewelled, grown up look. Push the pins in one at a time, starting at the centre and spiralling outwards. Let some sit close together and leave a few gaps. Tight, even rows look stiff, while a loose scatter looks natural. Keep this one for the mantel or a high shelf. Pins and curious toddlers or pets are not a good match.
4. Wind Chunky Yarn Around the Whole Pumpkin
Rule of thumb: the chunkier the yarn, the better the pumpkin looks. Thin yarn just disappears. Start at the stem and dab a little craft glue underneath. Wind the yarn round and round, pressing each row snug against the last. Leave small gaps so the skin peeks through, or cover it completely for a cosy, knitted look. Colour pairs that work well:
- Cream yarn on a classic orange pumpkin
- Black yarn on a white one
- Mustard yarn on a grey green one
Medium pumpkins are easiest, since the yarn stays put on a rounder shape.
Gather these before you start
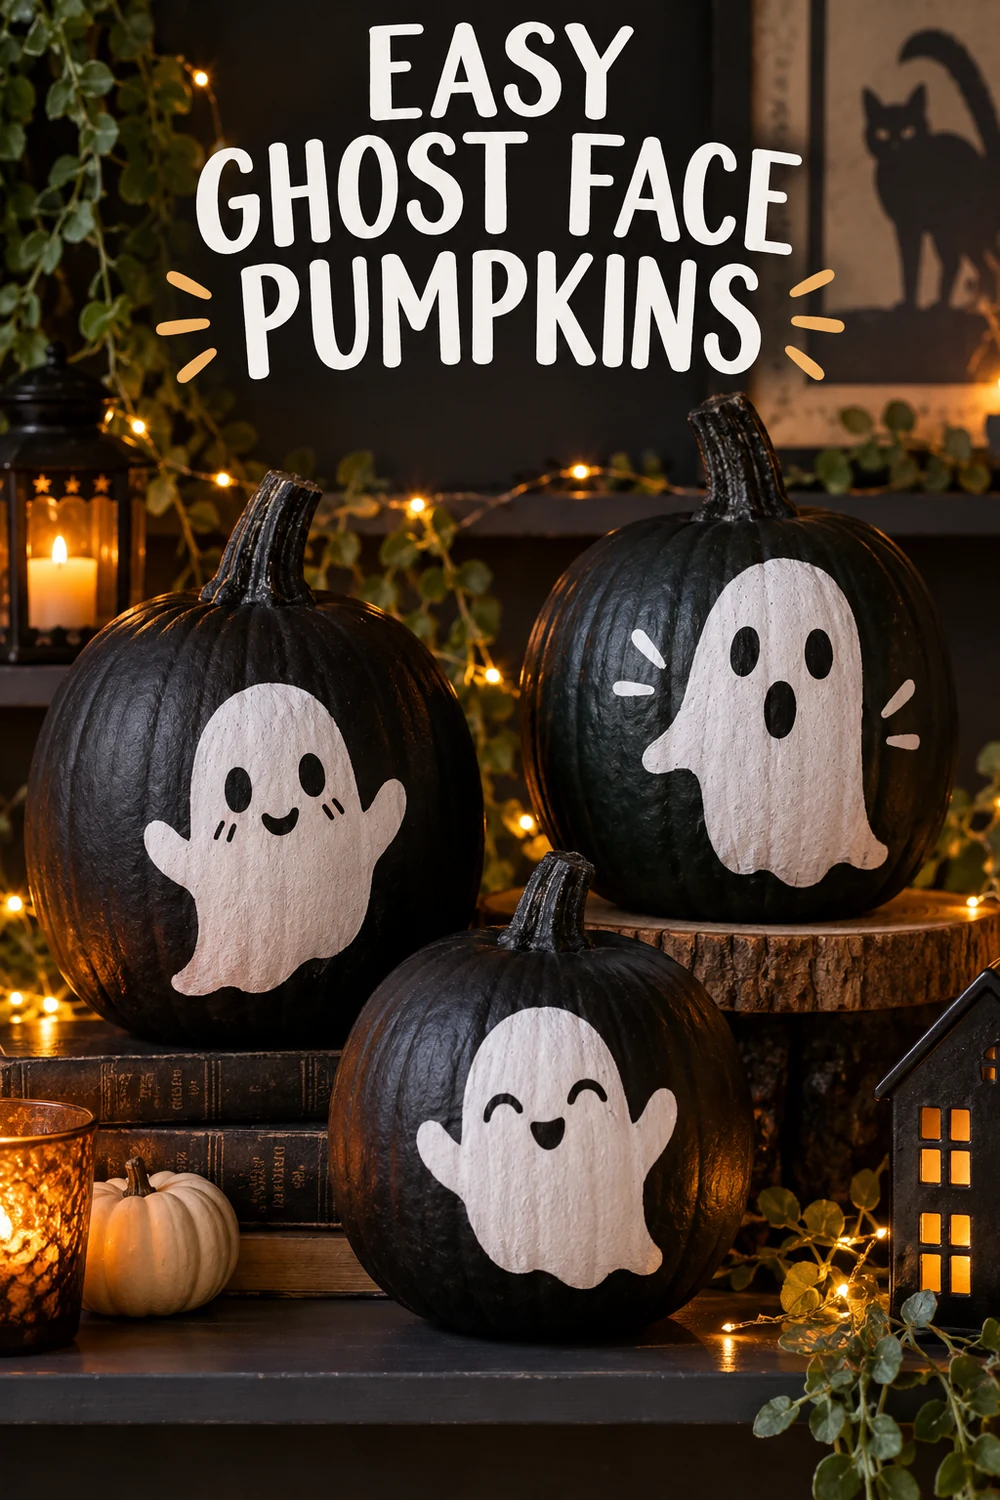
5. Paint Simple Ghost Faces With a White Paint Pen
You do not need to draw well to make a good ghost face. Two tall ovals for eyes and a small round mouth is all it takes. Use a white acrylic or oil based paint pen on a dark pumpkin, ideally black or deep green, so the white stands out. Keep your hand loose and let the pen do the work. Faces worth trying:
- Sleepy, with two curved lines for closed eyes
- Surprised, with a big open O mouth
- Grumpy, with slanted brows and a flat mouth
Sketch the face on paper first to find a shape you like.
Shake the pen and test it on a scrap before touching the pumpkin.
Pressing hard on bumpy ribs, which makes the line skip.
Adding lots of tiny details that vanish from a few steps away.
6. Add a Monogram Letter With Stick On Vinyl
The usual mistake with a monogram pumpkin is making the letter too small. Go big. A letter about a third of the pumpkin’s height reads clearly from the path, while a tiny one gets lost in the curve. Pick a smooth patch on the front and choose a colour that contrasts with the skin, like black on a white pumpkin or white on a dark one. Stick on vinyl from a craft shop is quicker than paint and leaves no drips. Where a monogram earns its place:
- One family initial on each side of the front door
- Mini pumpkins with guest initials as place cards at the dinner table
- A single letter in the middle of a mantel display
💡 Quick Tip
Warm the vinyl briefly with a hairdryer on a low setting before you press it on. It softens and follows the curve of the pumpkin without creasing.
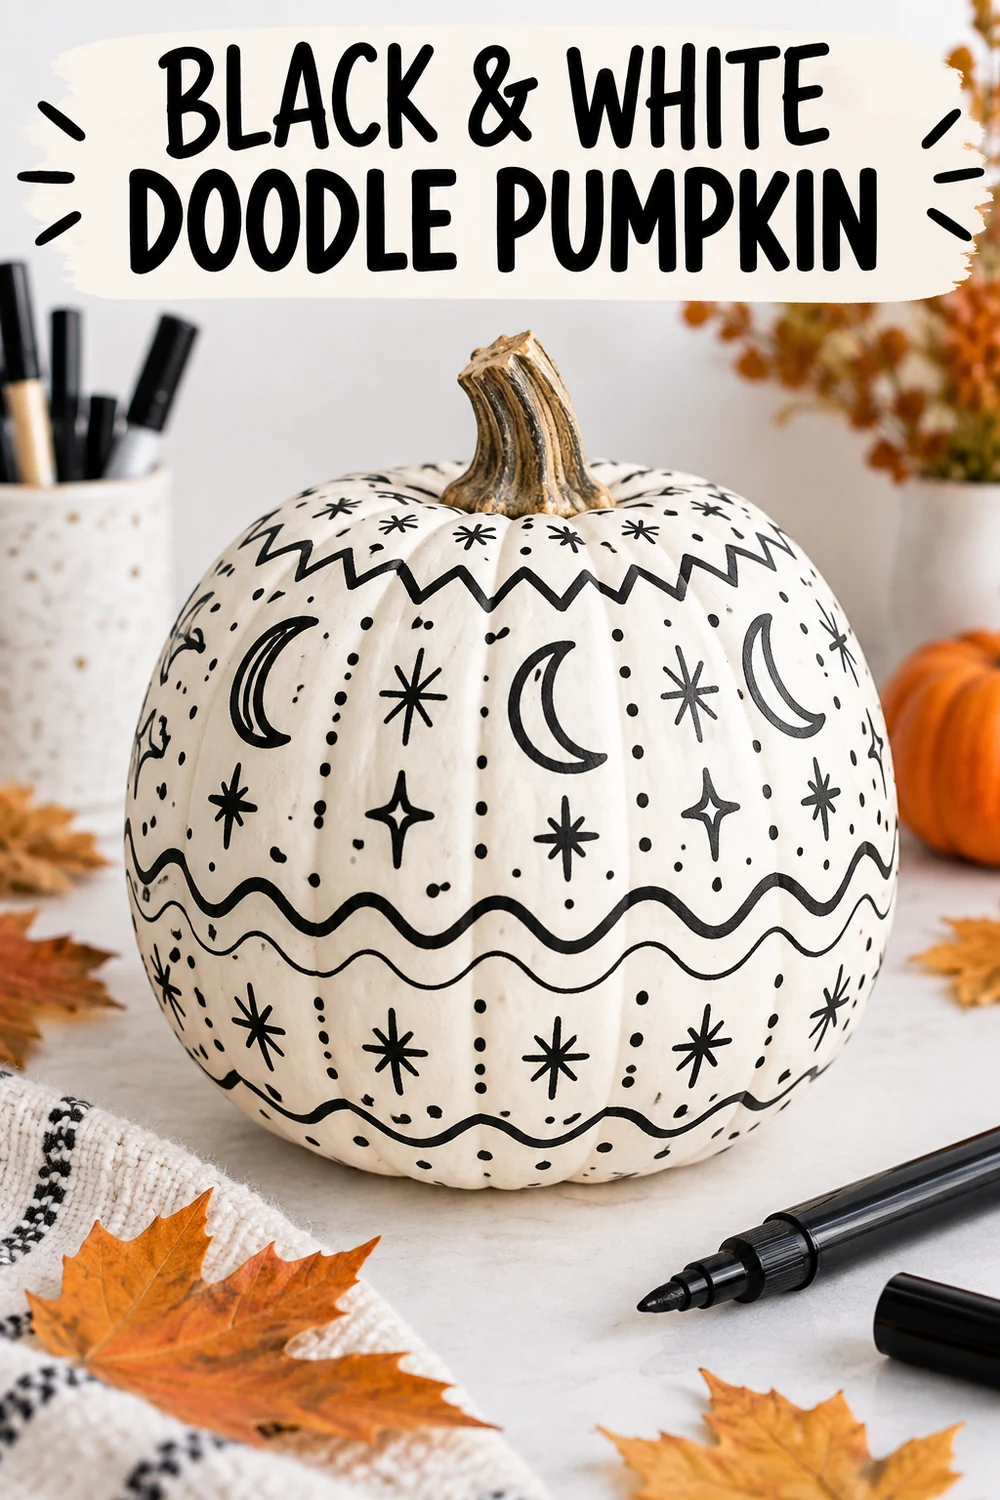
7. Doodle a Pattern All Over a White Pumpkin
Tiny triangles, dots and wavy lines all get along on the same white pumpkin. A fine tip black marker or paint pen is all you need. Start with one band around the middle and fill it with a pattern. Add another band above or below in a different pattern, and leave a few blank stripes so it does not feel crowded. Only have an orange pumpkin? Paint it white with a coat or two of acrylic and let it dry first. Easy patterns to repeat:
- Zigzags and chevrons
- Rows of dots
- Small moons and stars
- Criss cross lines like a net
A plain white pumpkin that blends into a pale wall and gets ignored.
Bands of black doodles that stand out as a graphic print, even from across the street.
8. Decoupage Napkins for a Printed Pumpkin
Decoupage sounds fussy, but it really is just gluing paper to a pumpkin. Take a printed paper napkin and peel off the plain layers underneath, so only the thin printed layer is left. Brush a thin coat of decoupage glue onto the pumpkin, lay the napkin on, and smooth it outwards with your fingers. Finish with one more coat of glue over the top to seal it. Three habits that save frustration:
- Cut the napkin into smaller pieces, because one big sheet wrinkles on a round shape
- Work from the middle of each piece outwards
- Let the glue dry fully before you move the pumpkin
| Paper napkins | Tissue paper |
|---|---|
| Printed patterns in plenty, from bats to florals. | Mostly solid colours, good for colour blocking. |
| Thin and easy to smooth once the plain layers are peeled off. | Very thin from the start, so it tears if you rush. |
| Best for a bold, printed look. | Best for a soft, layered, watercolour look. |
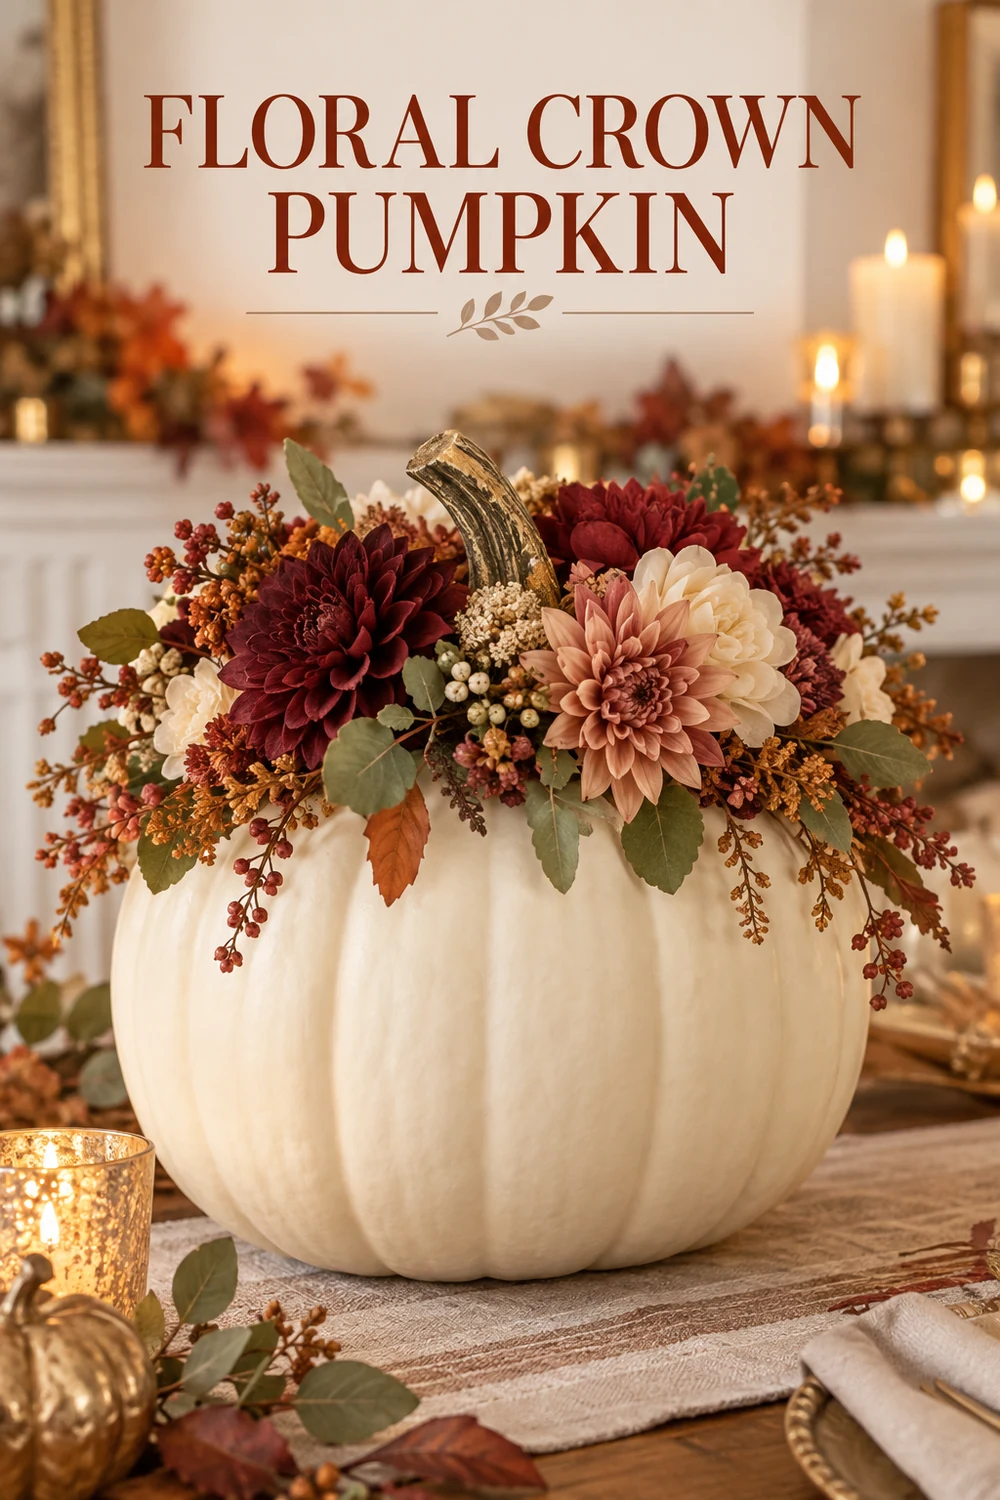
9. Glue a Faux Flower Crown Around the Stem
One glued crown of faux flowers turns a pumpkin into a centrepiece. Choose autumn colours that suit your room, such as rust, cream, deep red or dusty pink. Cut the stems short with wire cutters, then glue the blooms around the base of the pumpkin stem. Tuck small leaves and berries into the gaps to soften the edges. A crown on a white pumpkin looks light and fresh, while the same crown on a dark one looks moodier. Flowers that hold their shape:
- Faux dahlias and ranunculus
- Dried grasses in soft neutrals
- Small berry sprigs
Glue the biggest bloom first, then build the crown outwards with smaller flowers. It keeps the shape balanced and hides the glue.
10. Give Them Googly Eyes and Felt Faces for Kids
Small hands, a table covered in newspaper and a bowl of googly eyes is about all this one needs. Let each child pick a face. Felt shapes stick well to smooth skin with tacky craft glue, and the googly eyes go on last so nothing slides while the glue is wet. Felt features worth cutting out ahead of time:
- Triangle ears for a cat or a bat
- A zigzag mouth for a monster
- A big round nose for a scarecrow
Pre cutting the shapes keeps the messy part short.
⚠️ Watch Out
Hot glue guns get hot enough to burn. Use tacky craft glue or double sided tape with children, and keep the glue gun for adults. Googly eyes are also a choking risk for toddlers.
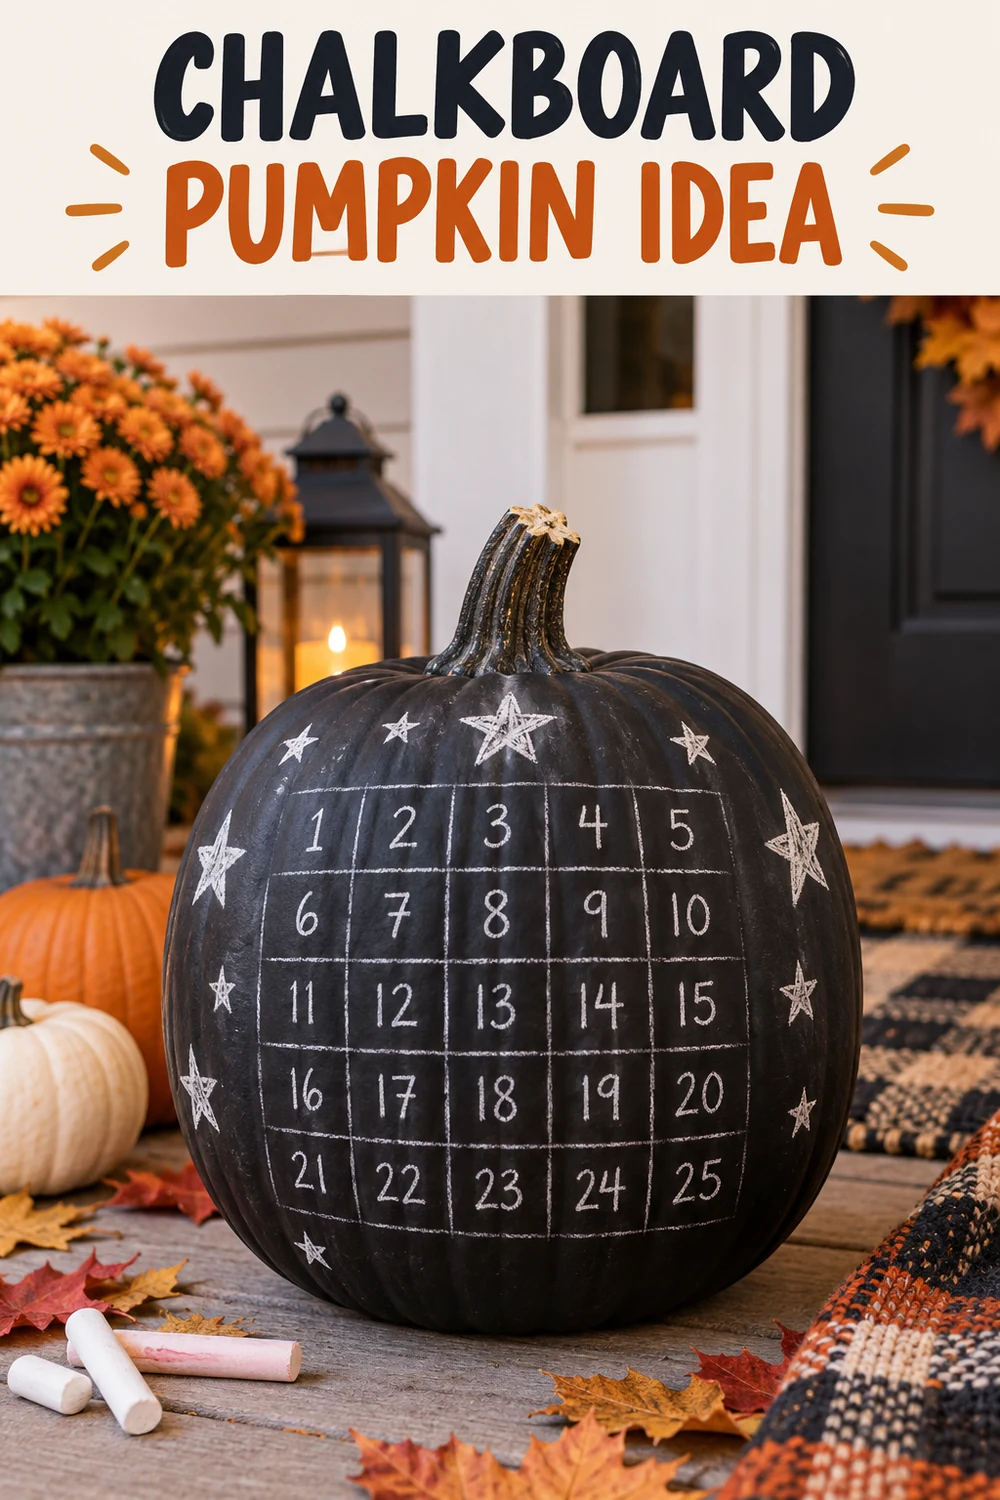
11. Paint One Pumpkin With Chalkboard Paint
A chalkboard pumpkin is never really finished, and that is the best part. Brush on two or three thin coats of chalkboard paint, letting each one dry before the next. Check the tin for how long it needs to cure, then rub the whole surface lightly with the side of a chalk stick and wipe it clean. That first rub stops your first drawing from leaving a ghost mark. Things to chalk on:
- A new spooky word each day, like BOO or EEK
- A countdown to Halloween night
- A tally of trick or treaters at the door
12. Stamp Real Leaves Onto the Skin With Craft Paint
Leaf veins make surprisingly good patterns, and the garden supplies them for free. Pick flat, sturdy leaves with strong veins, like maple or oak. Very dry leaves crumble and very wet ones smear, so gather them on a dry day and use them soon after. Craft paint in white, gold or deep red looks striking on a pumpkin of a different colour. Two or three leaves in a loose cluster look better than a full coverage print.
Dab a thin, even layer of paint onto the veined side of the leaf with a sponge or soft brush.
Press it paint side down on the pumpkin, lay a piece of kitchen paper on top, and rub gently with your fingers.
Peel the leaf back slowly from one corner so the print does not smudge.
Use a fresh leaf for each print, then leave the pumpkin somewhere flat to dry.
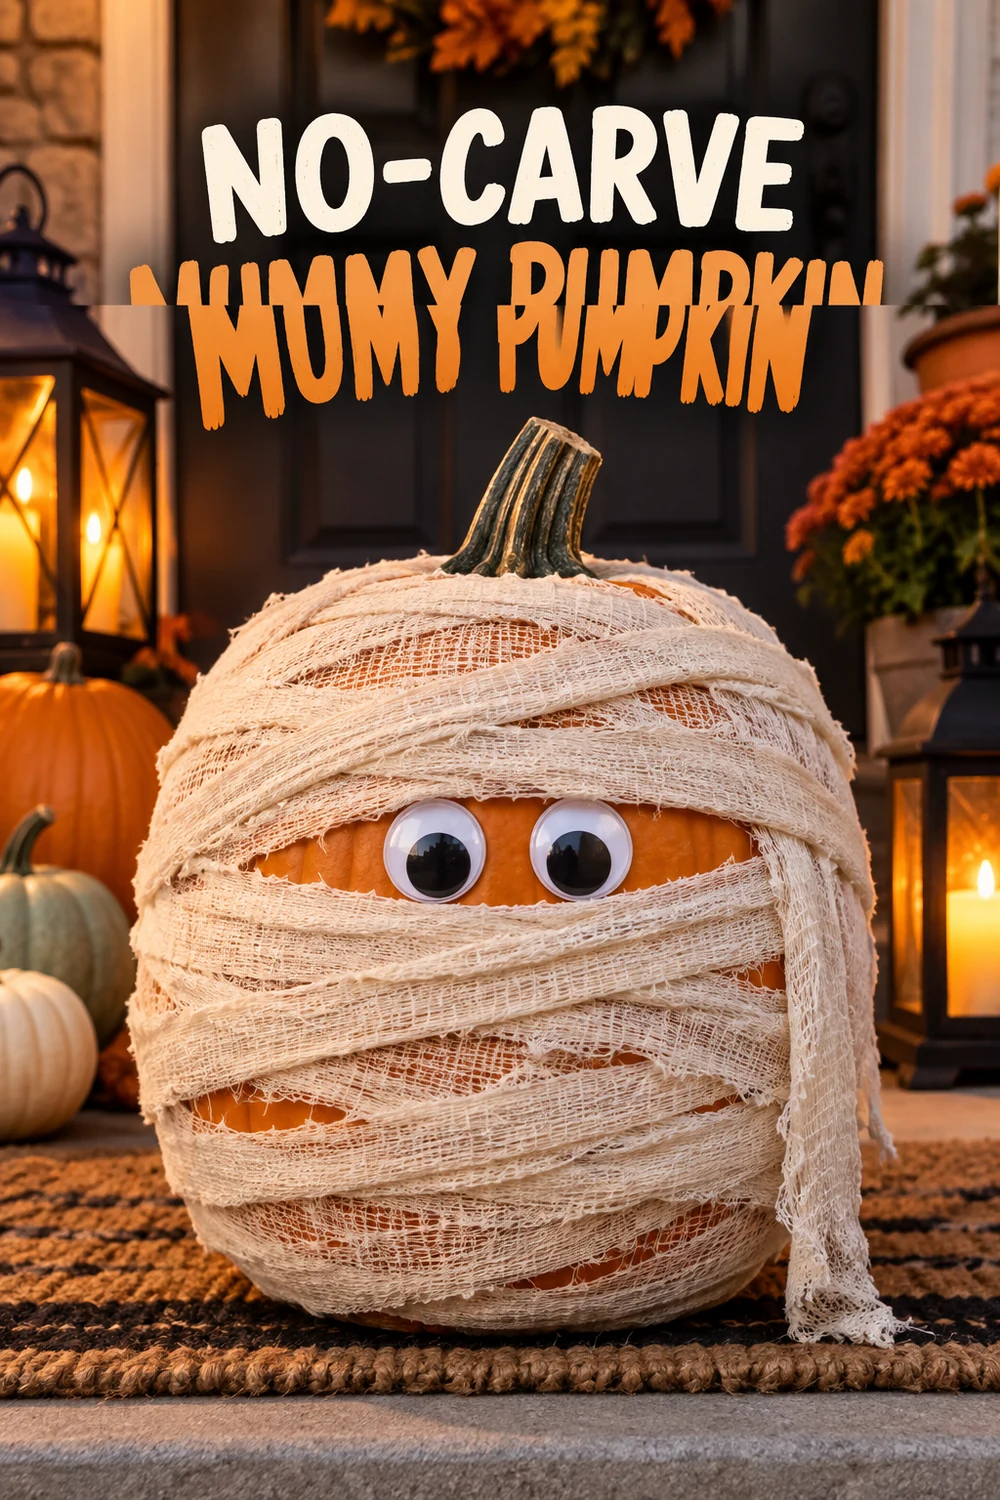
13. Wrap a Pumpkin in Cheesecloth to Make a Mummy
Tight or loose? Both make a good mummy, they just feel different. Tear strips of cheesecloth by hand, then wrap them around the pumpkin, overlapping at odd angles. Dab glue every few wraps and leave a gap across the middle for the eyes. If you want an aged look, soak the strips in a cup of strong cold tea first and let them dry. Tuck the last strip under the others and glue it down, so the end does not flap in the wind.
14. Stretch Black Yarn Into a Spider Web
The most common mistake with a web pumpkin is starting with the rings. Spokes come first. Glue eight lengths of black yarn from the stem down to the base, so they act as the frame. Then spiral a single strand around the pumpkin, working outwards from the stem and dabbing glue where it crosses each spoke. The rings only need to be roughly even, since real webs are not tidy either. Finish with a plastic spider at the edge. Small clothes pegs can hold the spokes in place while the glue sets.
What to grab first
15. Group Pumpkins by Colour Story, Not by Size
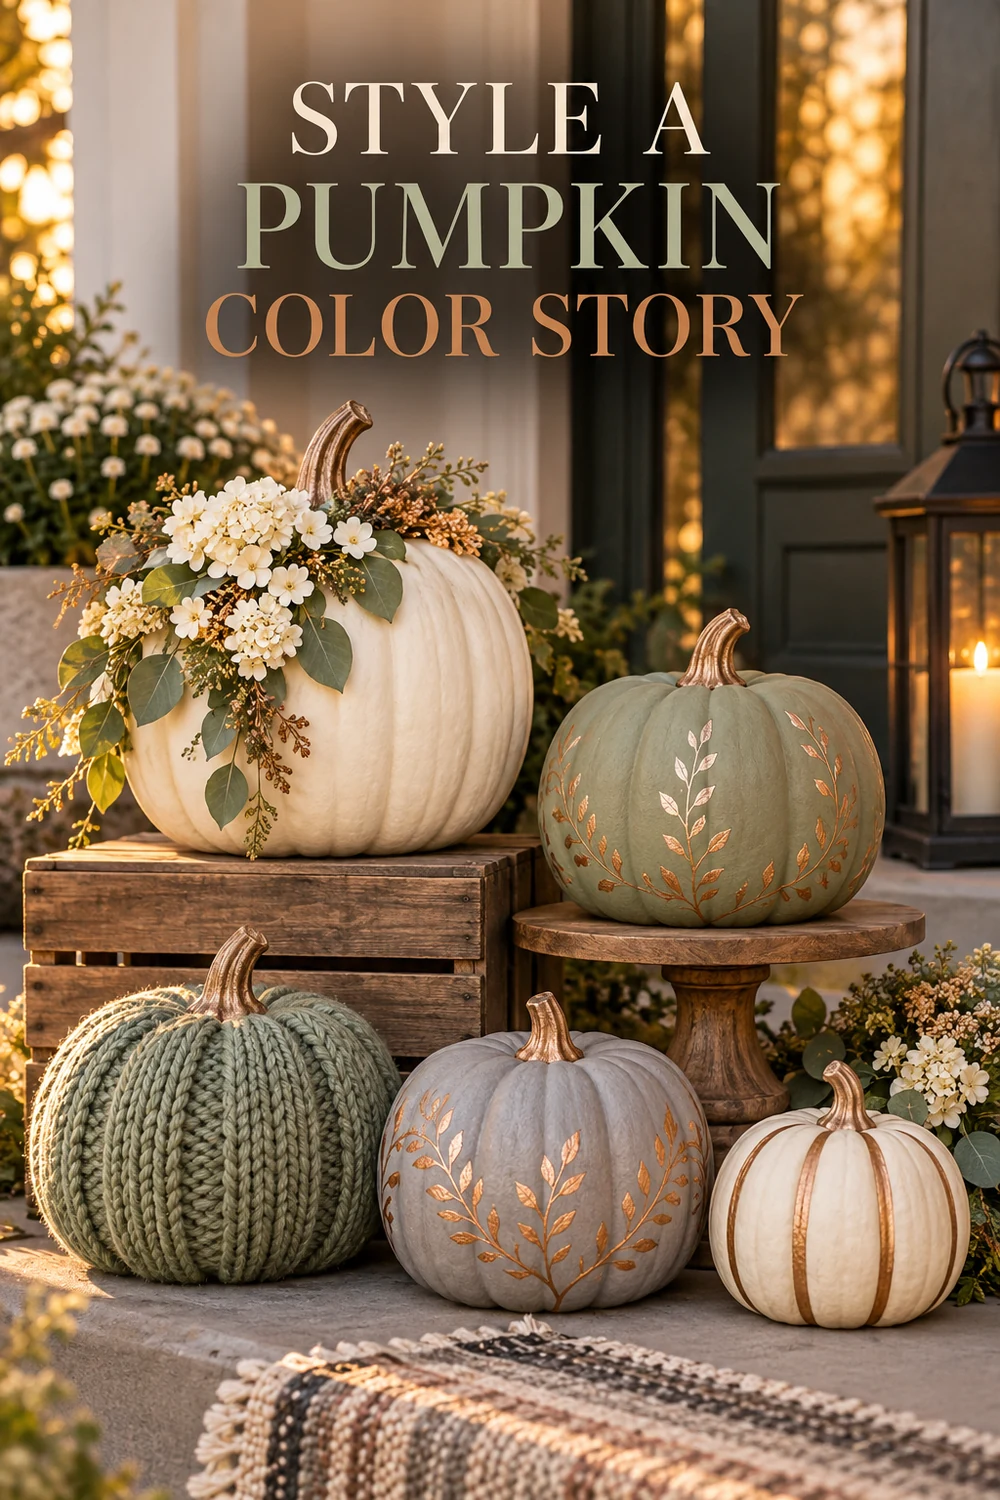
Stick to three colours and the display will look planned, even if your pumpkins came from three different shops. Take the pumpkins you have finished from this list and sort them by colour instead of by size. Then set them at different heights, using a cake stand, a wooden crate or an upturned bucket under a cloth. Odd numbers usually look best, so three or five pumpkins beats four. Colour stories to borrow:
- Harvest: rust, gold and cream
- Moody: black, deep plum and copper
- Soft: white, sage and grey
Pumpkins in every colour and finish, lined up on one step, all competing for attention.
The same pumpkins sorted into one colour story and stacked at different heights, so it reads as one display.
Pick Three and Start This Weekend
Skipping the knife does not mean settling for a boring pumpkin. A strip of tape, a dab of gold paint or a length of yarn can do the job, and you keep your fingers, your kitchen and your evening. Start with the idea that matches the supplies already in your drawer. Once the first pumpkin is done, the next ones come faster, and these Halloween pumpkin decorating ideas start to feel like your own.
If you want more seasonal inspiration, explore our cute Halloween decorating ideas for your home and these easy Halloween crafts for kids.
Save this list to your Halloween board, so it is waiting the next time you are standing in the craft aisle with no plan.