
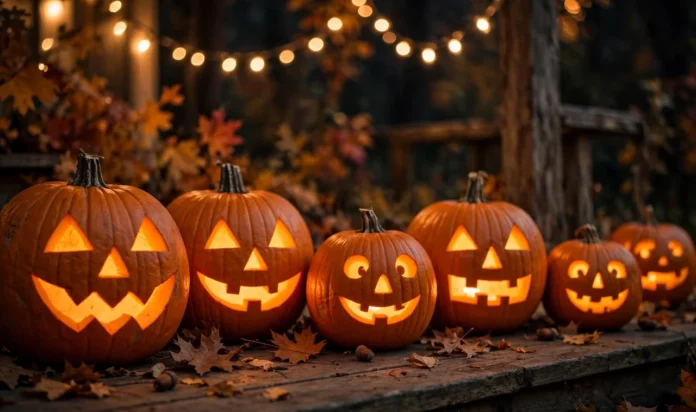


Beginner carvers make one classic mistake. They pick a design that looks simple in a photo and turns out to need surgeon hands.
The designs that actually look impressive are the ones built on bold shapes and smart shortcuts. Thick lines glow better. Big cutouts read from the street. And a few tricks, like drilling instead of sawing, make hard looks easy.
This list of pumpkin carving for beginners sticks to techniques anyone can learn in one sitting. Every idea below tells you exactly what to draw, what to cut, and the shortcut that makes it look harder than it is. You will need a basic carving kit, a marker, and about thirty minutes per pumpkin. For even simpler projects, browse our easy pumpkin-carving ideas.
1. The Big Grin Jack-o’-Lantern
Oversized triangle eyes and a grin that stretches nearly ear to ear. Going bigger is the beginner’s secret weapon, because large shapes are easier to cut and glow brighter.
Sketch the grin first and make it wider than feels right. Bold always photographs better than timid. Cut the mouth as one zigzag piece instead of individual teeth; it pops out cleaner and looks sharper. If the grin looks too wide on paper, it is probably just right on the pumpkin.
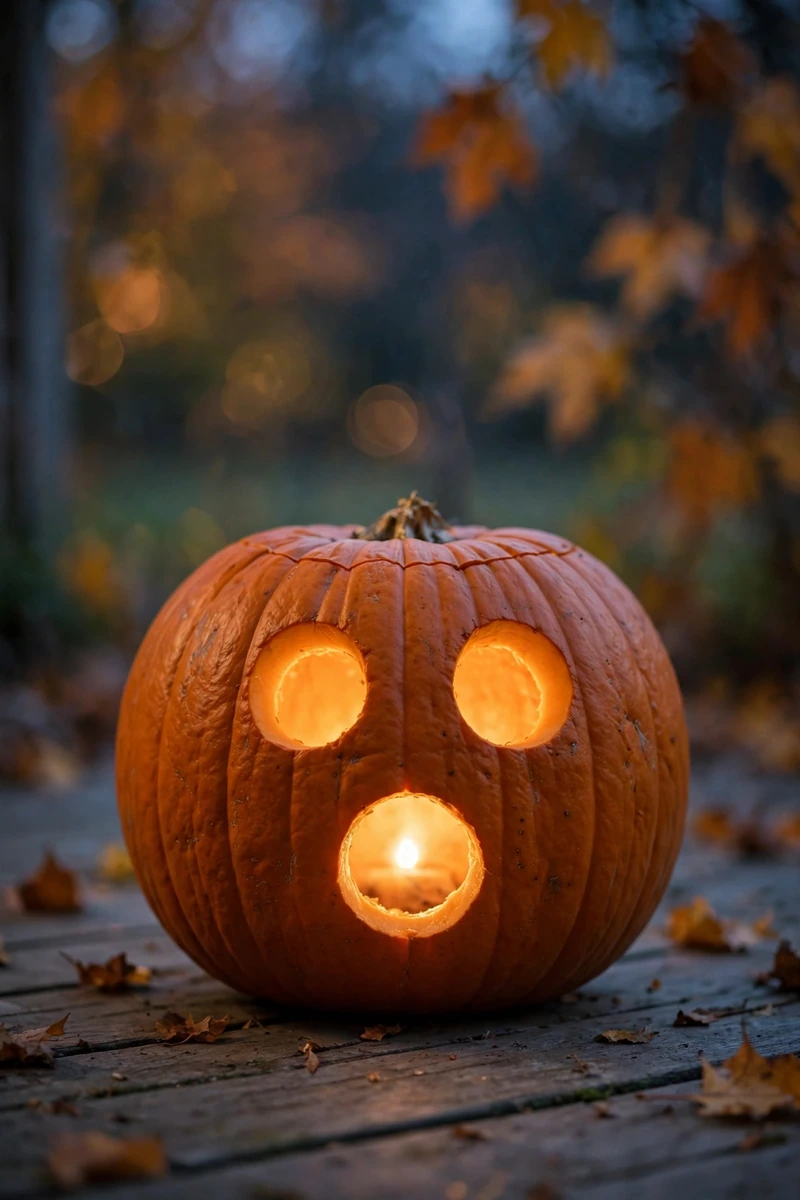
2. Circle Eyes and Round Mouth
Two perfect circles for eyes and one for a surprised mouth. It looks like a cartoon character and the geometry does all the work.
Trace circles with jar lids in two sizes. Round holes pop out cleanly with a gentle push from inside. Space the eyes wide apart for a goofy look or close together for surprise. This is the best first pumpkin for anyone who has never held a carving saw.
💡 Quick Tip
Cut circles slightly smaller than drawn. The saw eats a little width, and snug holes look sharper.
3. Diamond Band Around the Middle
A ring of diamonds circling the pumpkin like a belt. Straight lines only, and the repetition makes it look professionally planned.
Wrap tape around the middle as a guide, mark even diamonds, then cut. Alternate solid and hollow diamonds for rhythm. Count your diamonds before cutting so the pattern meets evenly at the back. Twelve diamonds is a good number for a medium pumpkin.
4. Crescent Moon Cutout
One large crescent moon, cut as a single piece. Minimal cutting, maximum drama, especially on a tall pumpkin.
Draw the crescent using two overlapping bowl tracings. Saw slowly along the curves and lift the piece out whole. Add two tiny star dots nearby and the whole sky comes alive. Tall, narrow pumpkins show off this design best.
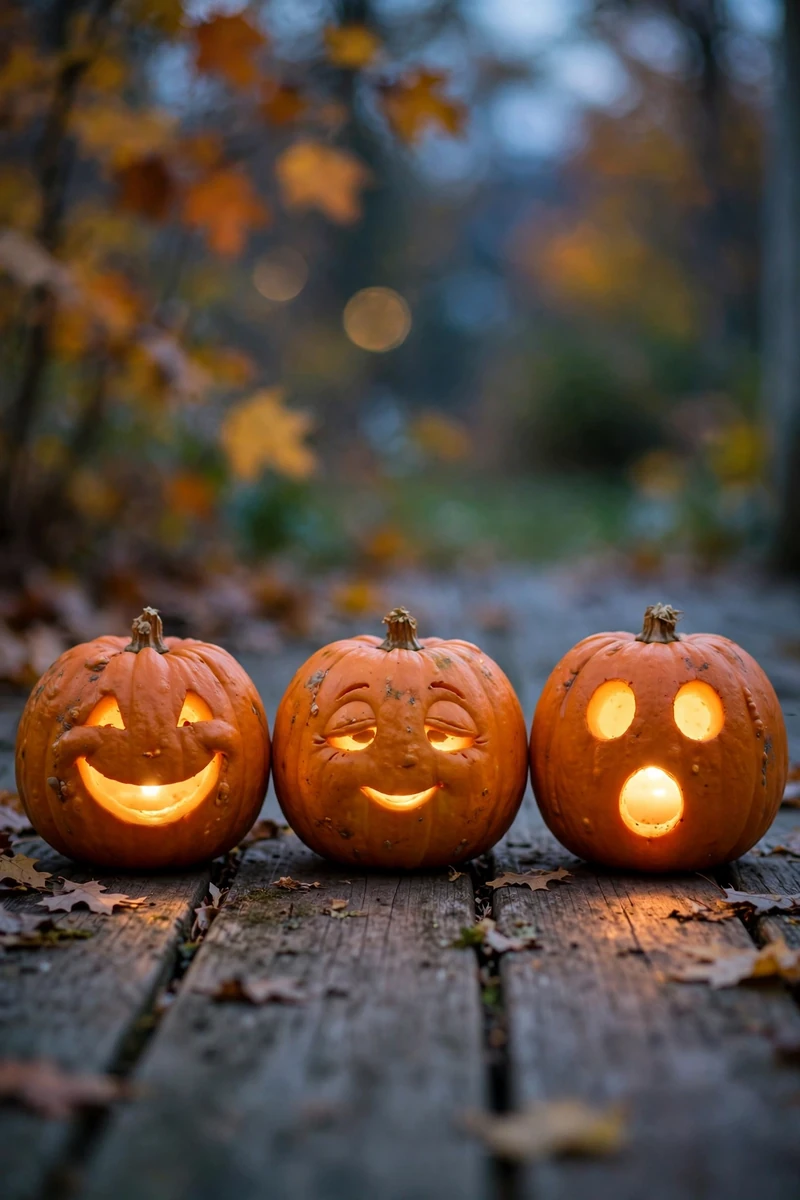
5. Three Mini Pumpkins, Three Faces
Small pumpkins are beginner gold. Carve a happy, a sleepy, and a surprised face across three minis and group them together.
Minis have thin walls, so a simple paring saw glides through. They also dry out slower than big ones. Carving with little ones? Our pumpkin-carving ideas for kids keep the whole family busy. Arrange them in a triangle cluster by the door for the best effect. Each one takes about ten minutes, so the whole trio is faster than one big carve.
6. Spiral Swirl
A single spiral winding from the top down. It looks hypnotic lit up, and it is one continuous cut.
Draw the spiral with a steady hand, keeping the line width even. Follow it slowly; the saw wants to wander on curves. Start the spiral at the top center and wind outward for the cleanest path. If the line wobbles, it just looks more hand-drawn and charming.
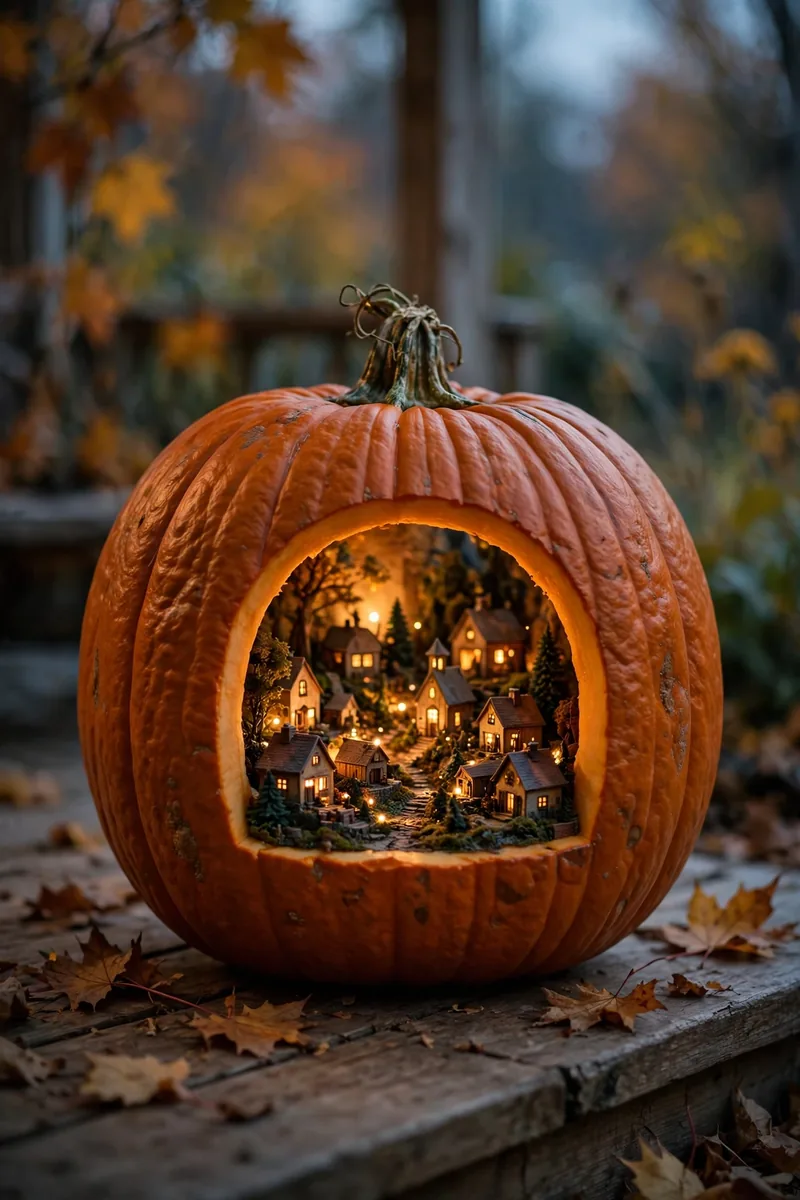
7. Window Diorama Pumpkin
Cut a big arched window in the front and place a tiny scene inside: a tea light village, a toy tree, anything small.
The carving itself is just one arch shape. The “impressive” part is the five-minute scene you set behind it. A battery tea light plus a miniature pine tree from a craft store is all it takes. Guests will assume it took hours, and you do not have to correct them.
What to grab first
8. Constellation Dots
Poke or drill small holes in the pattern of a real constellation, then label it with a tiny carved star. Nerdy and gorgeous.
Print a simple constellation map, tape it on, and poke through the dots. Orion is the easiest to recognize. In a dark yard, the glowing dots genuinely look like the night sky. Cassiopeia’s W shape is another easy win.
9. Crow on a Branch Silhouette
A perched crow shape with a branch line under it. Silhouettes hide shaky cutting because the eye reads the overall shape.
Draw the crow as a fat teardrop with a beak triangle and tail lines. Cut it as one connected piece. Keep the branch thick enough to anchor the bird visually. A tiny carved moon above completes the moody scene.
10. Dot Gradient (Big to Small)
Rows of drilled dots shrinking from large at the top to tiny at the bottom. It looks like a designer pattern but it is just holes.
Use three drill bit sizes and work top to bottom. The gradient effect does the visual heavy lifting. Mark your rows with tape so the spacing stays even. Five rows is plenty; more gets fiddly.
11. Ghost Family Row
Three ghost shapes in a row, big to small, like a family. Repetition makes simple shapes look intentional and charming.
Draw all three before cutting any. Keep the spacing even and the sizes stepping down clearly. Give each ghost a slightly different mouth for personality. A tall dad ghost, medium mom ghost, and tiny baby ghost tells a story.
Sketch the row lightly with a dry-erase marker.
Cut the largest ghost first, then work down in size.
Light it and step back ten feet. That is the real test.
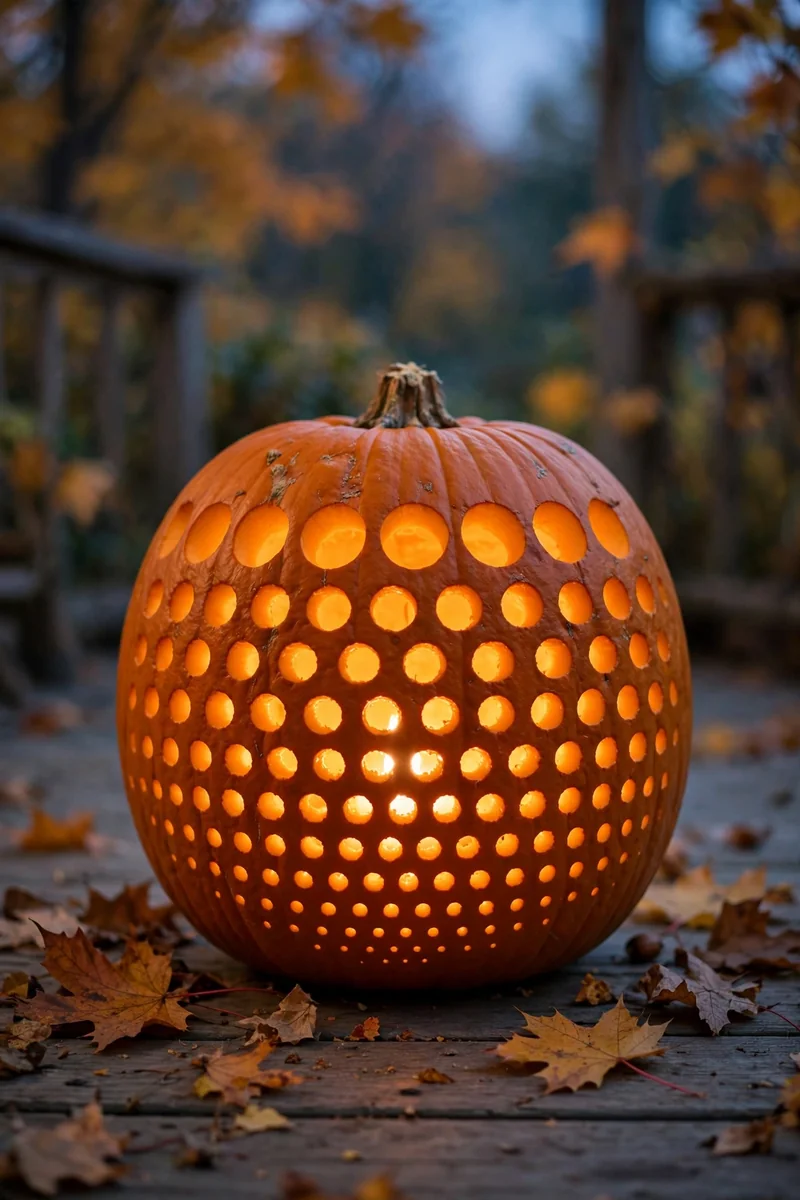
12. Drill-Dot Lantern
Cover the pumpkin in drilled dots of mixed sizes, no sawing at all. It looks like a Moroccan lantern when lit.
This is the lowest-skill, highest-reward idea here. A drill and five minutes beat an hour of sawing. Cluster dots tighter near the top for a natural glow gradient. No two lanterns look alike, which is part of the charm.
13. Leaf Garland Ring
A ring of simple leaves circling the pumpkin. Nature patterns forgive imperfection because leaves are naturally irregular.
Draw leaves freehand, varying the tilt. Scrape the centers thin instead of cutting through for a soft glow. Overlap a few leaves so the ring feels woven. Seven or eight leaves circle a medium pumpkin nicely.
14. Wide Owl Eyes
Just the eyes: two enormous circles with smaller carved pupils. A pumpkin that is all eyes looks startled and hilarious.
Make the eyes comically large, half the pumpkin’s face. Small pupils inside sell the surprised look. Skip the beak entirely; eyes alone are funnier. This one gets the biggest laugh of any design here.
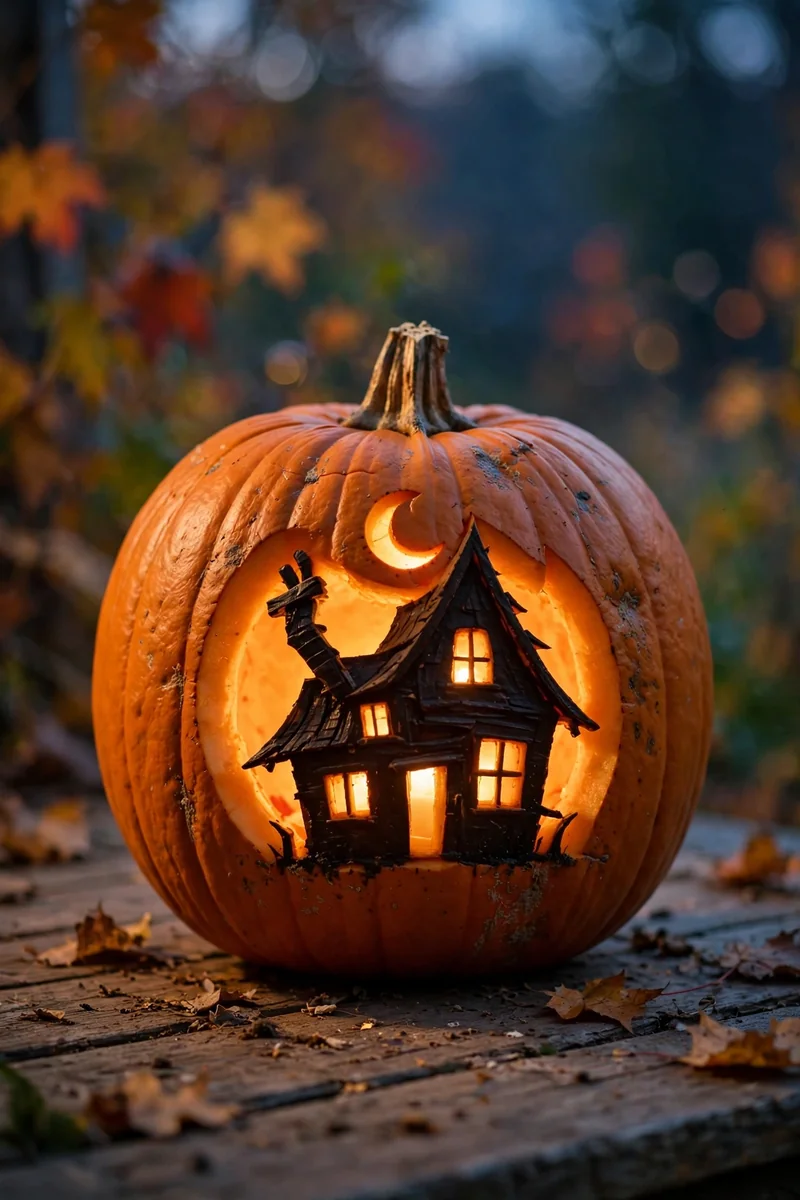
15. Haunted House Silhouette
A crooked house with lit windows and a moon above it. Four shapes tell the whole Halloween story.
Cut windows fully, keep walls solid. Crooked lines look spookier than straight ones, which helps beginners. Lean the whole house slightly for extra haunted charm. A crooked chimney seals the deal.
Draw the whole design before making a single cut.
Cut the smallest details first while the wall is strongest.
Do not start cutting without a drawn guide. Freehand sawing wanders.
Do not carve the lid too small. Your hand needs room to place the light.
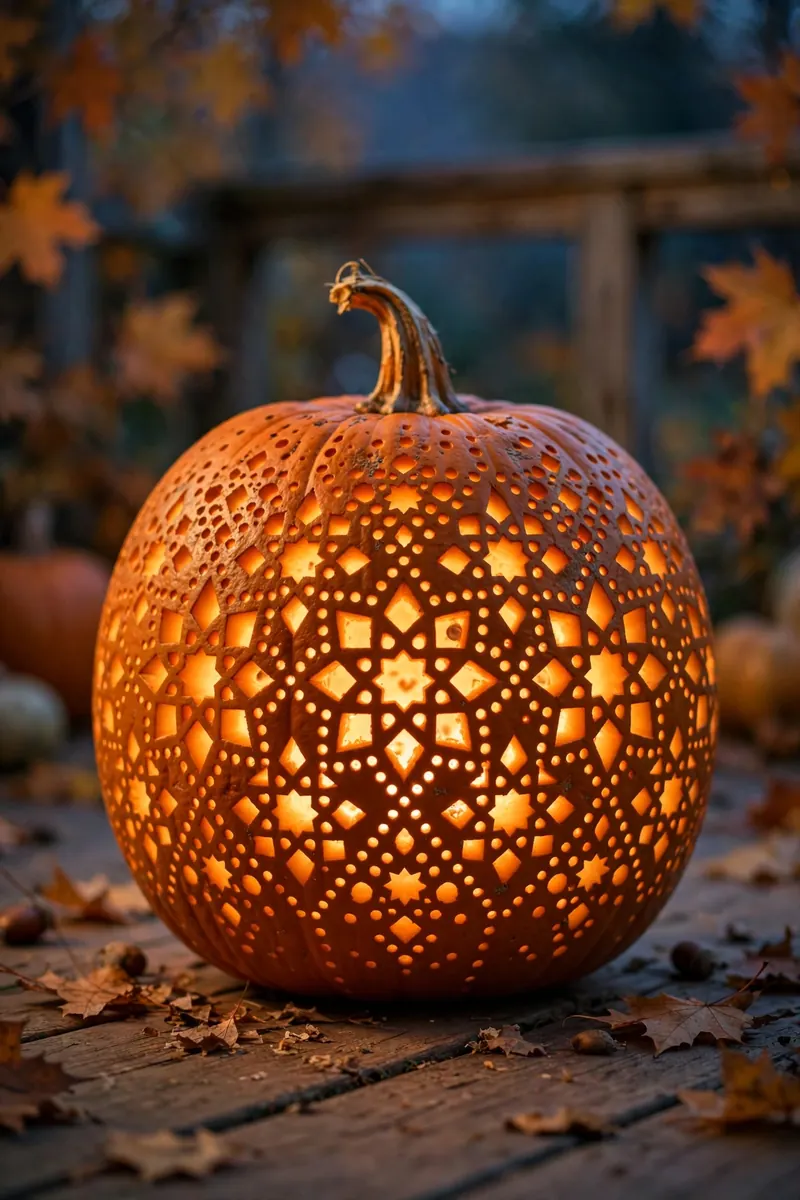
16. Heart Cutout
One big heart in the center. It is sweet, simple, and the thick walls around it keep everything sturdy.
Fold a paper heart in half, cut it, unfold for symmetry, then trace. Symmetry is the whole trick. Center it carefully; a lopsided heart loses its charm. This is the safest gift pumpkin for a neighbor.
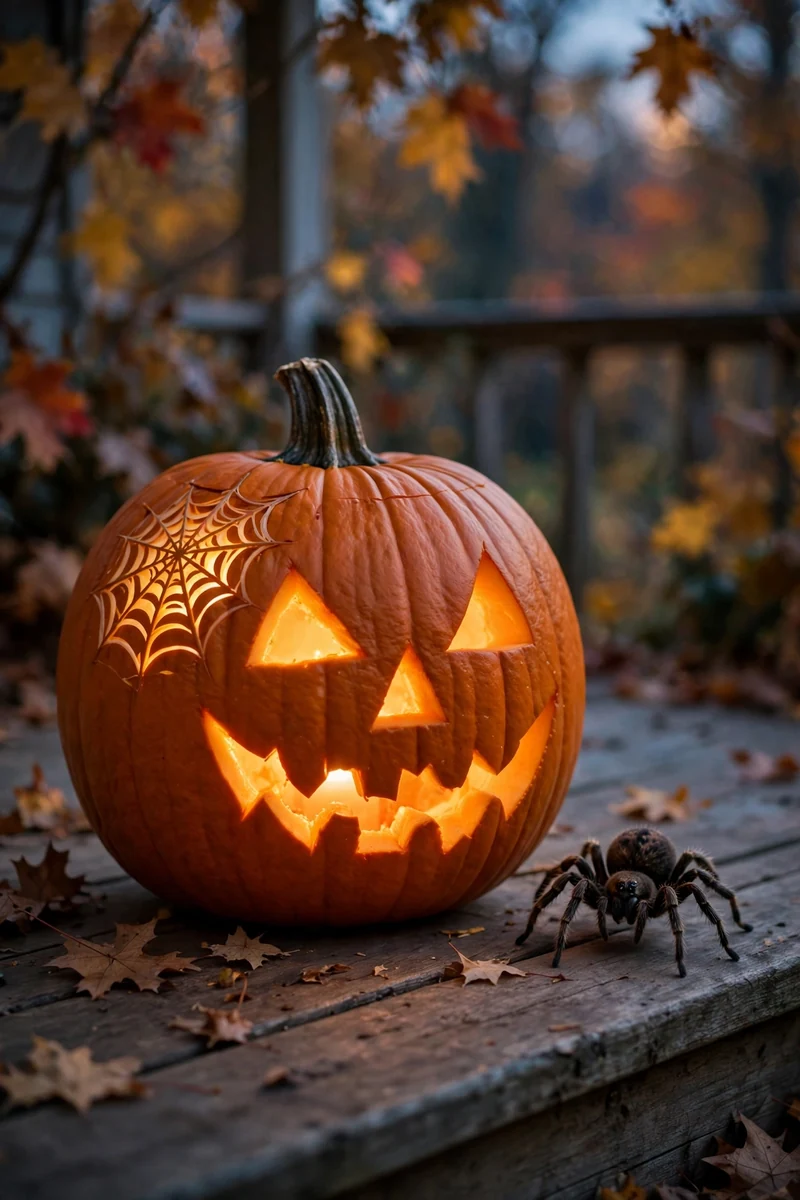
17. Spider and Web Combo
A small web in the corner plus a chunky spider with eight bent legs. The spider’s charm covers any wobbly web lines.
Draw the spider as a round body with leg zigzags. Cut the body fully, web lines thin. Give the spider a goofy smile and it becomes cute instead of creepy. Kids vote this one the favorite.
18. Flying Bats Band
A horizontal band of five bats in a row, shrinking toward the edges. It reads as motion, which always impresses.
Draw the center bat largest. Each bat is two wing arcs; keep them connected to the band line. The shrinking sizes create a sense of distance. It looks like the bats are flying right past your porch.
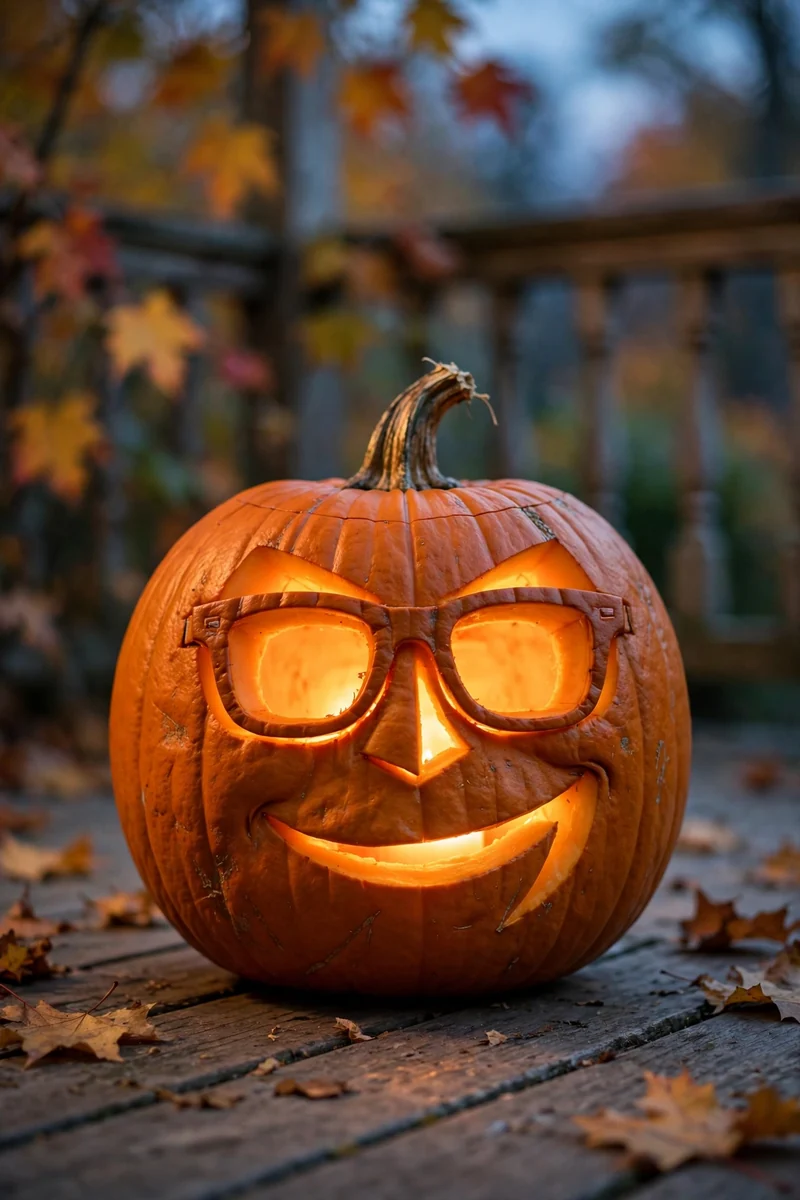
19. Cool Sunglasses Face
A chill face wearing carved sunglasses. The glasses are two rounded rectangles with a bridge, pure confidence.
Cut the glasses as one connected shape with a thick bridge. Add a smirk below for personality. This pumpkin has main-character energy. It is the one guests photograph.
Impressive does not mean intricate. It means bold, clean, and lit well. Cut big, cut confident, light bright.
20. The “Scaredy” Face
Wide eyes, wavy mouth, eyebrows raised. It looks frightened of its own candle, and guests always laugh.
Asymmetry helps here. One eyebrow higher than the other sells the panic. Finish with a tea light flicker. Place it next to a brave-faced pumpkin for a comedy duo.
Twenty ideas, and not one of them needs steady surgeon hands. The pattern is simple: draw first, cut big shapes, let the light do the showing off. Pick two or three, carve them the weekend before Halloween so they are fresh, and pair them with our Halloween crafts for preschoolers for a full craft weekend. and remember that a wobbly line in daylight becomes character at night. That is the real beginner secret. These pumpkin carving for beginners ideas prove that impressive is a technique, not a talent.
📌 Save this for later: pin this list to your Halloween board before the pumpkin rush. You will want these ideas handy on carving night.