



Learning how to carve a Halloween pumpkin should feel like the best part of October, not a wrestling match with a vegetable. If your last attempt ended with the lid sinking inside, a torn cheek, or a face that caved in overnight, you are in good company. Most carving disasters come from a few small mistakes, and once you know what they are, they are simple to avoid.
This guide walks you through the whole job in order, from picking the right pumpkin to setting your glowing jack-o-lantern on the porch. Follow each step and you will finish with a clean, sturdy carve that holds its shape for days. You only need basic kitchen tools, and kids can join in on the safe parts while an adult handles anything sharp. If this is your very first time, our pumpkin carving for beginners ideas make a good warm-up before the real thing.
Honest numbers: plan on 60 to 90 minutes from start to glowing finish. Scooping takes the longest, a solid 10 to 15 minutes of real scraping. Carving itself rewards patience more than talent. Gather your tools first, work through the steps in order, and your pumpkin will be lit before the movie playing in the background is over.
🧰 What You Need
- 1 medium pumpkin: about 12 inches across, firm, with a flat bottom
- Serrated knife or pumpkin saw: a bread knife works if you own no carving kit
- Large metal spoon or ice cream scoop: for scooping and thinning the walls
- 2 large bowls: one for pulp, one for seeds worth saving
- Newspaper or a plastic tablecloth: to protect the table
- Marker: for drawing the lid line
- Paper design, tape, and a pin or nail: for the poke-dot transfer
- Flameless LED light: safer and longer-lasting than a candle
- Damp kitchen towel: for sticky hands and wiping the face clean
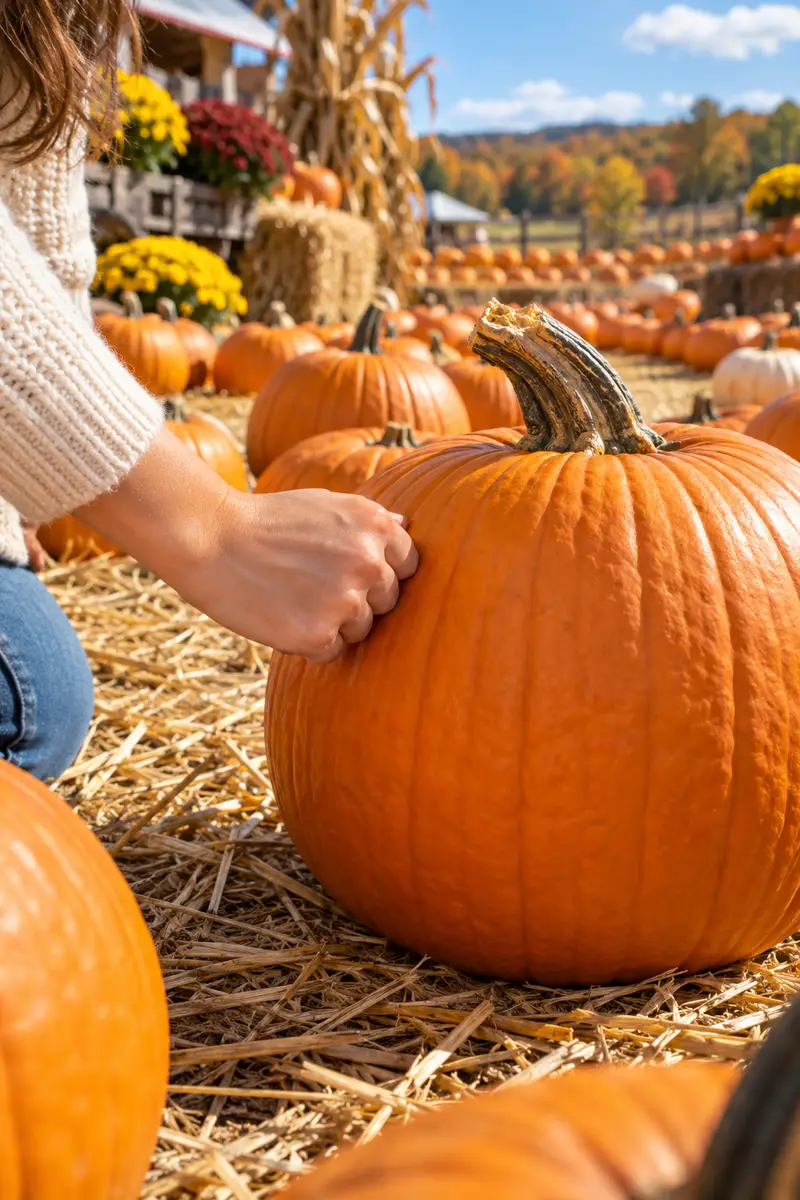
Pick a firm pumpkin with a flat bottom and thick walls
Thump the pumpkin the way you would a melon at the grocery store. A deep, hollow sound means the walls are on the thinner side, which carves more cleanly and lets more light through. Pass on any pumpkin with soft spots, dents, or a loose stem, because damaged skin breaks down fast once it is cut open. Choose one that sits flat without rocking and feels heavy for its size. A medium pumpkin, about 12 inches across, gives you plenty of room for a face without the long scooping session a giant one demands.
Line your table and set out two bowls
Pumpkin guts travel fast, so cover the table before anything else. Get these four things within arm’s reach:
- A thick layer of newspaper or a plastic tablecloth under the pumpkin
- One large bowl for the stringy pulp you scrape out
- A second bowl for the seeds you plan to roast later
- A trash bag on the floor beside the table for quick scraps
Keep a damp kitchen towel nearby too. Sticky hands smear marker lines and design paper, and you will want to wipe your fingers clean several times during the carving.
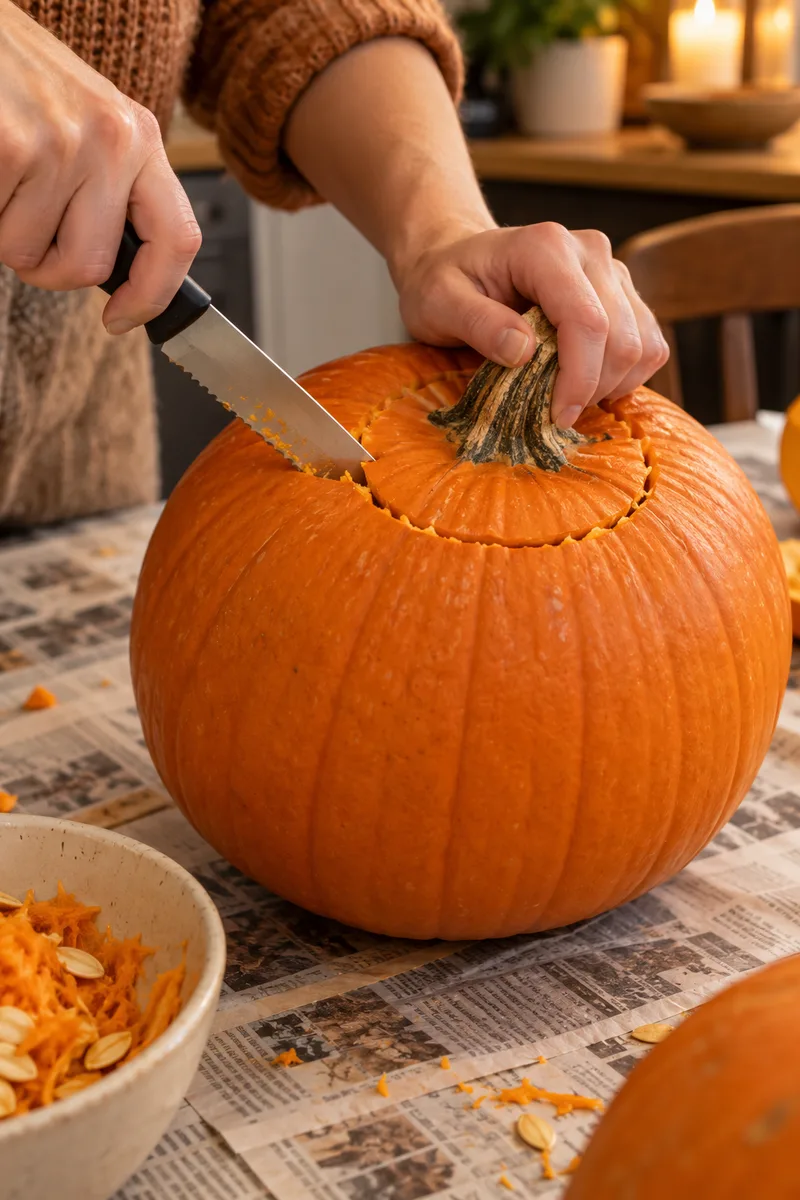
Cut the lid at a slight inward angle
Draw your cutting line first: a circle or hexagon around the stem, keeping about 2 inches of space from the stem on every side. Saw along the line with a serrated knife, tilting the blade at a 45-degree angle so the cut slants inward. That angle is the whole trick. It builds a ledge of flesh the lid rests on instead of letting it drop inside. Adults only for this cut, and keep your free hand well behind the blade. Wiggle the lid loose, lift it out by the stem, and set it aside.
Set the lid back on and check the fit
Before any scooping starts, press the lid back into its opening. It should sit level on the slanted ledge, with no rocking and no sinking. If it drops through, your cut was too straight, so re-saw the line with a steeper inward slant. If it rocks on one side, shave the high spot with the tip of the knife. Catching a bad fit now takes thirty seconds; fishing a sunken lid out of pumpkin guts later takes much longer and makes a bigger mess.
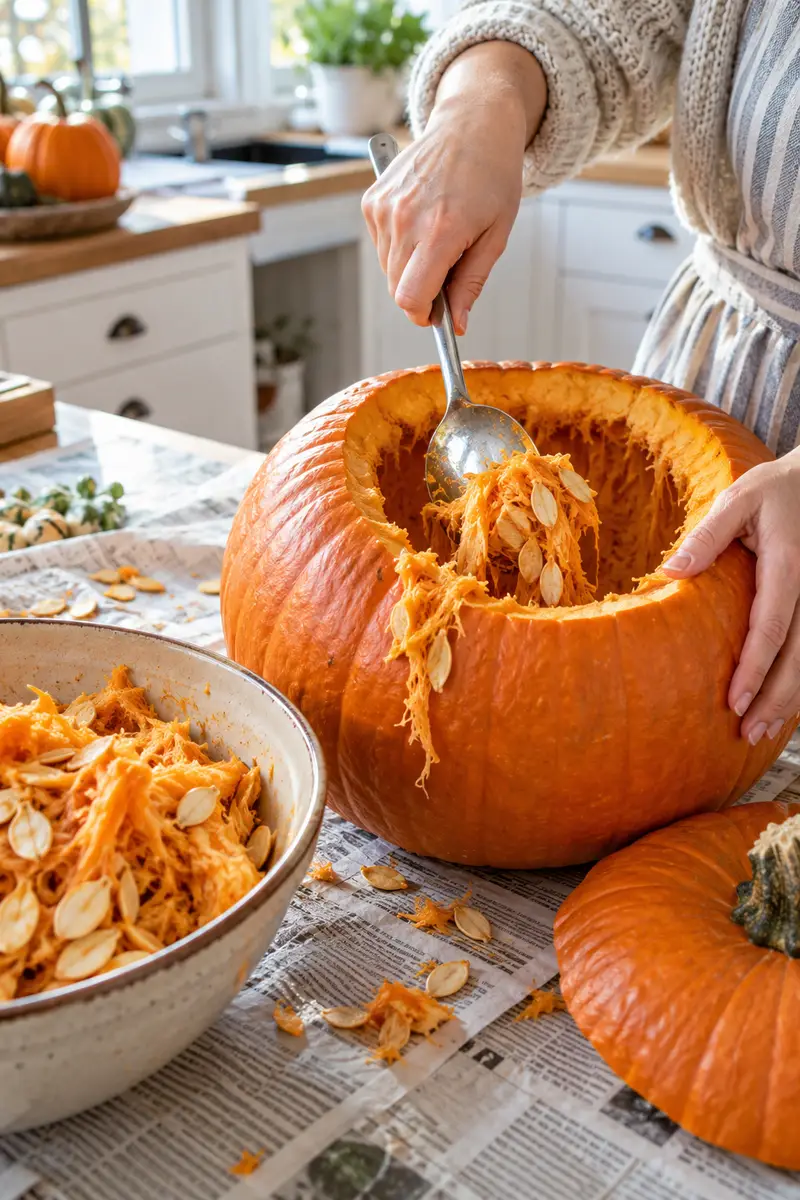
Scoop out the guts and thin the walls to 1 inch
Reach in with a large metal spoon or an ice cream scoop and scrape out everything: seeds, strings, and the stringy flesh on the walls. A flimsy plastic spoon bends and slows you down, so use metal. Dump the pulp into your scrap bowl, fishing out seeds for the second bowl as you go. Keep scraping the inside wall where the face will sit until it measures about 1 inch thick. Thin walls catch the light and make carving far less tiring. Skimping here is the top reason beginners struggle, so give this step 10 to 15 minutes.
Choose a bold design with thick, simple shapes
Bold shapes forgive beginners, while thin ones punish them. Triangle eyes, a jagged grin, or a crescent moon all carve cleanly because wide bridges hold together. Sketch your design on paper sized to fit the flattest face of your pumpkin. If you need a starting point, browse these easy pumpkin carving ideas and pick one built from thick lines. Let the kids choose or draw the design, that is the fun part, and save the cutting for the grown-ups. Tiny teeth and thin eyebrows look cute on paper but snap off mid-carve, so save those for year two.
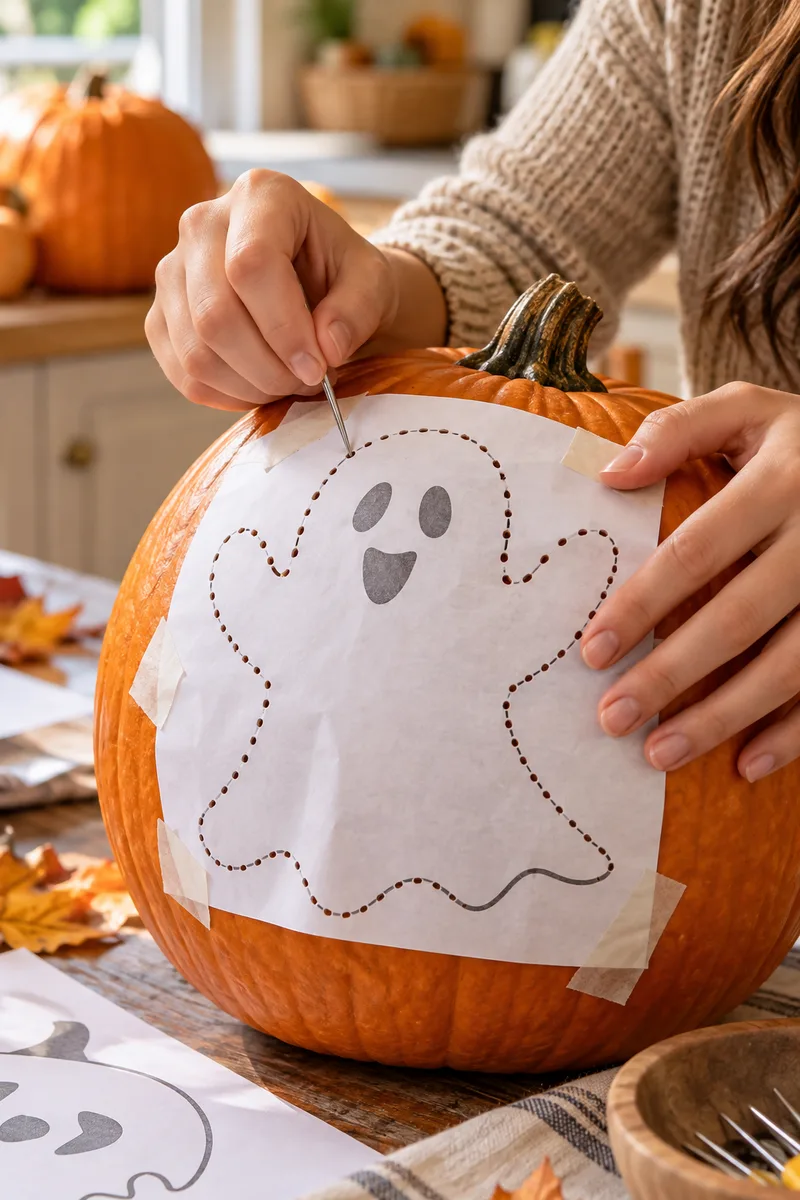
Tape the design on and poke holes along every line
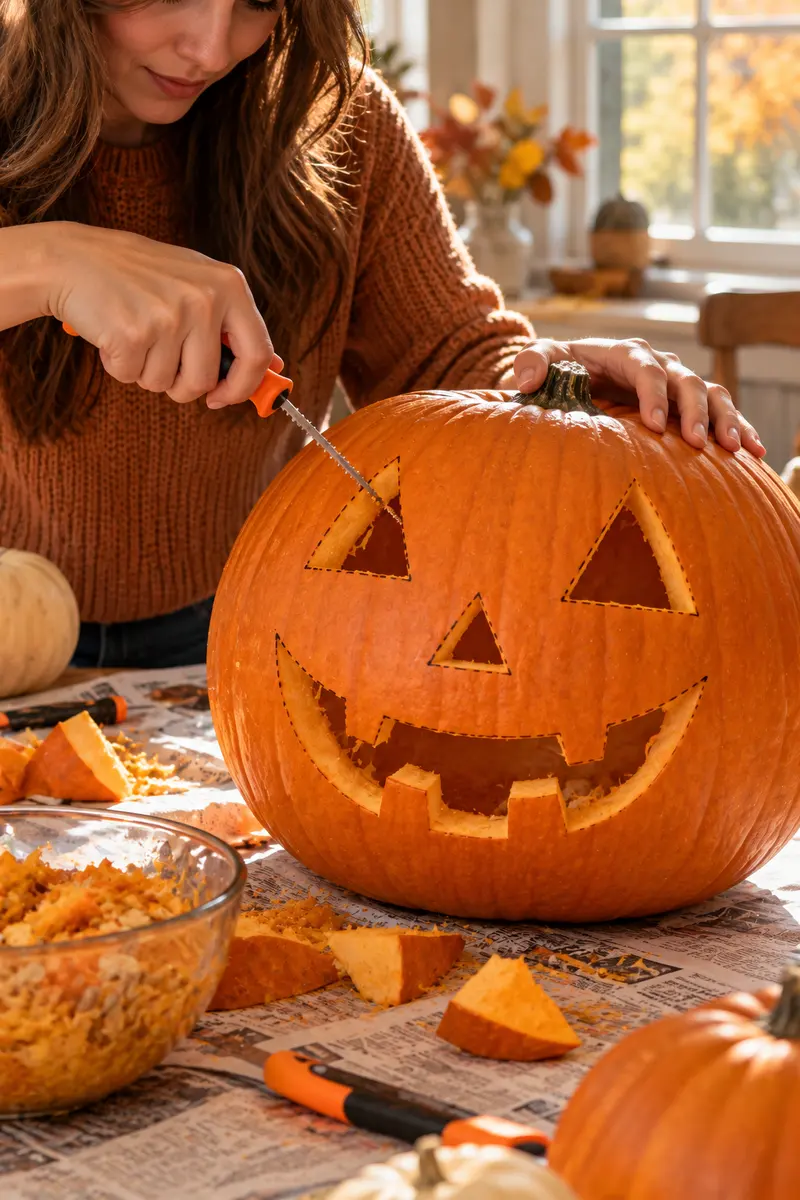
Smooth your paper flat against the pumpkin and tape all four corners so nothing shifts. Using a pin, nail, or the sharp tip of your carving tool, poke small holes through the paper and into the skin every 1/4 inch along each line of the design. Press firmly enough that each dot shows clearly on the orange skin. When you peel the paper away, a dotted outline stays behind, and that outline is your cutting guide. This poke-and-dot method beats drawing freehand, because marker smudges the moment your hands get slippery.
Carve your Halloween pumpkin with short, gentle strokes
Two out of three carving tears come from pushing the blade instead of sawing with it. Push your saw or serrated knife into the pumpkin at the start of a dotted line and move it back and forth the way you would slice bread: short strokes, steady pressure, no rushing. Never force the blade forward; let the sawing motion do the cutting. If a section fights back, pull the blade out and attack the same line from the other end. Rest your hand between shapes, because a cramped hand slips, and a slipped hand ruins a cheek.
The serrated knife, the saw, and the pin are adult-only tools, no exceptions. Kids get plenty of real jobs: scooping the guts, choosing the design, poking the dots, and placing the light. Always cut away from your body, keep your free hand behind the blade, and lay the knife flat on the table whenever you set it down.
Push the pieces out from the inside and trim the edges
Press each carved shape outward from inside the pumpkin so it pops toward you. Pushing outward keeps the outer skin neat, while pulling a piece inward tears the edges. If a shape sticks, saw around its edge once more instead of yanking it free. Trim any ragged bits with the tip of your knife, then wipe the whole face with your damp cloth. Hold the pumpkin up to a lamp now: rough spots and uncut bridges show up as dark patches, and this is the moment to fix them.
Rinse the seeds and spread them out to dry
The seeds deserve better than the trash. Fish them out of your scrap bowl and drop them into a colander, then rinse under cool water while rubbing them between your hands until the slime washes off. Spread the clean seeds in a single layer on a kitchen towel and let them dry for at least an hour. Dry seeds roast into a crunchy snack: toss with a little oil and salt, then bake at 300°F for 20 to 30 minutes. Tonight is about the carving, so the roasting tray can wait until tomorrow.
Set a flameless LED light inside your pumpkin
Test your light choice before the lid goes back on. Drop a battery tea light or an LED puck light inside and check the glow through the carved face. LEDs stay cool to the touch, never blow out in the wind, and run for 100 hours or more on one battery, which covers the whole season. A real candle works too, but only inside a glass holder, placed where nothing can knock the pumpkin over, and never left burning while you are asleep or out of the house.

Put your jack-o-lantern on display and enjoy it
Set your finished pumpkin somewhere flat and in plain sight from the sidewalk: the porch steps, a sturdy window ledge, or right beside the front door. Two or three pumpkins grouped together look impressive even when each face is simple, so carve a couple if you have the time and the pumpkins. Take your photo on night one, because the carved edges start to soften after a few days outside. When you are ready for bigger challenges next year, these spooky pumpkin carving ideas will be waiting for you.

📌 Quick Reference Card
You need: medium pumpkin, serrated knife, metal spoon, 2 bowls, newspaper, marker, paper design with tape and pin, LED light.
- Pick a firm, flat-bottomed pumpkin
- Cover the table; set out two bowls
- Cut the lid at a 45-degree inward angle
- Check the lid fit before scooping
- Scrape walls to 1 inch thick
- Pick a bold, simple design
- Poke dots every 1/4 inch
- Saw gently along the dotted lines
- Pop pieces out; trim rough edges
- Rinse and dry the seeds
- Drop in an LED light
- Display and photograph on night one
You did it: that glowing face on the porch is yours. You now know how to carve a Halloween pumpkin from picking to lighting, and every future carve will go faster. To keep this one looking its best, read up on preserving it before the weekend parties begin. If this guide helped, save it to your Halloween board on Pinterest for next October.