
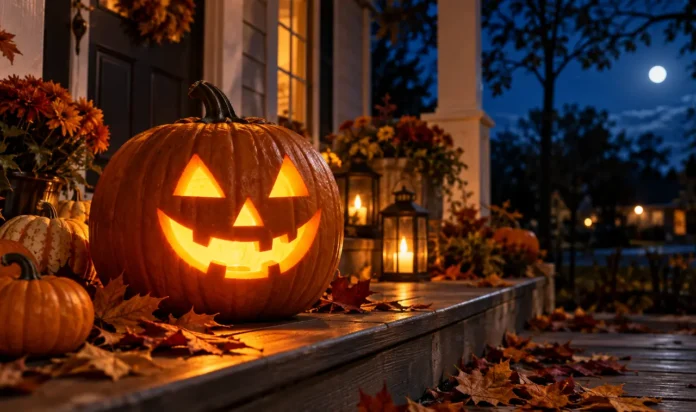


You spend two hours carving the perfect jack-o’-lantern. The kids love it. You set it on the porch, proud as anything. Three days later the face is caving in, white fuzz is creeping along the cuts, and it smells like a swamp. Halloween is still a week away. Sound familiar? This guide on How to Preserve a Carved Pumpkin fixes that exact problem, and it works on any pumpkin you have already carved.
You will learn the bleach soak that kills mold before it starts, the petroleum jelly seal that keeps cuts from shriveling, and a five-minute daily routine that keeps a carved pumpkin firm and fresh for 7 to 10 days instead of three. Plan on about 45 minutes of hands-on work on carving day, then 5 minutes a day after that. The difficulty is beginner level, and every supply here is something you probably already own.
Timing matters more than technique. These steps work best when you start the same day you carve, while the cuts are fresh and mold has not moved in yet. If you have not carved yet, work through How to Carve a Halloween Pumpkin Step by Step first, then come straight back here. If your pumpkin is already a day or two old, start at step two anyway. You can still buy it several extra days.
- A large bucket, tub, or cooler big enough to fully submerge the pumpkin
- Regular unscented household bleach for the mold-killing soak
- Petroleum jelly to seal the cut edges (coconut oil works too)
- A clean spray bottle for the daily misting routine
- Paper towels or a clean dish towel for drying every surface
- A sturdy spoon for scraping the interior walls thin
- LED tea lights or a puck light to replace the real candle
- Ice cubes for the cold-water rescue soak later
Scoop and Scrape the Inside Walls Thin
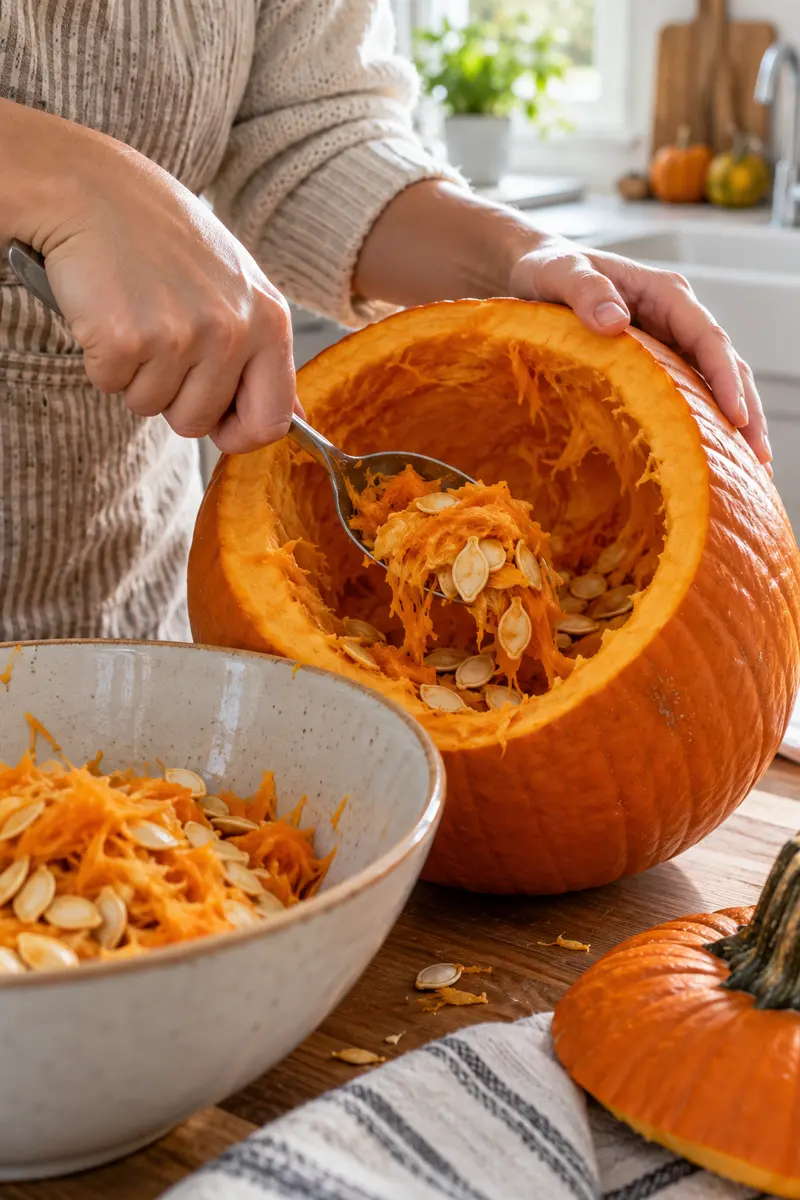
A thick wall is a rotting wall. The stringy guts and soft flesh left inside feed mold first, and decay starts where you cannot see it. After carving, go back in with a sturdy spoon and scrape until the walls measure about 1 inch thick all around, then rinse the cavity. Pumpkins with thick, wet interiors collapse from the inside out, which is the most common reason a jack-o’-lantern dies early. Bold, chunky carving patterns also hold their shape longer than thin, fiddly details, so browse these simple pumpkin carving ideas if you want designs built to last.
The bleach bath in the next step is very diluted and safe for a decoration pumpkin, but keep kids and pets away from the bucket while it soaks, and rinse your hands after handling. Never use scented or splashless bleach. Do not carve a pumpkin you plan to eat later. This method is for jack-o’-lanterns only.
Soak the Whole Pumpkin in a Bleach Bath
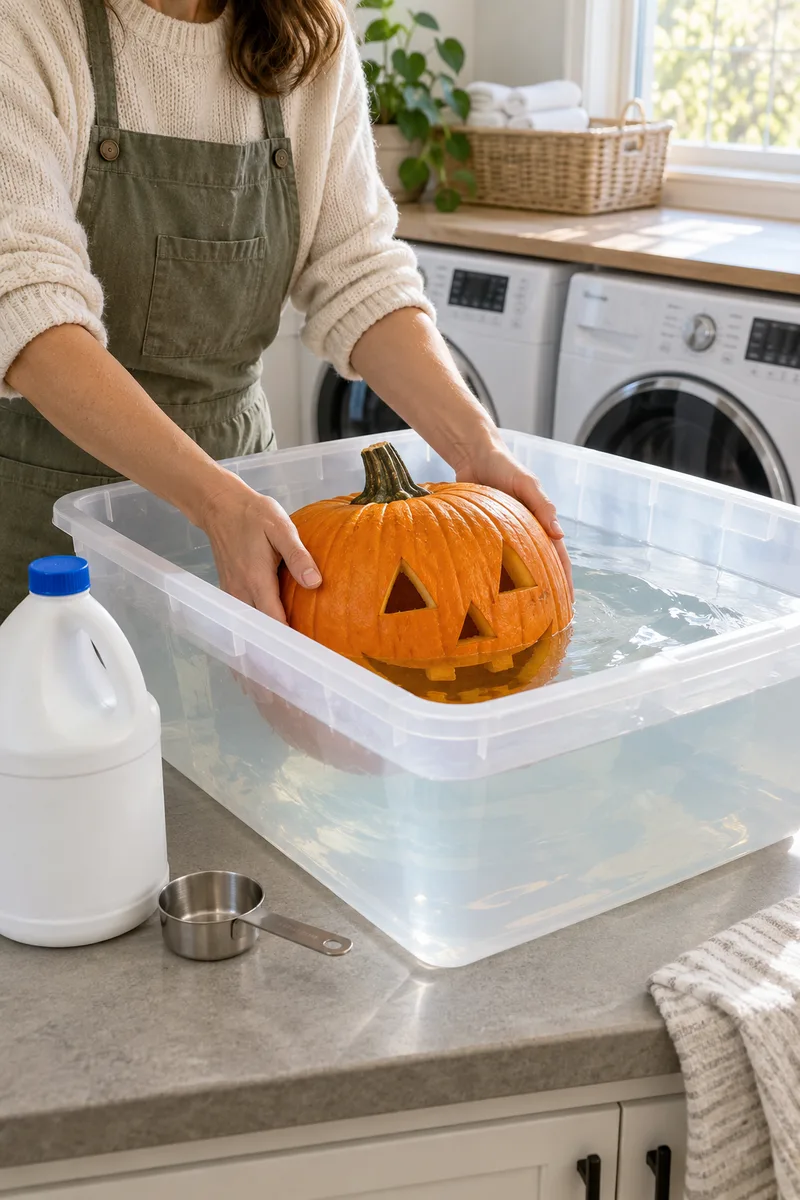
Fill a bucket with 1 gallon of cool water and stir in 1 tablespoon of regular unscented bleach. Lower the pumpkin in and soak it for 30 minutes, turning it once halfway so every surface gets contact. The diluted bleach kills mold spores and bacteria sitting on the skin and inside the cuts. Those spores start growing within 24 hours on an untreated pumpkin, which is where white fuzz comes from. No bleach in the house? White vinegar works as a backup at 1 cup per gallon. Rinse the pumpkin under clean water when done.
Dry Every Surface Completely
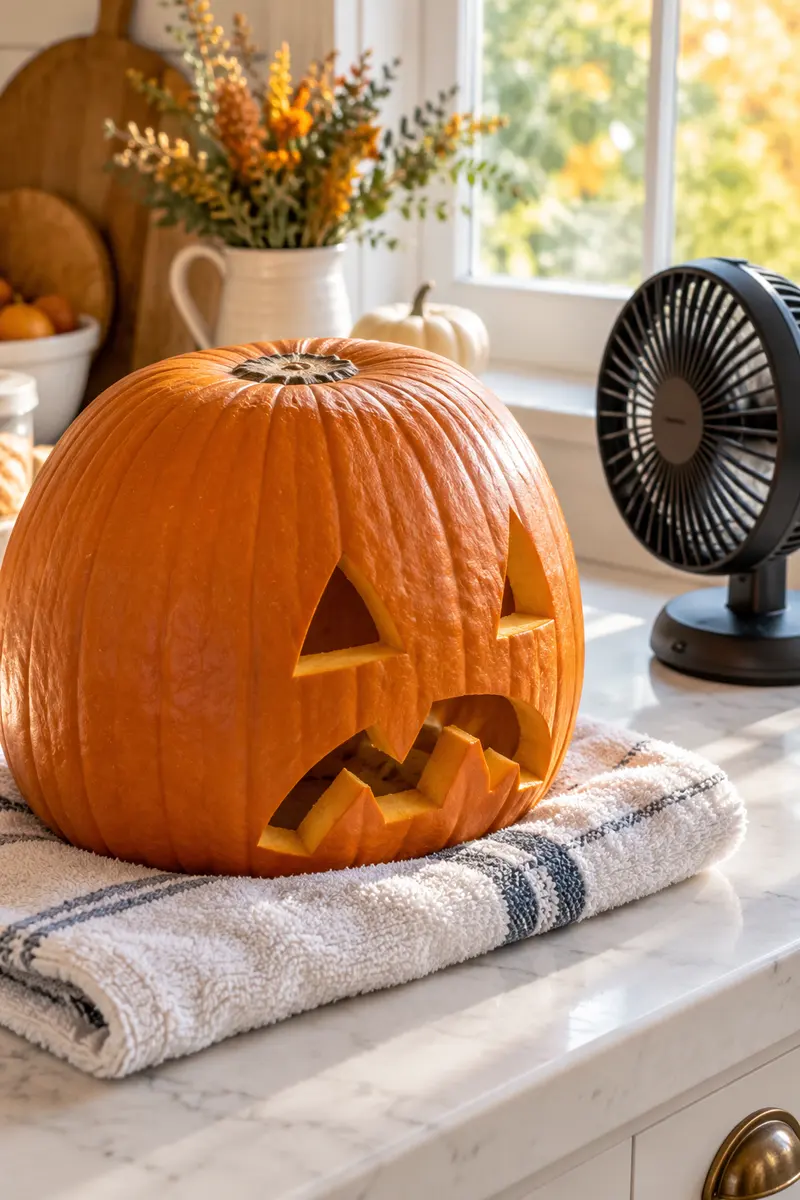
Set the rinsed pumpkin upside down on a thick towel in a breezy spot for 1 to 2 hours. Pat the outside dry, then press paper towels into the carved lines to blot water. This step looks skippable and is not. Moisture trapped in the cuts is exactly what mold needs, and sealing a damp pumpkin locks it in. You will have fuzz by morning. A small fan pointed at the pumpkin speeds drying nicely. Wait until the skin feels dry and no water beads in the lines before you seal.
Rub Petroleum Jelly Into Every Cut Edge
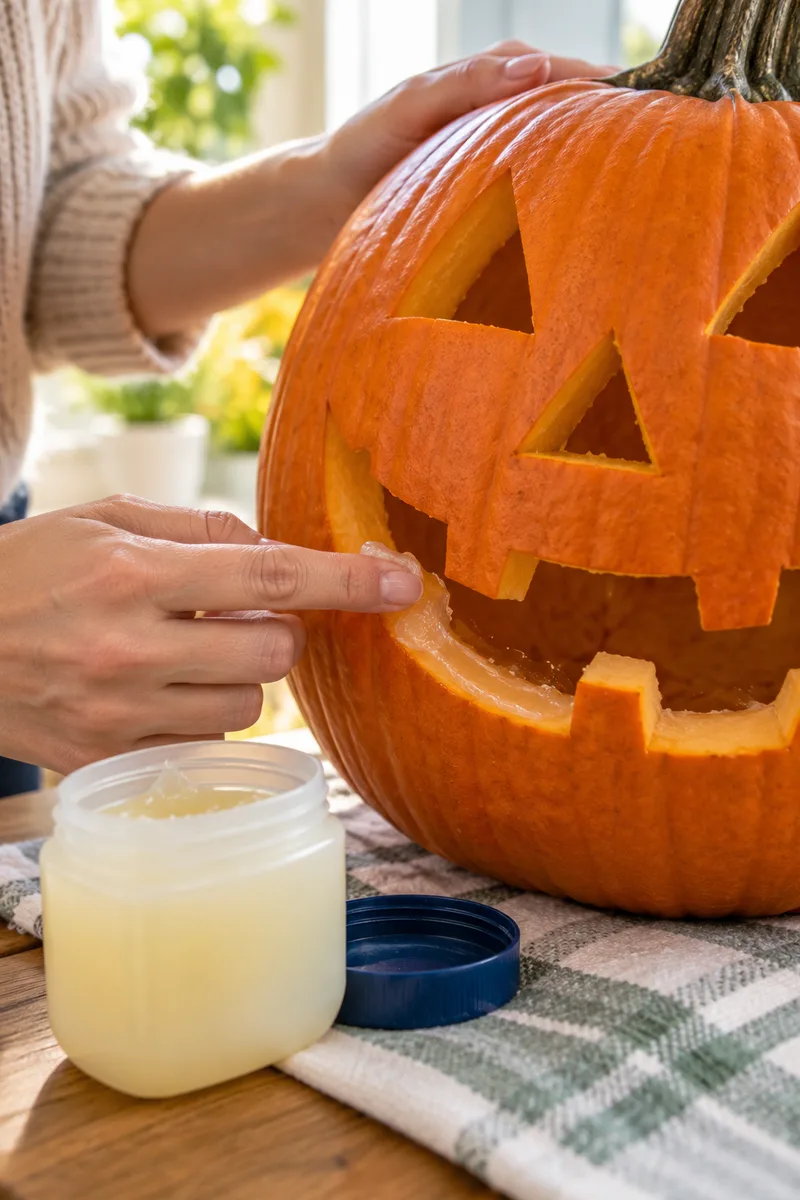
Coat a clean fingertip with petroleum jelly and work a thin, even layer into every carved edge, inside and out. The jelly forms a barrier that slows moisture loss, which stops cuts from shriveling and curling inward. It also blocks air from reaching the raw flesh, and less air means slower decay. Do not forget the rim of the lid opening, since that cut dries fastest. Out of petroleum jelly? Coconut oil or plain vegetable oil does the same job. Reapply a fresh thin coat every 2 to 3 days during your daily check.
Swap the Real Candle for an LED Light
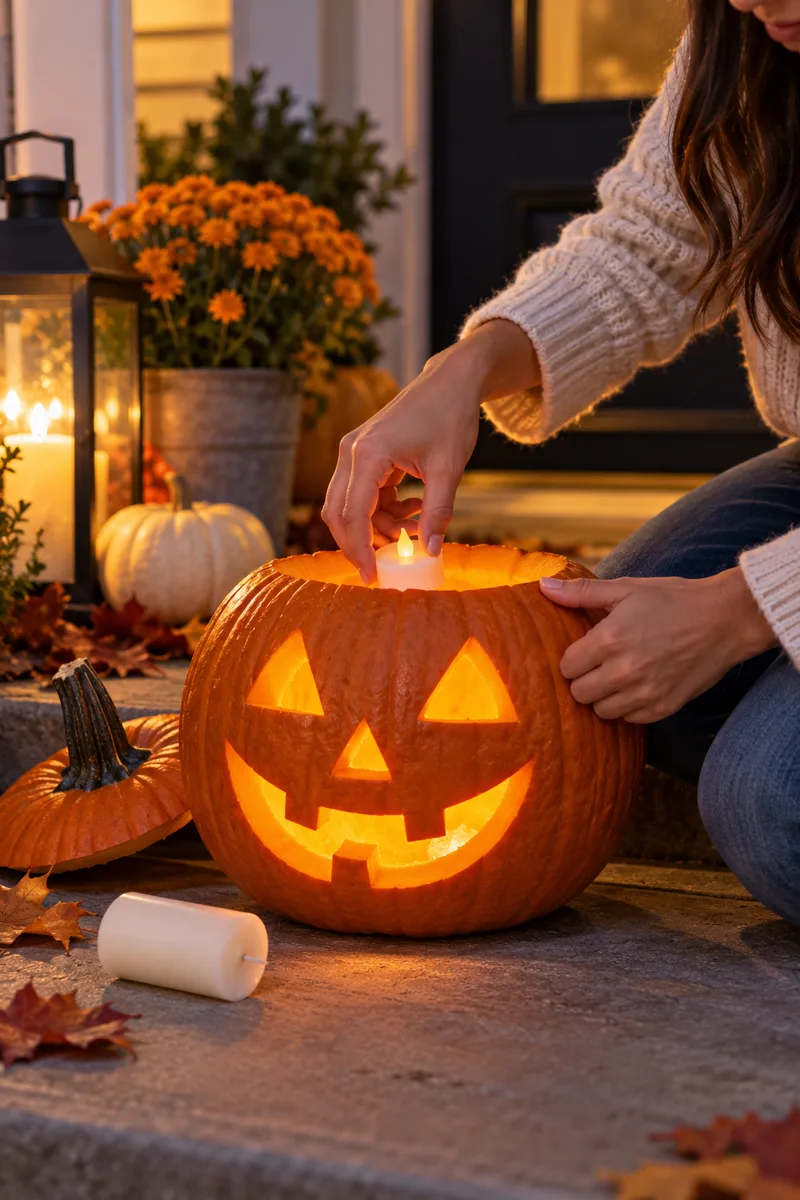
A real tea light cooks your pumpkin from the inside. The heat dries the flesh, blackens the lid, and the soot feeds mold. Drop in a battery-powered LED tea light or a small LED puck light instead for the same warm glow without heat damage. LEDs also remove the fire risk, so you can leave the pumpkin lit for hours on a windy night. One detail people miss: leave the lid slightly ajar or cut a small vent hole. Condensation needs a way out, or it drips back onto the flesh and undoes your drying work.
Keep the Pumpkin Cool and Out of Direct Sun
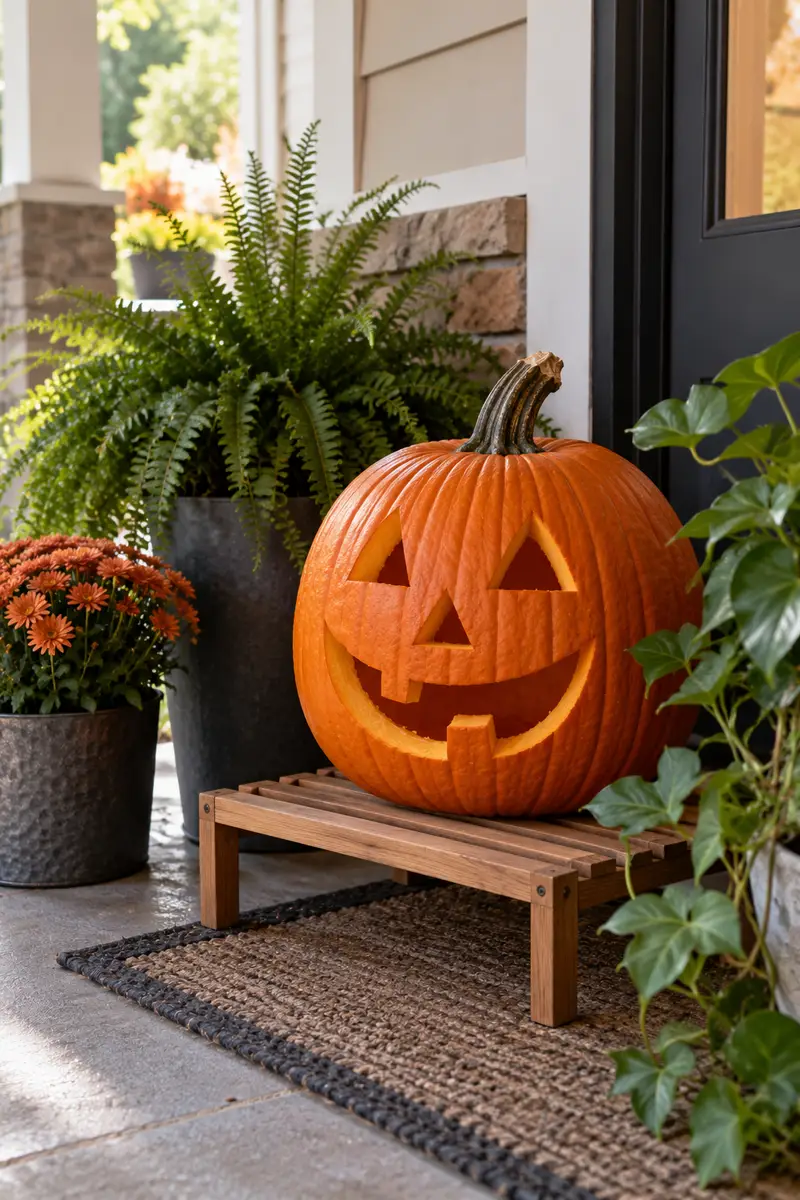
Heat is the enemy of a carved pumpkin. Keep it in full shade by day, on a covered porch, and move it somewhere cool at night. Pumpkins last longest when nighttime temperatures stay below 50°F. When afternoons run warm, bring the pumpkin into air conditioning for the hottest hours and set it back out in the evening. Never let it sit in a puddle or on wet soil; rest it on a rack or flat stones so air circulates underneath. A pumpkin baking in direct sun can go soft in a single day.
Mist the Pumpkin and Check for Mold Daily
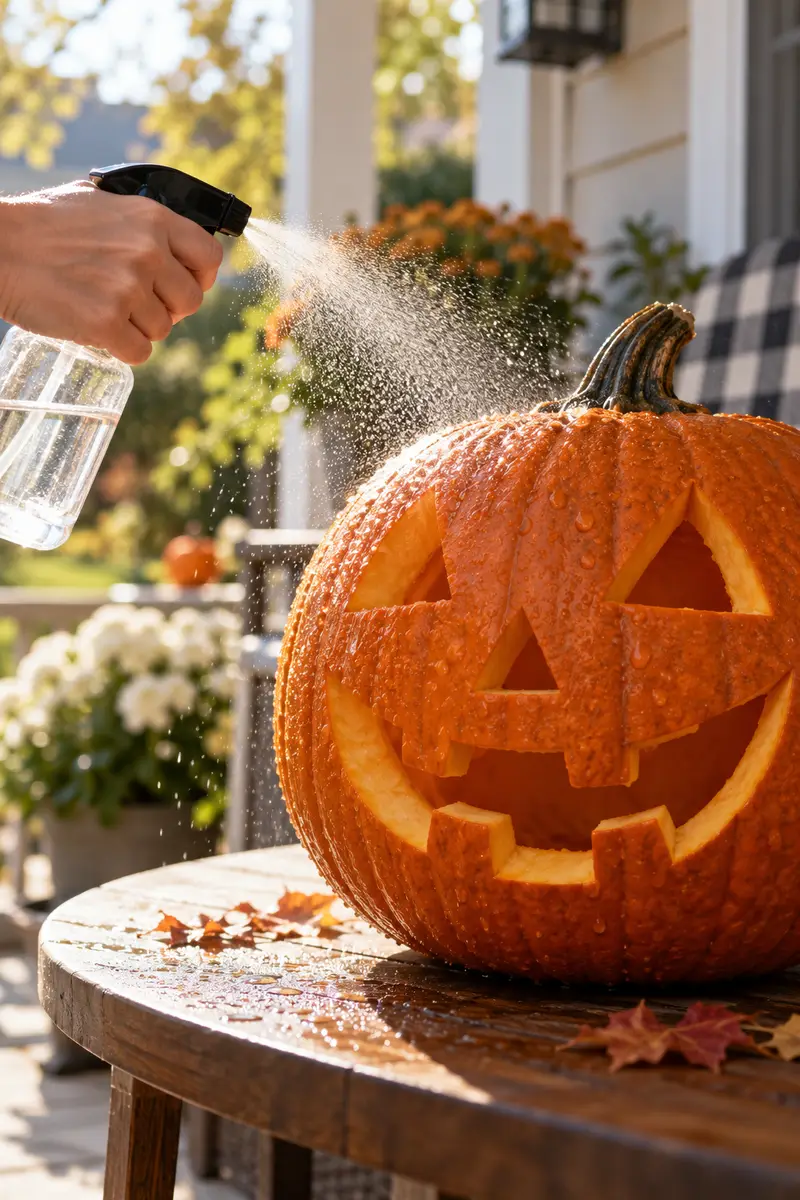
Daily, mist the carved areas lightly and inspect every cut. Look for white or gray fuzz, new soft spots, and any sour smell. Mold caught on day one wipes away with a cloth dampened in your bleach solution, and the pumpkin carries on fine. Mold ignored until day four finishes the pumpkin. Make it a habit: mist in the morning when you set the pumpkin out, or in the evening when you switch on the LED. The routine takes 5 minutes, and it is the biggest difference between a pumpkin that reaches Halloween and one that does not.
Soak a Softening Pumpkin in Ice Water to Revive It
A sagging face or soft walls mean the pumpkin is dehydrated, not dead. Fill your bucket with cold water, toss in a full tray of ice cubes, and submerge the pumpkin for 6 to 8 hours or overnight. The flesh absorbs water and firms up noticeably by morning. Think of this as a rescue, not a routine: it works once, maybe twice. After the soak, dry the pumpkin completely and reapply petroleum jelly to every cut. If the walls still feel mushy afterward, or the bottom has turned slimy, the rescue did not take.
Retire the Pumpkin When It Is Past Saving
Every pumpkin reaches a point of no return. Retire yours when the walls stay mushy after a revive soak, when mold returns within a day of wiping, or when the base turns slimy and sour. None of that means you failed. A pumpkin that glowed on your porch for a full week did its job well. Compost the remains or leave them at the garden’s edge for the squirrels. Then, while the lessons are fresh, read pumpkin carving for beginners for tips on choosing firmer pumpkins and longer-lasting cuts. Next year’s jack-o’-lantern will be your best yet.
Pumpkin Preservation Questions, Answered
Can I use something other than bleach? Yes. White vinegar mixed at 1 cup per gallon is the closest household backup. It handles many of the same surface microbes, though it runs a step behind bleach on stubborn mold. Keep the soak to 30 minutes either way and rinse well after.
Is the bleach safe around kids and pets? At this dilution, yes. 1 tablespoon per gallon is very weak, and you rinse the pumpkin afterward. Still, keep the bucket out of reach while it soaks, rinse your hands after handling, and never use scented or splashless bleach.
How long will my pumpkin actually last? Follow every step and most carved pumpkins stay firm and fresh for 7 to 10 days. Warm weather shortens that window and cool nights stretch it. Start the routine on carving day for the best result, since each day of delay gives mold a head start.
Does an uncarved pumpkin need any of this? No. The intact skin is its own perfect seal, and whole pumpkins keep for weeks or months in a cool spot. Save the bleach bath and the jelly for the day you carve.
You did it. Your jack-o’-lantern went from a three-day wonder to a firm, glowing porch star that lasts the whole week. The bleach bath, the jelly seal, and five quiet minutes each morning are the whole secret, and your pumpkin is the proof. Next, snap a photo of your pumpkin at its glowing peak and pin it to your Halloween board, so the method is waiting for you next October. Then start dreaming up next year’s design. Happy haunting.