
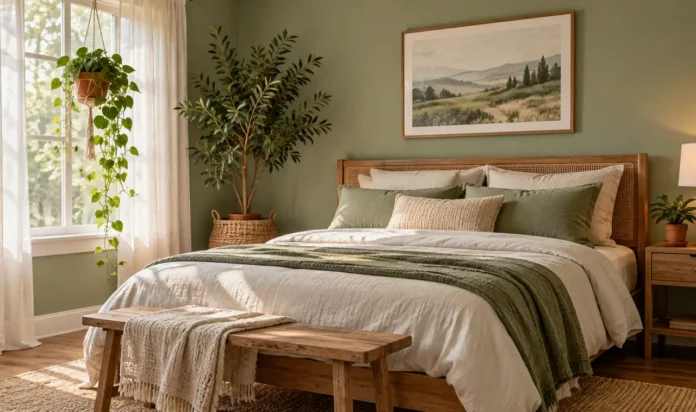


You bought one pothos. Then a snake plant. Then a fern, because it looked lonely at the store. Now every surface in your bedroom holds a pot, the dresser is a traffic jam of leaves, and the room feels smaller than it did before. Sound familiar? Learning how to decorate a bedroom with plants is really about learning what to leave out.
This guide walks you through a placement method that keeps things green without tipping into chaos. You will assess your light, pick a small team of plants, and place them biggest-first so the room keeps its breathing space. By the end, you will have a bedroom that feels calm and alive at the same time, the kind of room you actually want to sleep in. If you want style ideas before you start, browse these greenery bedroom ideas for inspiration.
Honest talk on time and effort: plan for about three hours, spread over a weekend. Most of that is moving things around and living with a placement for an hour before you commit. The difficulty is beginner level. No special tools, no plant science degree. If a plant dies later, that is normal. Even good plant people lose one now and then.
One more thing before you start: you do not need to buy a single new plant for this to work. Most readers already own enough plants; the method is about editing and placing what you have. If you do shop, the list below keeps it to one trip. By Sunday evening you will know exactly which plant lives where and why, and watering will take minutes instead of a scavenger hunt.
What You Need
Total plant count stays at 5 to 7. If you already own more, gift the extras or move them to the living room.
- 1 large floor plant, 2 to 3 feet tall
- 3 to 4 small or medium plants
- 1 trailing plant, like pothos or philodendron
- For dark rooms: snake plant, ZZ plant, or faux plants
- Stick to this list; every extra plant is one more thing to water and dust
- Matching pots with drainage holes, plus saucers
- Bag of indoor potting mix
- Watering can and spray mister
- Damp cloth for dusty leaves
- Optional but nice: a small plant stand and a fine-spray mister
At a Glance: The 10 Steps
Follow in order; each step sets up the next. Skim it now, then work through it this weekend.
- Clear every plant out of the room.
- Check the light in each empty spot.
- Choose 3 to 4 plant types, no more.
- Place the biggest plant first.
- Anchor corners with floor plants.
- Move up with hanging plants and shelves.
- Give the nightstand one plant only.
- Match all your pots.
- Leave breathing room on purpose.
- Run a 5-minute weekly care routine.
Clear the Room and Start With a Blank Canvas
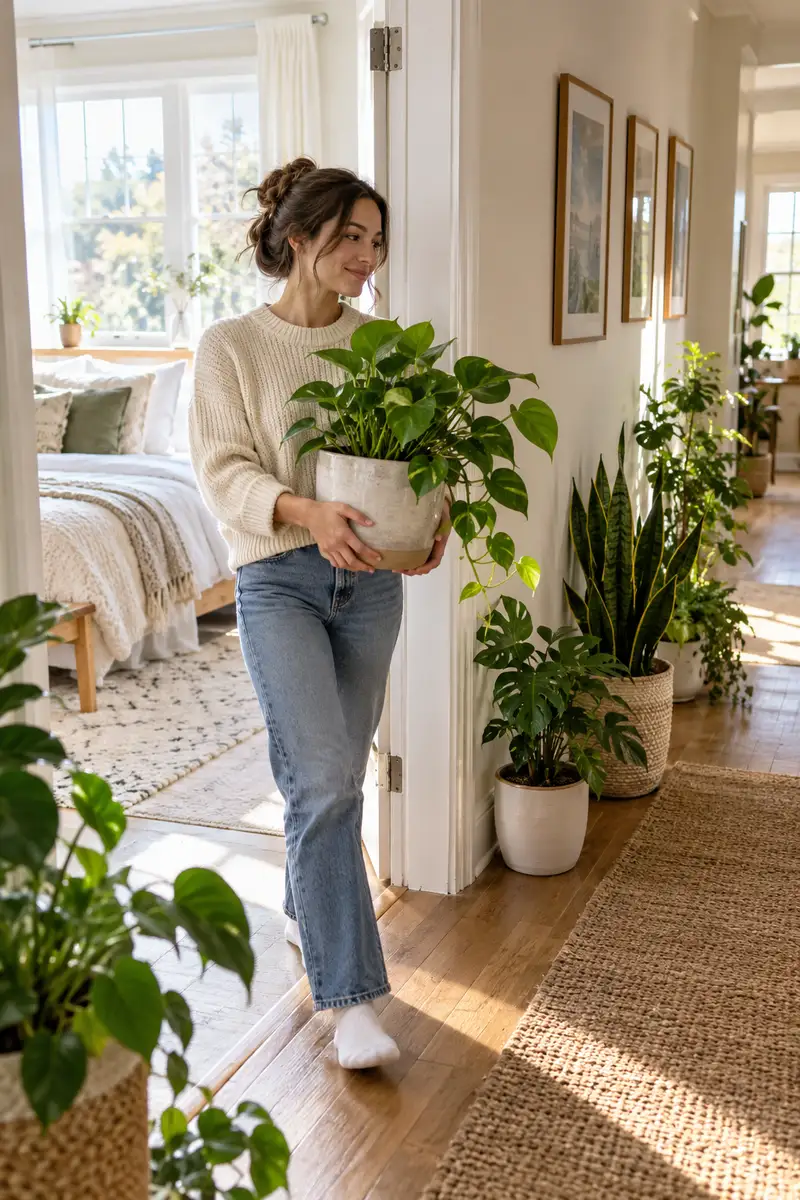
Move every plant out of the bedroom and line them up in the hallway. An empty room shows you the real size of the space and which spots get light. Most cluttered bedrooms are not plant problems; they are placement problems, and you cannot see that while pots crowd every surface. While the room is empty, wipe the shelves and dust the windowsills. Take a phone photo from the doorway as your before picture. Bring plants back today, one at a time, on purpose, and the room will tell you where each new one belongs.
Check the Light in Every Spot
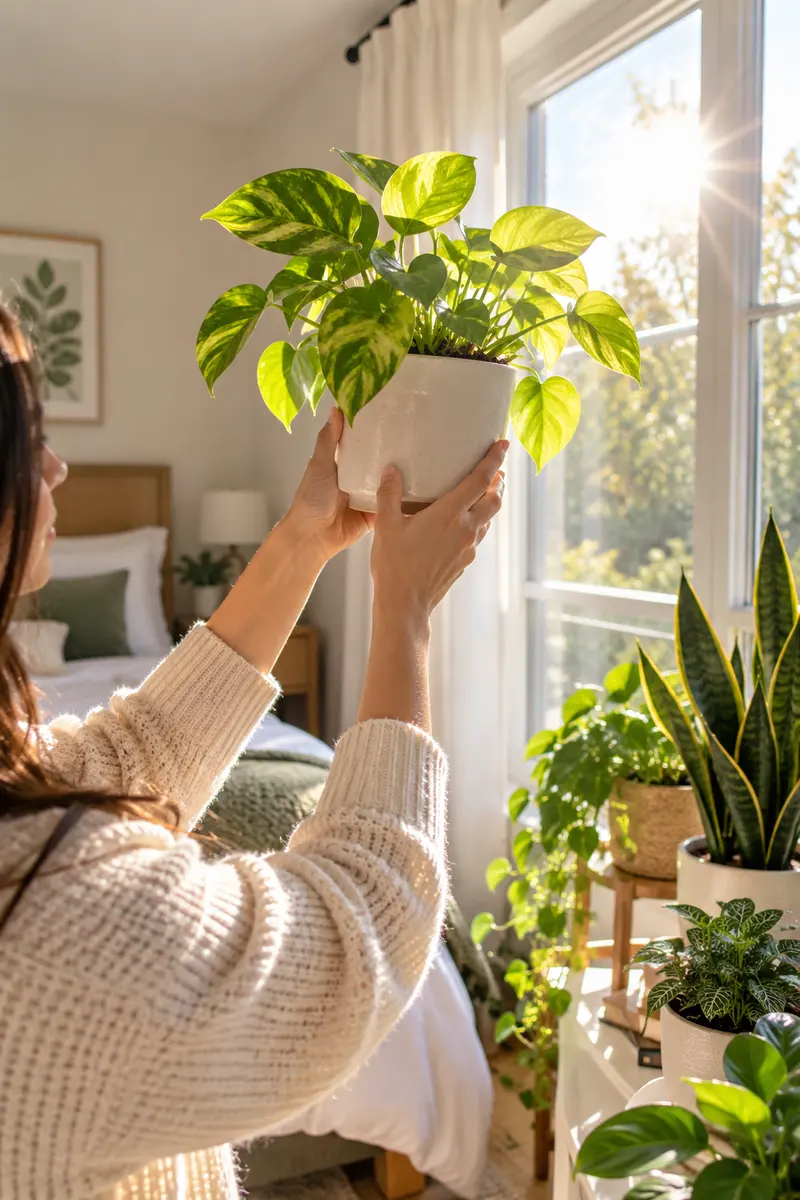
Stand in each corner at midday and watch the sunlight. A spot within 3 feet of a bright window suits most green plants. A corner more than 6 feet from any window is low light, so plan a snake plant or ZZ plant there, or go faux and skip the guilt. The mistake is buying a sun-lover for a dark corner and watching it fade for weeks. If the room is dim overall, these low-light bedroom plants will save the project. Write each spot’s light level on a sticky note and leave it until every plant has a home.
Pick a Small Plant Palette
Choose three or four plant types and repeat them around the room. Ten different species in ten different pots reads as a garden center exploded; the same pothos on the shelf and in the hanging basket reads as a design choice. Pick one tall shape, one trailing shape, and one or two compact shapes. Repetition is what makes a collection look planned. If you own more varieties than that, move the extras to another room instead of squeezing them in. Your bedroom will look calmer and each plant will get better light.
Place the Biggest Plant First
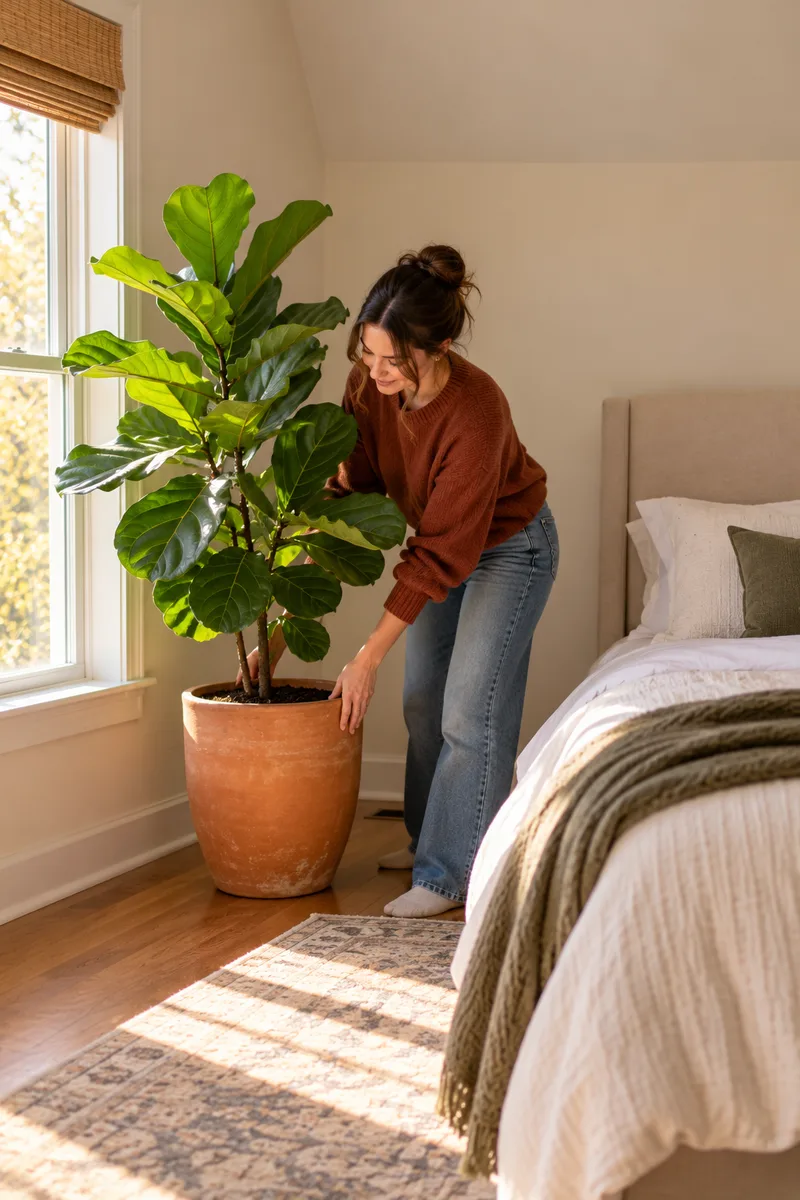
Set your tallest floor plant down before anything else. Big plants decide the layout; small ones fill the gaps around them. Put the large pot where it gets noticed but never blocks a walkway, usually beside the bed or in the far corner, at least 2 feet from the door swing. Step back and look. If the room still feels open with the biggest plant in place, the small ones will behave. If it already feels tight, you need a smaller large plant or a different corner. Turn the pot a quarter turn now to start the habit early.
Anchor the Corners With Floor Plants
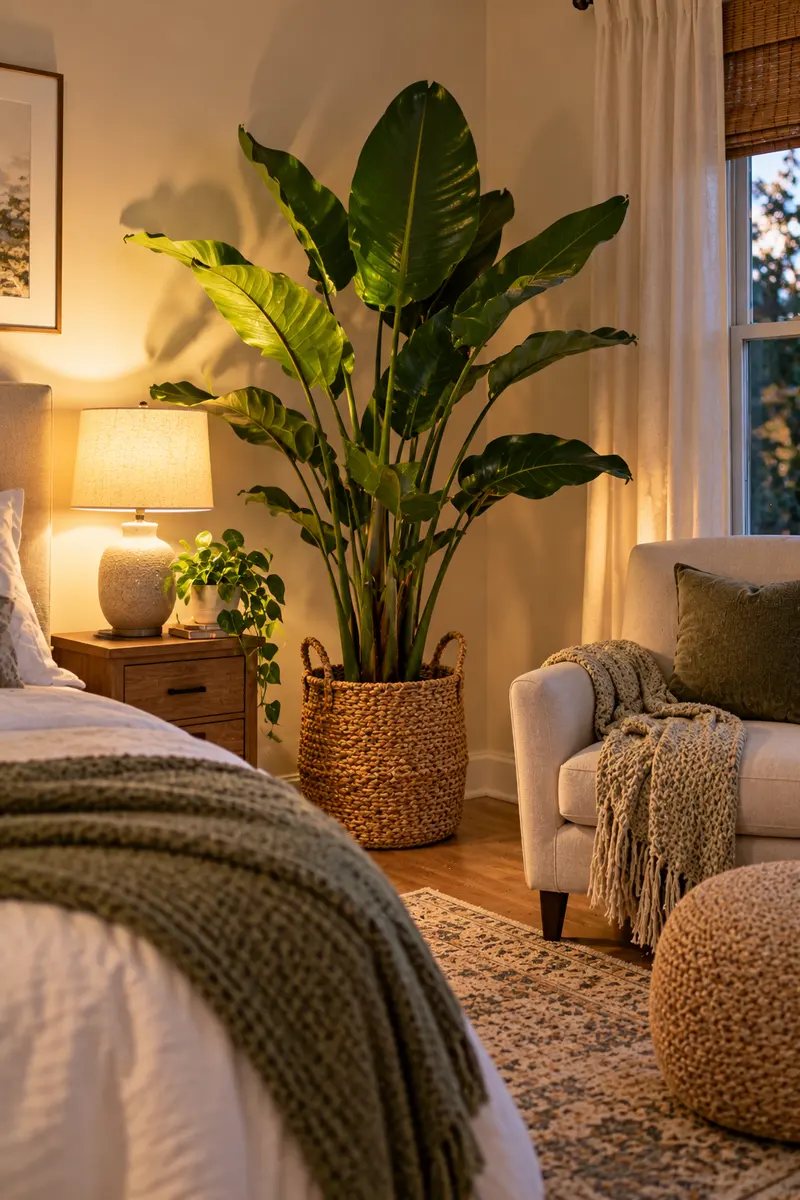
Corners are where clutter goes to hide, so claim them first with one floor plant each. A fiddle-leaf fig or bird of paradise in a 12-inch pot turns a dead corner into the best seat-side view in the room. Keep the plant a few inches off the wall so air moves behind the leaves. A plant stand lifts the pot a little and keeps floors safe from water rings. For more corner layouts, browse these bedroom corner plant ideas. One plant per corner is plenty; two starts to look like a plant shop.
Move Up With Hanging Plants and Shelves
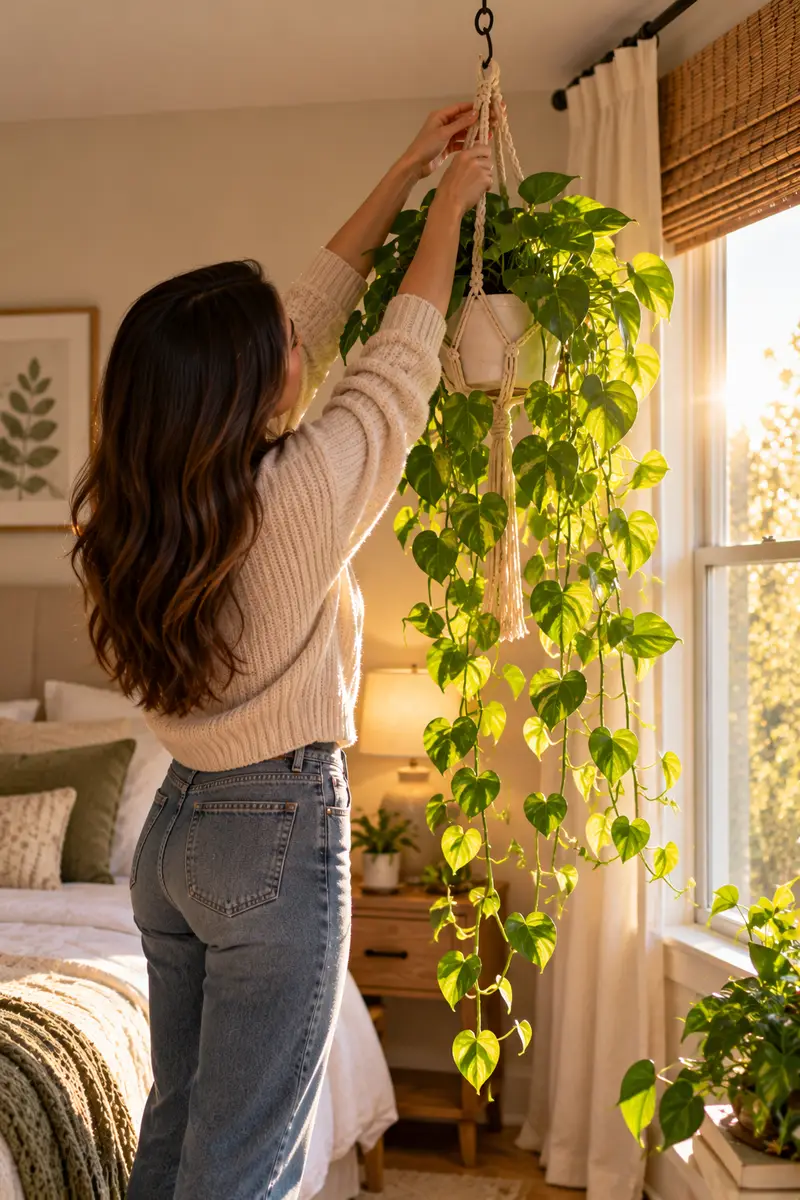
The floor is full, so look up. One hanging pothos by the window and one shelf above the dresser add green without touching the floor. Hang the basket so the bottom of the pot sits about 6 inches above your head height when you walk under it. Too low and you will duck around it forever. A hook rated for 10 pounds holds a hanging plant safely. The failure to predict here: a shelf crammed with five tiny pots looks messier than one shelf with two. Give each shelf one trailing plant and one compact one, then stop.
Style the Nightstand With One Plant Only
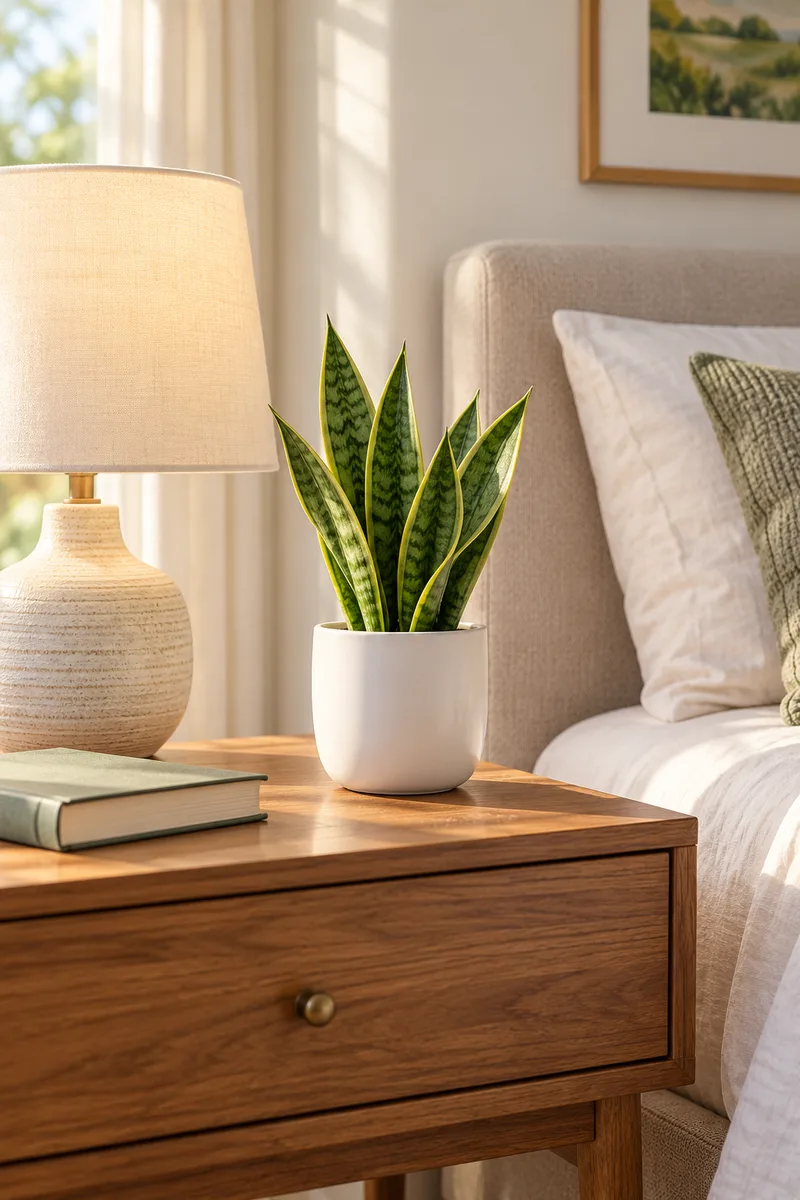
Your nightstand needs one small plant, not a collection. A 4-inch pot with a snake plant pup or a tiny succulent leaves room for your lamp, book, and water glass. That is the whole point: the plant shares the surface instead of taking it over. Keep the plant small enough that it never blocks the lamp light. If you knock it over reaching for water in the dark, the pot is too big. If the nightstand is tiny, skip the plant there and hang one on the wall beside the bed instead.
Match Your Pots for Instant Cohesion
Different pots are the number one reason plant corners look messy. Pick one material and one color family, such as all terracotta, all white ceramic, or all woven baskets, and repot everything into it. You do not need new plants; you need matching homes for the ones you have. Keep the saucers the same color too. Thrift stores are full of cheap ceramic pots in matching whites and creams for this project. This single change does more for a calm look than any new plant purchase, and it costs less than one more fiddle-leaf fig.
- Plants on every surface, no empty spots
- Mixed pots in five different colors
- Small plants scattered with no plan
- Corners stuffed, walkways squeezed
- Watering takes forever; pots hide behind pots
- You stop noticing individual plants at all
- One big plant first, small ones placed with intent
- Matching pots in one color family
- Vertical space used: one hanger, one shelf
- Empty surfaces left empty on purpose
- Watering takes minutes on a clear weekly path
- Each plant gets the light it was placed for
Leave Breathing Room on Purpose
Empty space is part of the design, not space you forgot to fill. Leave at least one shelf, one wall, and one surface plant-free. The eye needs somewhere to rest, and bare spots make the planted spots look intentional instead of accidental. Designers call this negative space, and it is the cheapest trick in the book. When you feel the urge to add one more plant, wait a week. One empty shelf makes every plant beside it look special. If the room feels unfinished after seven days, then add it.
Set a Five-Minute Weekly Care Routine
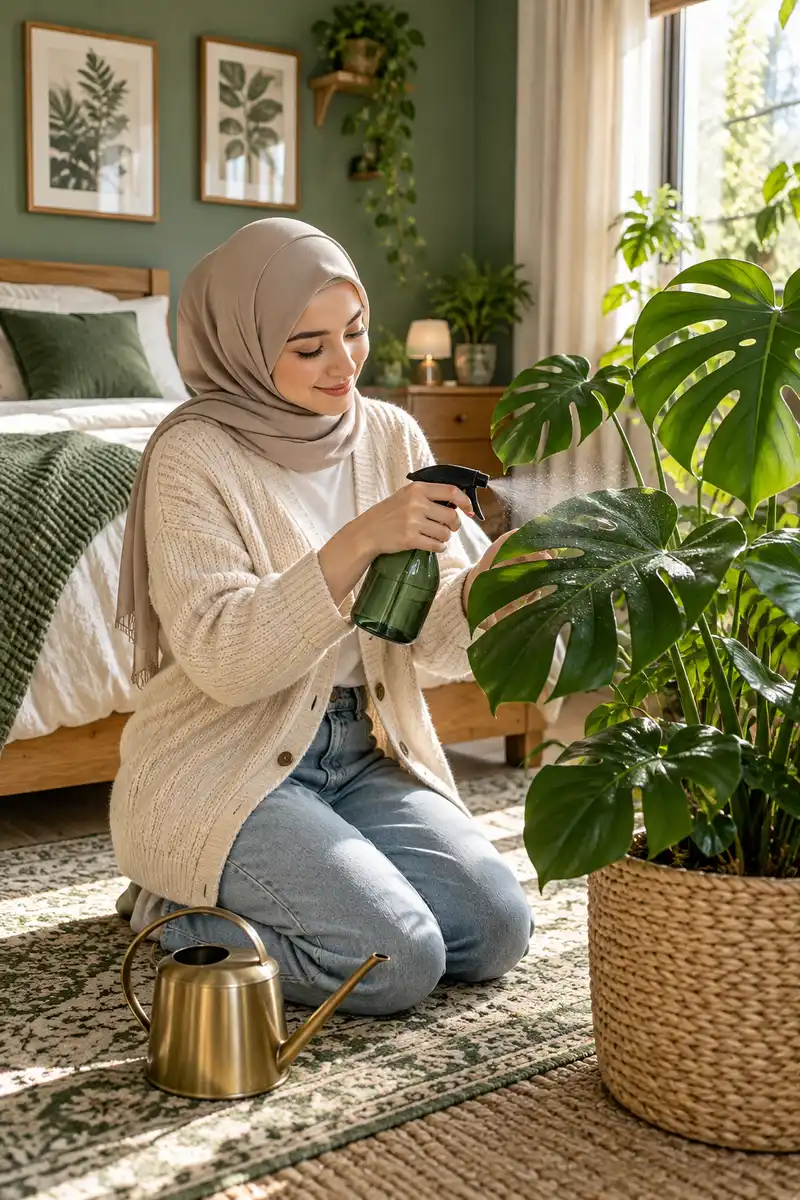
Pick one day a week and spend 5 minutes on plant care: water what is dry, wipe dusty leaves with a damp cloth, and turn each pot a quarter turn so growth stays even. Set a phone reminder until it becomes habit. The common failure is loving attention for two weeks, then nothing for two months. A short weekly routine beats a heroic monthly rescue every time. Black thumbs can swap the thirstiest plants for faux versions and keep the same look with zero watering. Your plants will repay the habit with steady, healthy growth all year.
Stand in the doorway and look at your room: green in the corners, one plant by the bed, and empty space where the eye can rest. That is a bedroom that breathes, and you built it in a single weekend. You did not add plants at random; you gave each one a job and a home. Keep the weekly five minutes going and the room will stay this calm for years. Pin this guide so it is waiting when repotting day comes, and share it with the friend whose bedroom still looks like a jungle.
Quick Reference Card
- Light: within 3 feet of a window is bright; 6+ feet away is low light.
- Plant count: 5 to 7 plants suit most bedrooms.
- Placement: biggest plant first, one floor plant per corner, one plant per surface.
- Pots: one material and one color family across the room.
- Space: leave one shelf, one wall, and one surface empty.
- Care: 5 minutes once a week, water, wipe, rotate.
- Grouping: odd numbers of plants (1, 3) look natural; even numbers look staged.
- Repotting: only when roots circle the bottom of the pot.
- Dust: wipe leaves monthly so they can catch more light.