
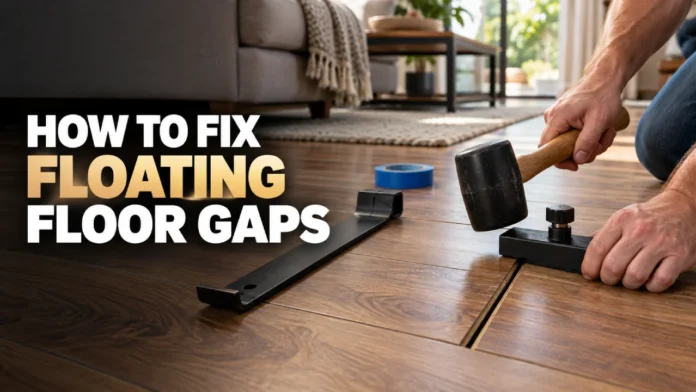


A gap between two laminate or engineered planks looks like the start of a failing floor, but in most cases the planks are fine. The locking joints have simply been pulled apart, and they can be pushed back together in minutes. The catch is that a gap closed without dealing with what opened it will usually reappear within a few weeks. So the job has two parts: find the cause, then close the joint.
Figure Out Why the Gap Opened First
A floating floor is one connected sheet that is meant to move slightly as a unit. Gaps appear when part of that sheet is prevented from moving, or when the boards shrink more than the joints can handle. The pattern of the gaps usually points to the cause:
- Gaps near a kitchen island, heavy cabinet, or built-in: the floor is pinned. When a heavy object sits on a floating floor, that section stays put while the rest of the floor expands and contracts around it, and the joints nearest the pinned spot get pulled open. Baseboards or quarter-round nailed down through the flooring, and transition strips screwed through the planks, do the same thing.
- Gaps that show up in winter and shrink in summer: low indoor humidity. Heating dries the air, the planks shrink, and the weakest joints open first. A line of gaps running over a heating duct or next to a floor register is a strong sign of this.
- Gaps that flex or click when you step next to them: a dip or hump in the subfloor. The planks bend over the uneven spot and the locking profile slowly works itself apart.
- A single joint that won’t stay closed no matter what: the tongue or locking edge on that plank is chipped or worn. Short-end joints are the usual culprit because the lock on the short side is shallower than on the long side.
If you can’t tell from the pattern, check the room’s humidity with a cheap hygrometer. Most flooring manufacturers want the room kept roughly between 35% and 55% relative humidity. A reading far below that during heating season explains a lot of gaps on its own.
Tools That Do the Job
- A floor gap fixer: a small block with a peel-and-stick grip pad and an angled strike face. These cost around $10 to $25.
- A homemade version: a scrap block of 2×4 with heavy-duty double-sided mounting tape on one face.
- A rubber mallet or a regular hammer (the block takes the blow, not the floor).
- A flooring pull bar, for gaps near walls where a block won’t fit.
- A flat pry bar and a scrap of wood to protect the wall, if you need to shift a full row.
- Painter’s tape and adhesive remover for cleanup.
How to Fix Floating Floor Gaps, Joint by Joint
Gaps on the Short End of a Plank
These are the easiest to close. Clean the plank surface so the grip pad sticks well. Press the gap fixer (or your taped block) onto the plank with the gap, about 5 to 10 cm back from the joint, with the strike face pointing away from the gap. Tap the block toward the gap with light, steady blows. The plank will slide a millimetre at a time. Stop as soon as the joint closes; hitting harder after that can crack the locking edge on the opposite end.
If a row has several end gaps, start with the gap closest to one wall and work down the row. Closing one gap often opens space at the next joint, so the whole row gets tightened in sequence, and the leftover space ends up in the expansion gap at the wall, where it belongs.
Gaps Along the Long Side
Long-side gaps take more force because you are moving the plank against the friction of its full length. Use two grip blocks, one near each end of the plank, and tap them alternately so the plank moves evenly instead of twisting. If the gap is along several planks in the same line, you will have to move all of them together, working back and forth along the row.
When the long-side gap is only a few rows away from a wall, a pull bar is often easier. Hook it over the far edge of the plank and tap the bar’s end toward the gap.
When a Whole Section Has Drifted
If you have gaps in several neighbouring rows, tapping individual planks will just move the problem around. The fix is to shift the rows from the nearest parallel wall:
- Remove the baseboard or quarter-round along that wall to expose the expansion gap.
- Starting at the row nearest the wall, place a scrap of wood against the wall to protect it and use a flat pry bar to lever the row away from the wall, toward the gap.
- Work inward one row at a time until the gaps close.
- Check that you still have the expansion space the manufacturer calls for at the walls (usually around 6 to 10 mm) before putting the trim back.
- Reinstall the trim by nailing it to the wall only, never down through the flooring.
This takes an afternoon rather than ten minutes, but it is still far cheaper than pulling up and relaying the floor.
Keep the Gaps From Coming Back
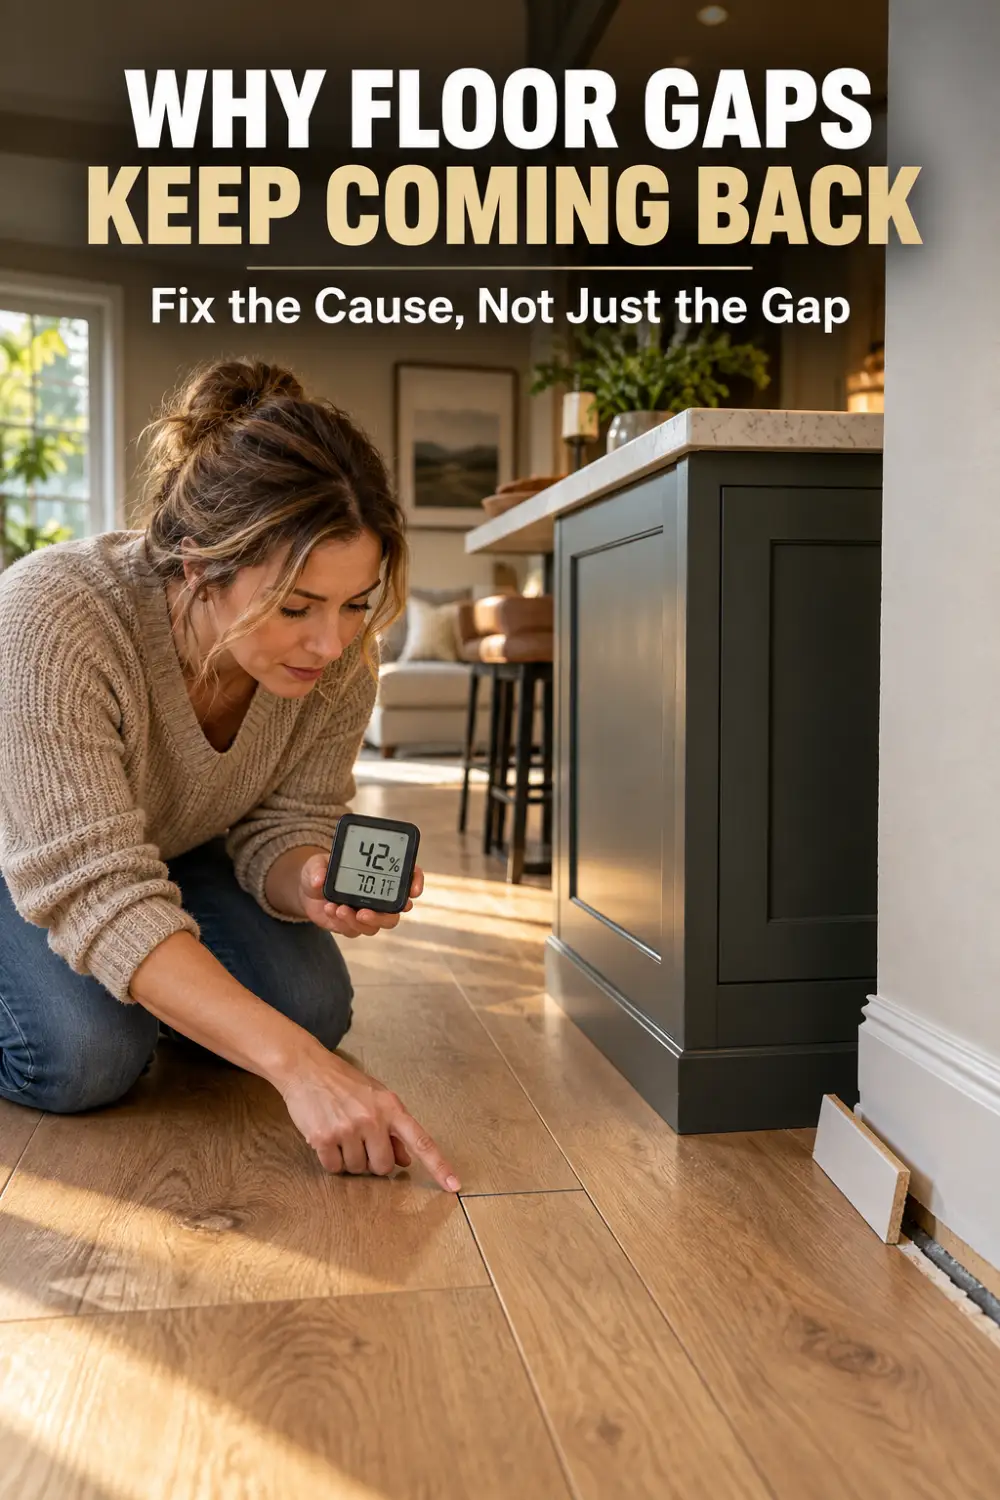
Once the joints are closed, remove whatever caused them to open:
- Free a pinned floor. If trim or a transition strip is fastened through the planks, pull those fasteners and re-secure the piece to the wall or subfloor track instead. For a heavy island or cabinet sitting on the floor, the proper fix is to cut the flooring around it with an expansion gap and cover the cut with trim. That is a bigger job, but without it, the gaps next to the island will keep returning.
- Control winter humidity. A humidifier on the furnace or a portable unit in the room keeps the planks from shrinking as much. Keeping humidity inside the manufacturer’s range also protects your warranty.
- Shim or fill subfloor dips. If one spot flexes underfoot, the planks over it need to come up so the low spot can be filled with floor-levelling compound. Closing the gap without doing this is a short-term fix.
- Replace a plank with a damaged lock. A worn or chipped locking edge won’t hold, no matter how many times you tap it closed. A single plank can be cut out and replaced without disturbing the rest of the room.
Some people put a thin bead of wood glue in a stubborn end joint after closing it. It works, but many manufacturers say glued joints void the floating-floor warranty, so check before doing it.
When Filler Is the Right Answer
A gap that is paper-thin and won’t budge, or one sitting right at a pinned cabinet you can’t move, can be filled instead of closed. Use a flexible, colour-matched laminate or wood-floor filler, or a hard wax repair stick, rather than rigid wood putty. Rigid fillers crack and pop out as soon as the floor moves with the seasons. Filler is also only a cosmetic fix, so use it for small spots rather than as a replacement for closing larger gaps.
When the Gaps Mean Something Else
Gaps with swollen or raised edges, dark staining, or a musty smell point to water damage, not movement. Tapping those planks closed won’t help. The wet planks, and possibly the underlayment below them, need to be replaced once the source of the water has been found and fixed.
Final Thoughts
Learning how to fix floating floor gaps is mostly a matter of reading where the gaps are and what season they appear in. Closing the joint takes a $15 block and a hammer; making sure it stays closed takes a quick look at trim fasteners, heavy furniture, subfloor dips, and indoor humidity. Deal with both, and the floor you were ready to replace can last for years.