
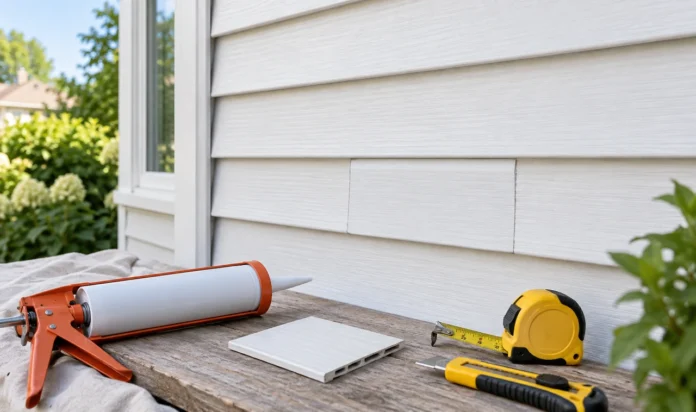


A stray baseball, a wayward ladder, or years of hail damage — and now there’s a hole in your vinyl siding staring back at you every time you pull into the driveway. The good news: you don’t need to replace an entire panel or call a contractor to repair holes in vinyl siding. Most damage, even holes a few inches wide, can be patched so well that neighbors would have to get within arm’s reach to notice.
By the end of this guide, you’ll have a hole that’s sealed, weatherproofed, and colored to match the surrounding panel — using a scrap piece of siding, some caulk, and about half an hour of hands-on work. This method works because it copies what a professional installer does: matching the exact material instead of filling the gap with a generic patch compound that yellows or cracks within a season.
Plan on 20 to 30 minutes of active work, plus an overnight cure before the patch is fully weatherproof. Grab your materials, pick a dry afternoon, and let’s get that siding looking whole again.
At a Glance
- Identify the Type and Size of the Hole
- Gather Your Vinyl Siding Repair Materials
- Clean the Area Around the Damage
- Trim Away Cracked or Jagged Edges
- Cut a Matching Patch From Spare Siding
- Apply Exterior-Grade Adhesive to the Patch
- Press the Patch Firmly Into Place
- Feather the Edges So the Patch Blends In
- Let the Repair Cure Before Testing It
- Inspect the Patch and Touch Up Any Gaps
1. Identify the Type and Size of the Hole
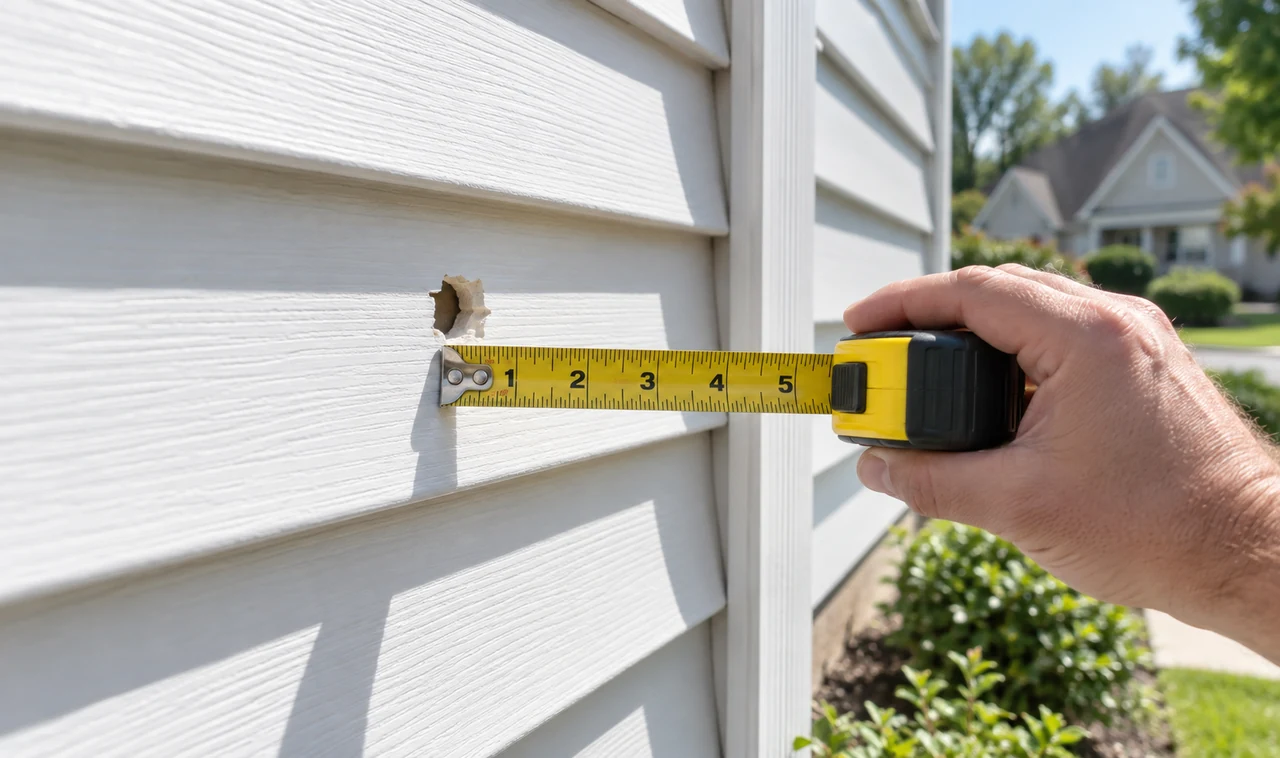
Run a finger along the edges before touching a tool to it. A hole under 2 inches wide from a stray nail or hail usually patches flat with caulk alone. Anything wider, or a crack that spreads when you press near it, needs a cut patch from matching siding. Photograph the hole next to a tape measure now — that reference matters later, when you’re cutting a patch and can’t remember the exact shape.
2. Gather Your Vinyl Siding Repair Materials
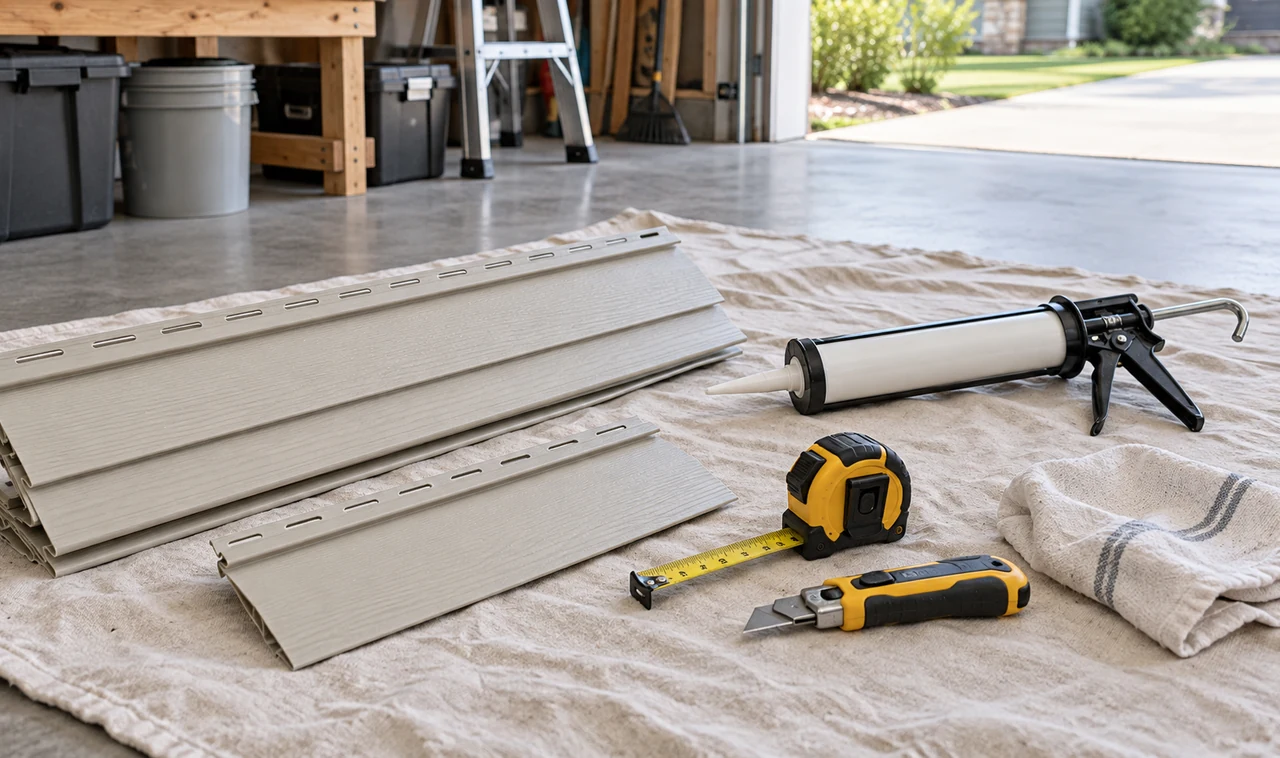
A trip back to the hardware store mid-repair kills momentum, so lay everything out before you start:
- A scrap piece of matching siding (check the attic, garage, or leftover installer stock)
- Exterior-grade vinyl adhesive or siding caulk
- A caulking gun, utility knife, and tape measure
- A clean rag and mild dish soap
If your siding has faded from sun exposure, a scrap cut from a hidden spot — behind a shrub, under a deck — matches the color far better than anything fresh off a store shelf.
3. Clean the Area Around the Damage
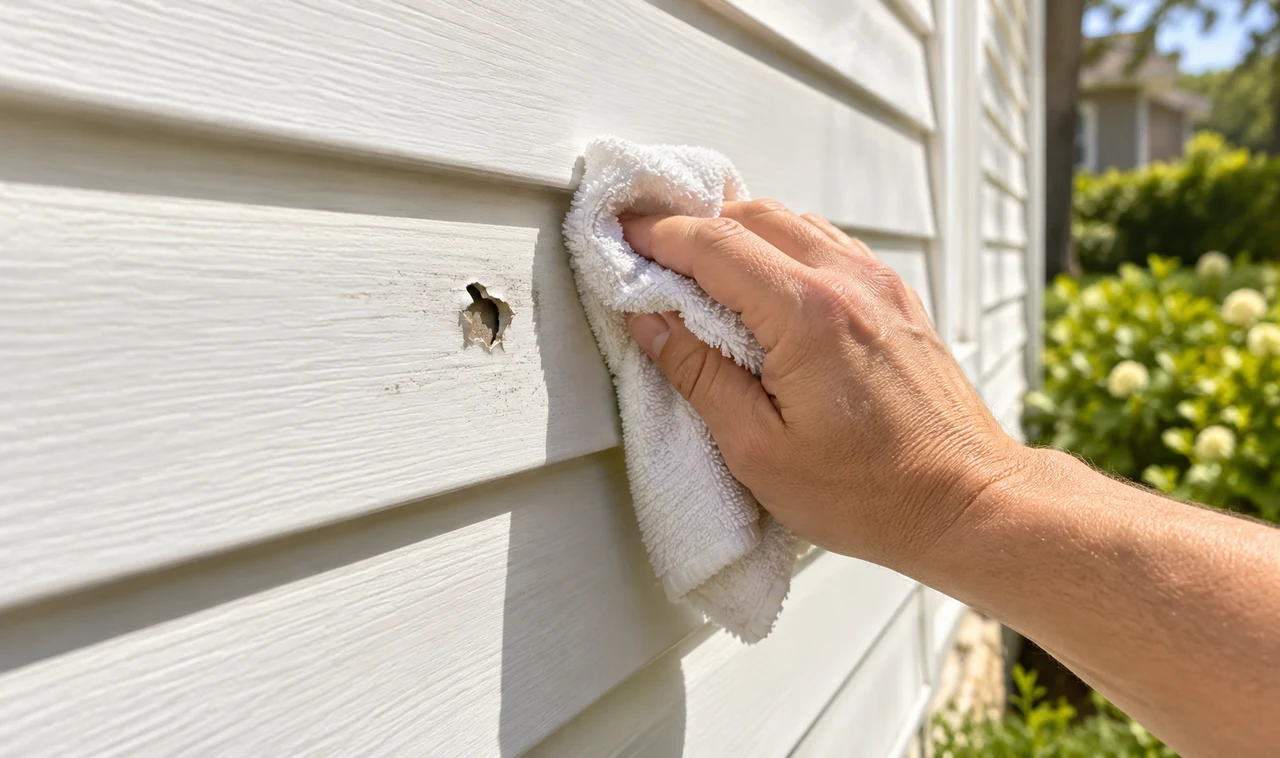
Dirt and chalky residue on old siding stop adhesive from bonding, even when the surface looks fine. Wipe a 6-inch radius around the hole with warm water and a few drops of dish soap, then rinse and dry it completely with a clean towel. Skip pressure washers here — the force can push water behind the panel and cause staining you won’t notice until months later.
4. Trim Away Cracked or Jagged Edges
A crack under 3 inches wide usually needs its edges smoothed, not enlarged. Score along the jagged plastic with a utility knife, rounding the corners as you cut — sharp corners concentrate stress and crack again within a year. Skip this step entirely if your hole is a clean, round puncture with no cracking at the edges.
5. Cut a Matching Patch From Spare Siding
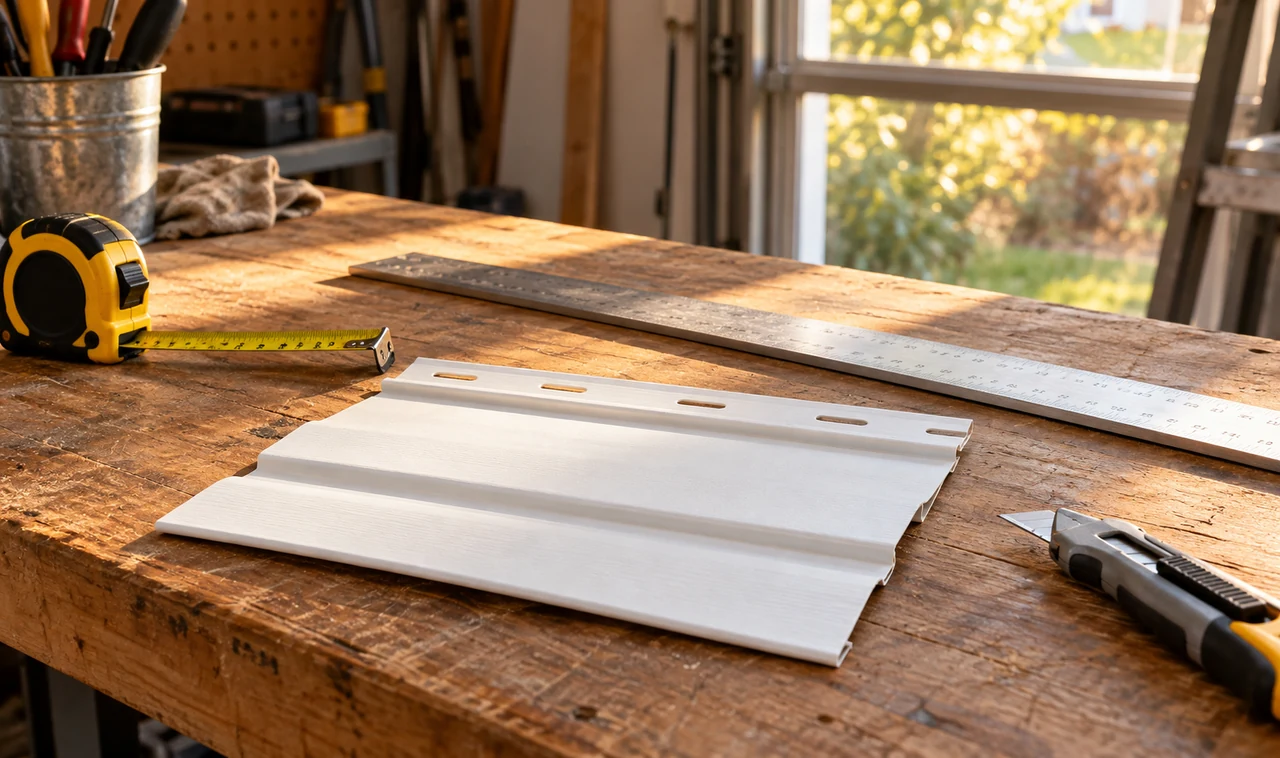
Lay your scrap siding face-up and trace the hole’s outline directly onto it, then extend that outline by 1 inch in every direction. Cutting a patch too close to the exact hole size leaves no margin for adhesive coverage, and gaps show through almost immediately. Cut along the traced line with a utility knife and straightedge, angling the blade slightly so the patch’s underside is a touch smaller than its face — this helps it seat flush instead of sitting proud of the surface.
6. Apply Exterior-Grade Adhesive to the Patch
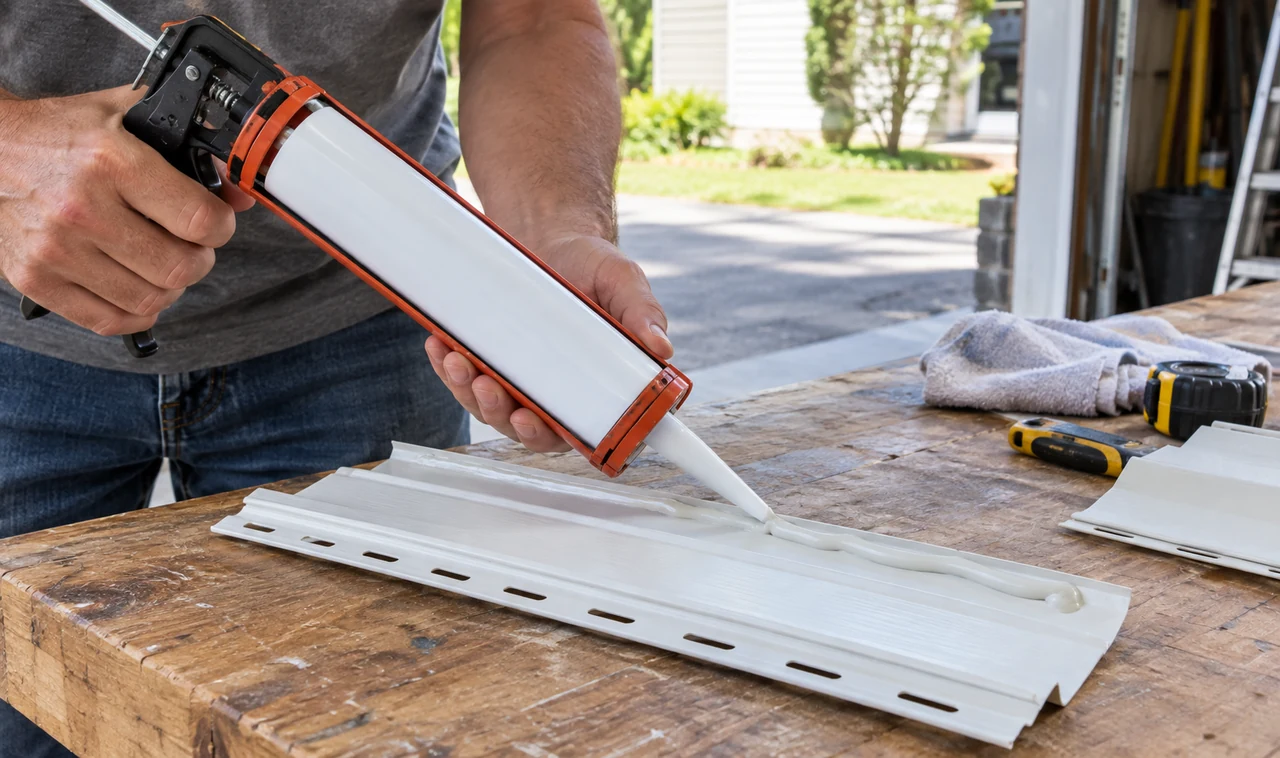
Not every caulk bonds to vinyl the same way. Run a bead of vinyl-rated adhesive around the patch’s backside, about 1/4 inch from the edge, then add two or three dots in the center for even contact. Regular silicone caulk looks like it works at first, then peels away within a season because it wasn’t made to flex with PVC through temperature swings.
7. Press the Patch Firmly Into Place
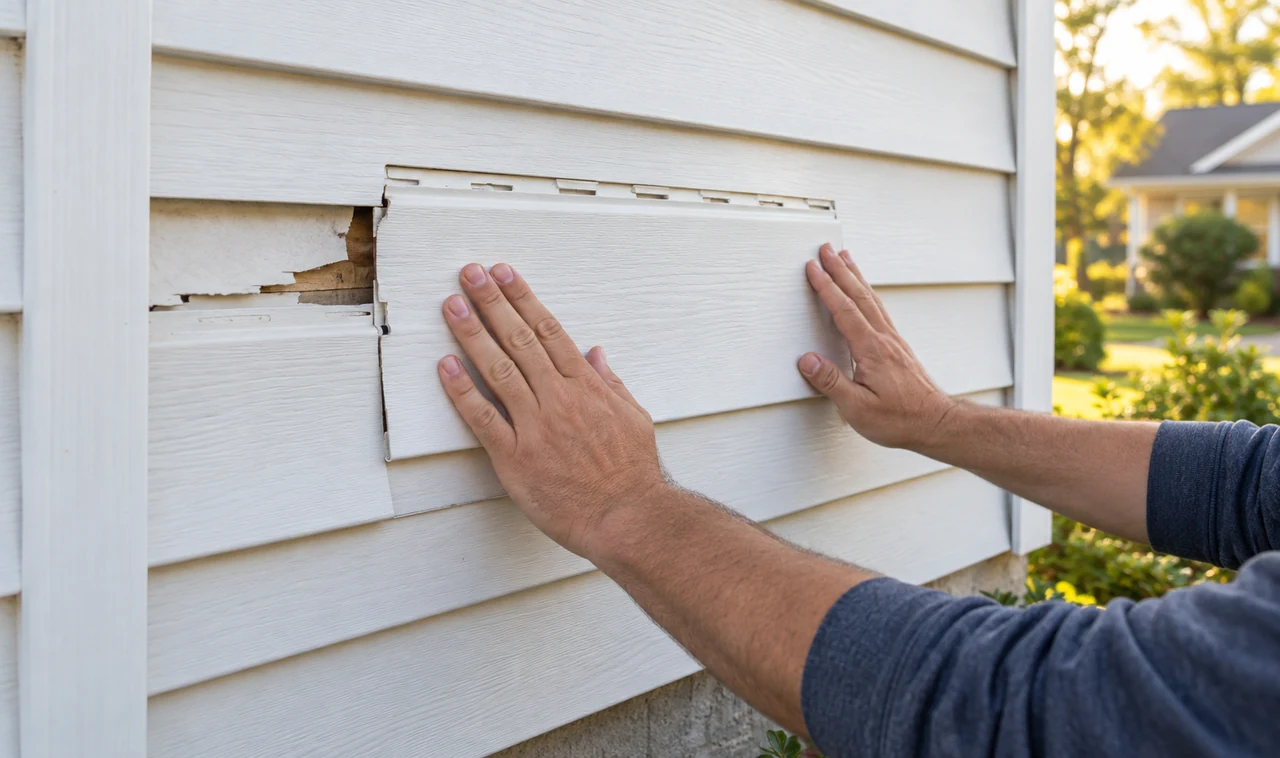
Line the patch up with your traced marks and push from the center outward, working toward the edges. Hold firm pressure for 60 seconds so the adhesive makes full contact rather than just touching in spots. Painter’s tape across the patch keeps it from shifting while the bond sets, especially on a breezy day — pull the tape off once the adhesive has grabbed, usually within the hour.
8. Feather the Edges So the Patch Blends In
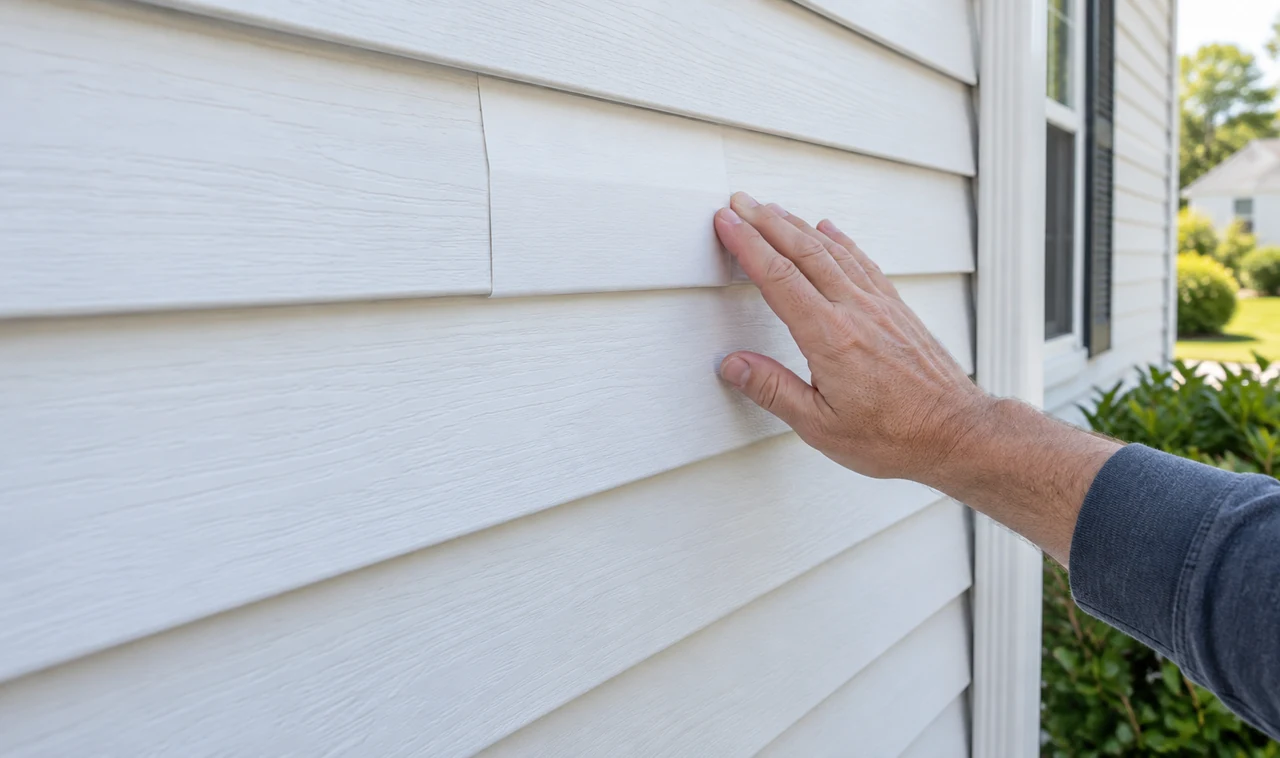
This is the step that decides whether anyone notices the repair. Run a thin bead of the same adhesive along the patch’s outer seam, then smooth it with a damp finger in one continuous motion rather than going back over the same spot twice. Going back over wet adhesive drags color and leaves a slightly duller streak where light catches it differently than the surrounding panel.
9. Let the Repair Cure Before Testing It
Walk away for at least 24 hours, even if the surface feels dry to the touch after a few hours. Vinyl adhesive cures from the inside out, and a patch that looks solid can still shift under pressure long before it’s actually bonded. Avoid hosing down the siding, leaning a ladder against it, or letting kids toss a ball anywhere near it during this window.
10. Inspect the Patch and Touch Up Any Gaps
Once cured, step back and check the patch from a few different angles — sun glare can hide a seam up close that’s obvious from ten feet away. Any hairline gap at the edge takes five minutes to fix: a thin bead of adhesive smoothed flush, no need to redo the whole patch. If the color still looks slightly off after everything else checks out, that’s almost always sun-fading on the surrounding panel rather than a flaw in your work.
FAQ
Can I repair a large hole in vinyl siding without replacing the whole panel?
What’s the best adhesive for vinyl siding repair?
How do I patch small nail or screw holes in vinyl siding?
Where do I find matching siding for the patch?
Conclusion
That gaping hole is now a patch nobody would spot unless they knew where to look. You’ve matched the material, sealed it against weather, and given it the time it needed to actually bond — which is the part most rushed repairs skip. If this siding is getting up in years, keep an eye on nearby panels for hairline cracks before they turn into holes of their own. This vinyl siding hole repair should hold for the life of the panel. Save this pin so it’s ready the next time a stray branch or baseball finds your house.