
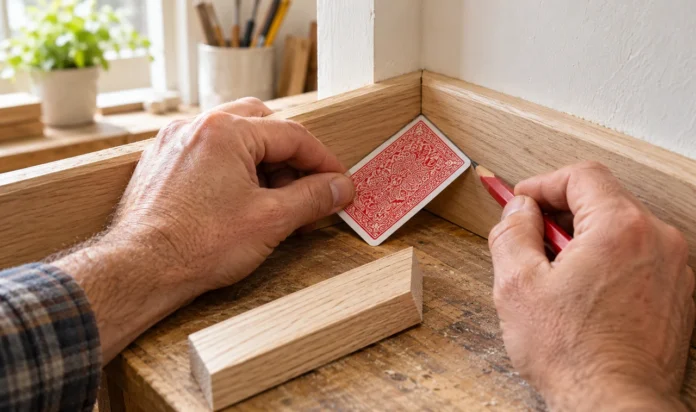


Awkward corners can make a simple trim job feel harder than it should. A ruler gives you length, but it cannot copy the slant of a crooked wall or cabinet. This guide shows how to measure tricky wood angles with a playing card by turning one firm card into a disposable template.
The card does not give you a number in degrees. Instead, it captures the real shape so you can transfer it directly to scrap wood. This method is ideal for short trim returns, shelf fillers, cabinet details, and small inside corners where a full-size angle finder feels clumsy.
What You Need
- One firm playing card
- Sharp carpenter pencil
- Small scissors
- Painter’s tape
- Scrap wood that matches your project
- Ruler or straightedge
- Your usual cutting tool and eye protection
At a Glance
- Choose a reference edge.
- Flatten and label the card.
- Seat it in the corner.
- Trace the awkward angle.
- Trim and refine the template.
- Transfer it to scrap wood.
- Cut and test the scrap piece.
Choose One Reference Edge
Pick the surface your finished piece will register against. For baseboard this is often the wall-facing edge; for a shelf filler it may be the cabinet side. Clear away sawdust, caulk, and loose paint so the card can sit flat. Mark this face with painter’s tape. Using one fixed reference prevents you from flipping the template later.
Flatten and Label the Playing Card
Use a card without curls, creases, or torn corners. If it bows, press it under a book for 5 minutes. Write “FACE” near the center and draw an arrow toward the visible side of the finished wood. These marks matter because the same angle looks reversed when the card is turned over.
Seat the Card Against the Reference Edge
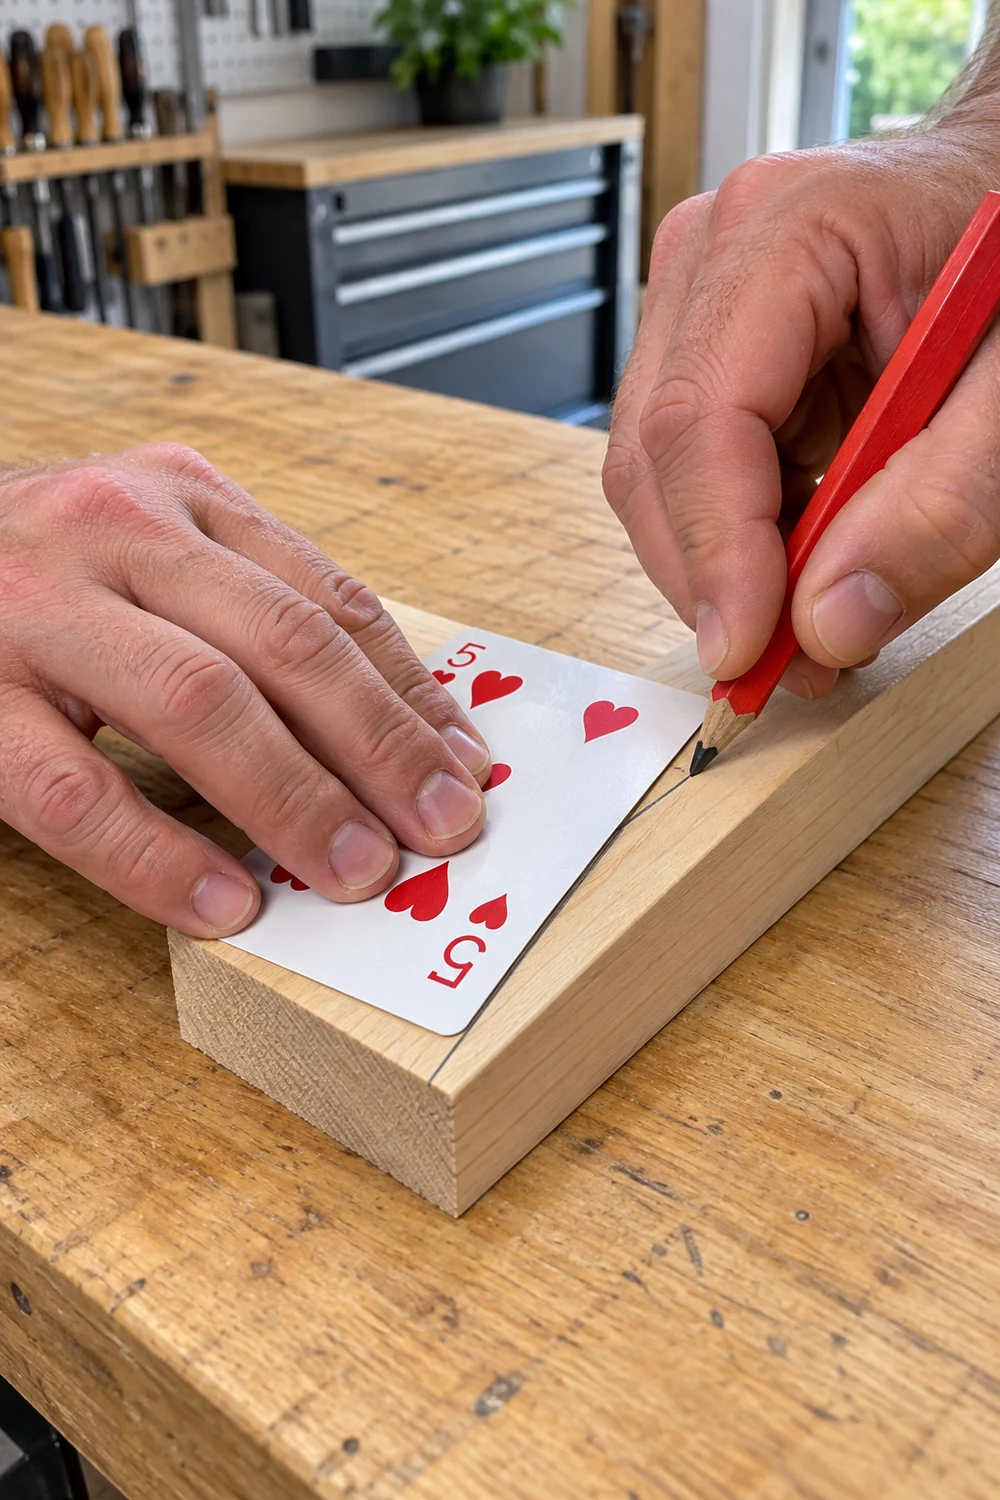
Place one long, straight edge of the card firmly against the marked surface. Slide it toward the corner until the second surface stops it. Hold the card near the open edge instead of covering the area you need to trace.
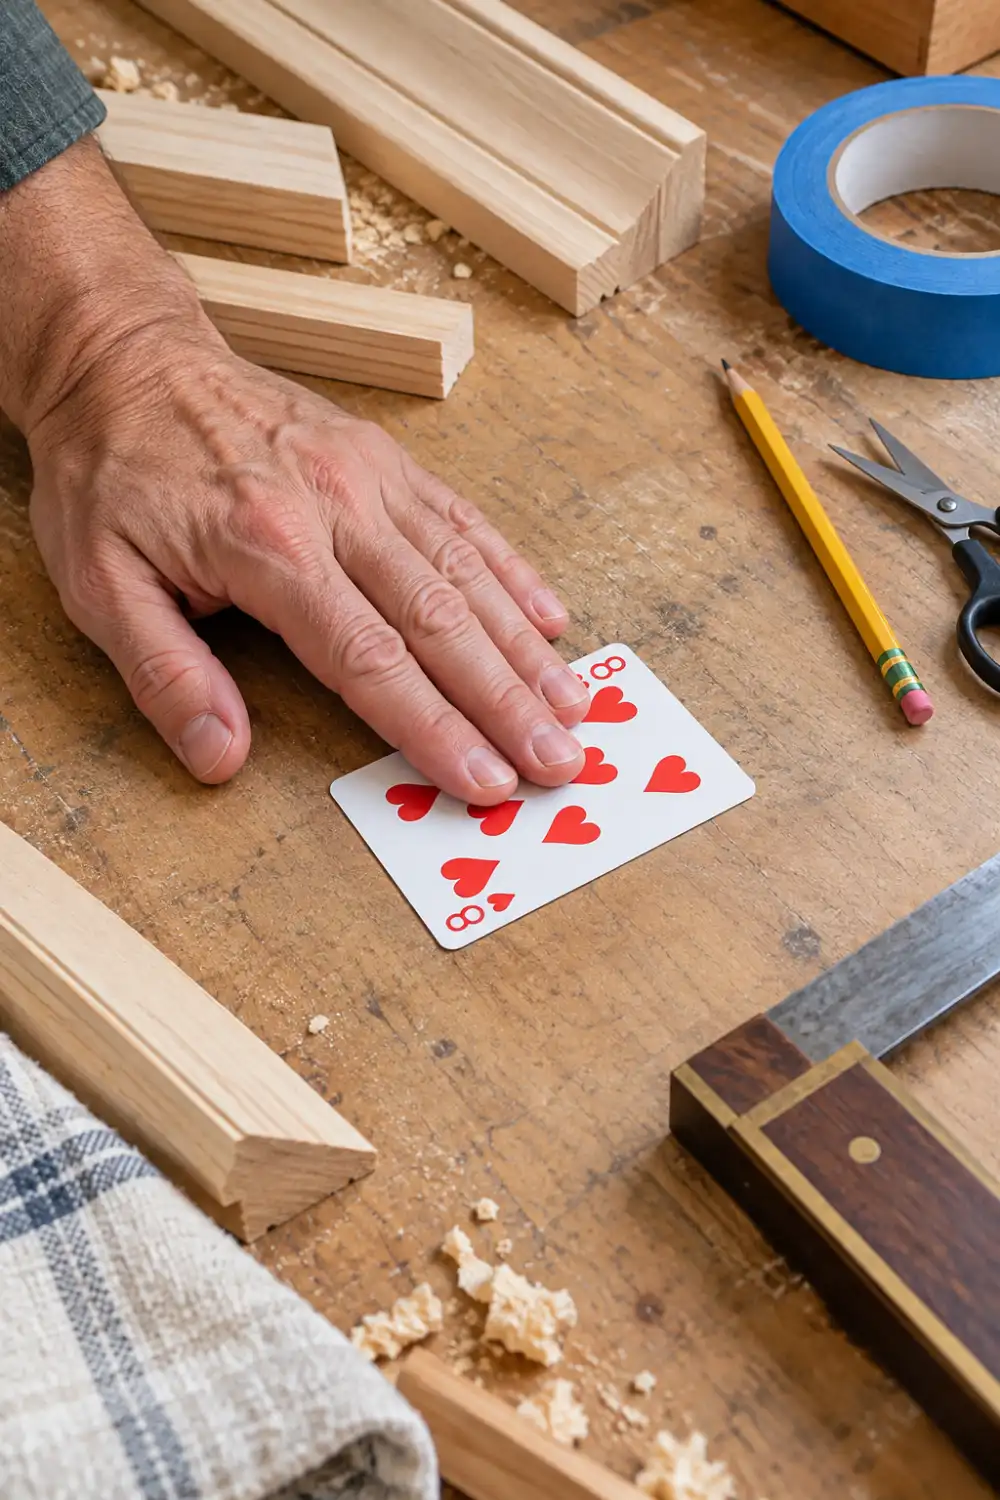 Keep one card edge flat against the chosen reference surface.
Measure the Tricky Wood Angle With a Playing Card
Keep the card still and draw along the second surface with a sharp pencil. Make one light pass. A thick line can move the cut more than you expect on narrow trim. If the corner is too deep for the pencil body, mark two points where the surface crosses the card, remove the card, and connect the points with a straightedge.
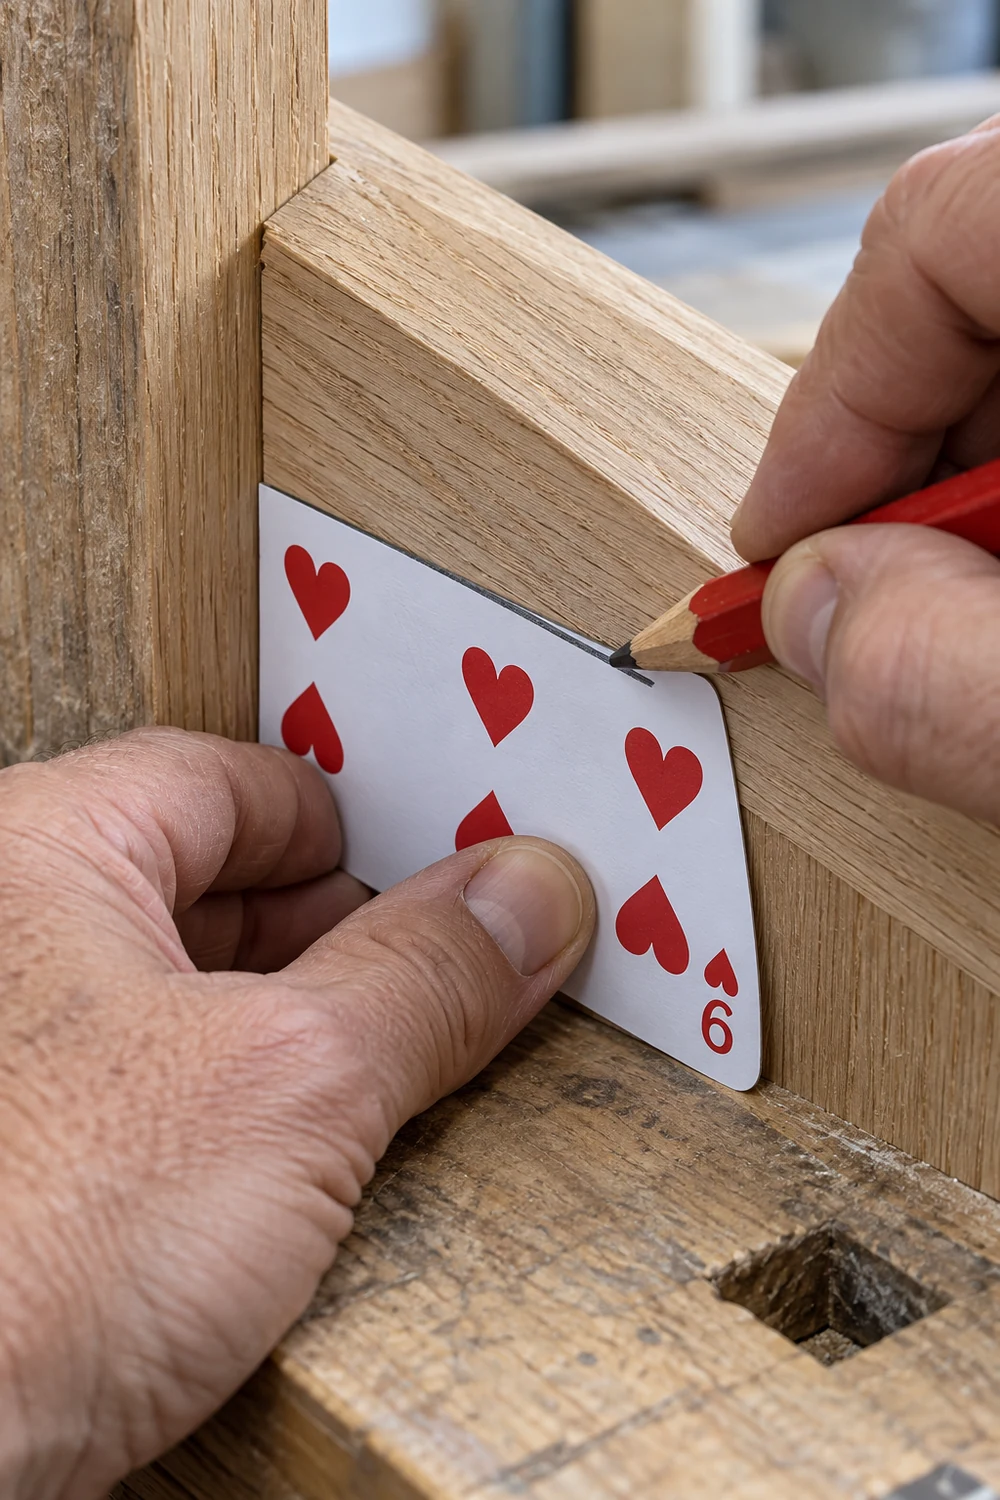
Trim to the Pencil Line
Move the card to a bench and cut on the waste side of the mark. Leave about 1/32 inch of the line visible on the first pass. That tiny allowance gives you room to improve the fit rather than making the template too short.
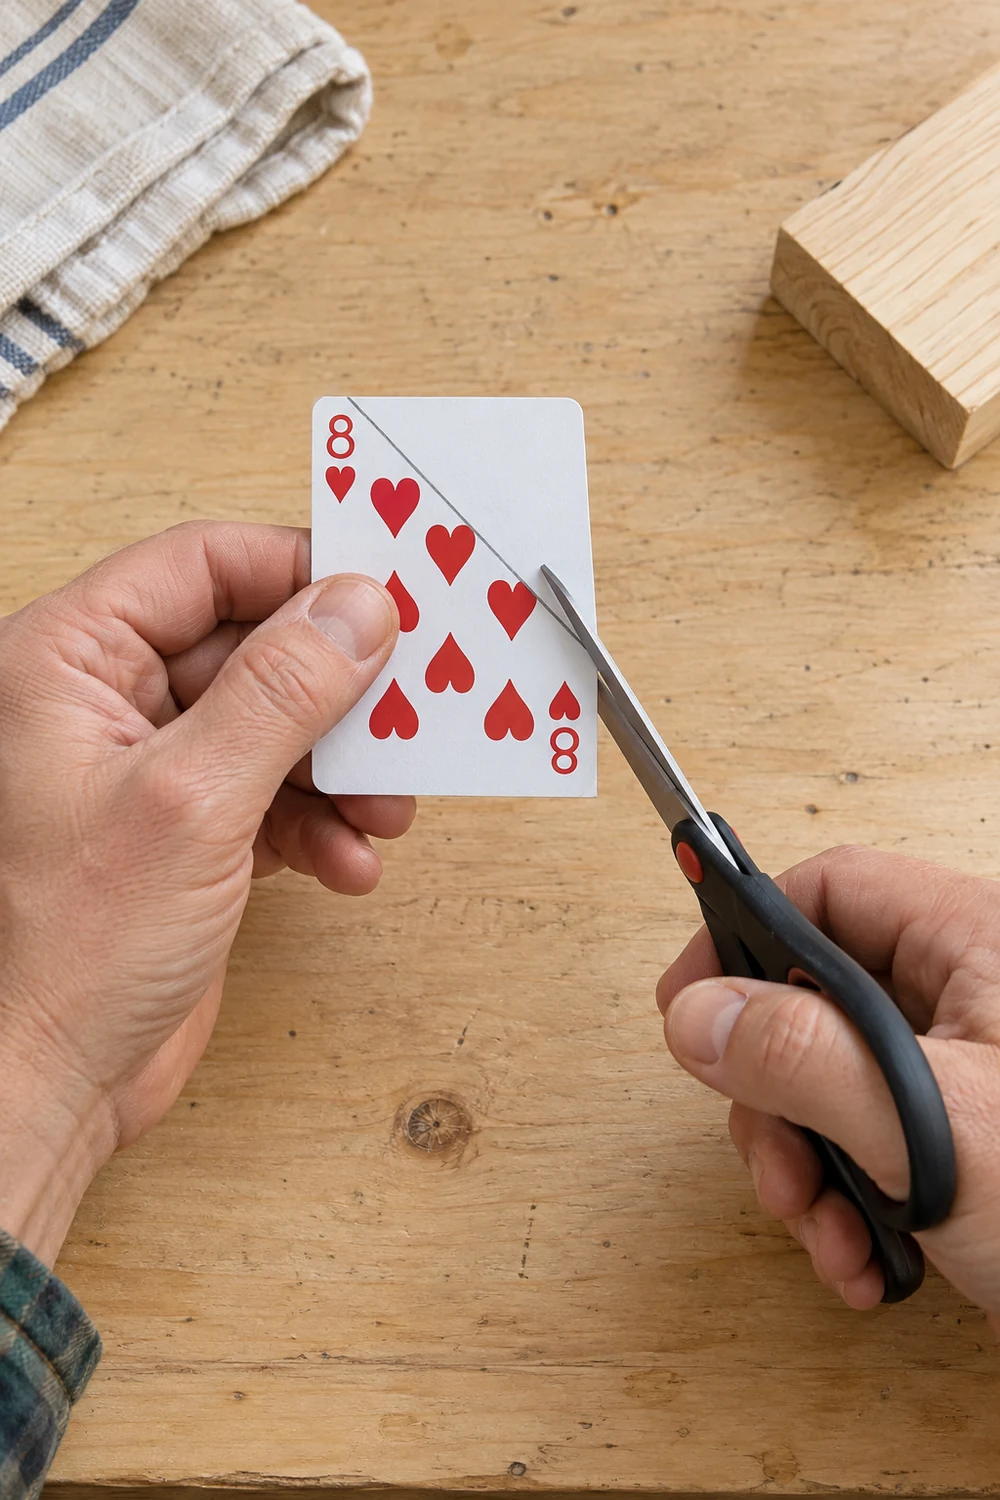
Refine the Card Template
Return the trimmed card to the same face and orientation. A good template touches both surfaces without buckling. If you see a gap, shade the high spot, remove the card, and cut away a paper-thin sliver. Most corners need only two or three checks.
Transfer the Angle to Scrap Wood
Place the card on scrap wood with the FACE mark pointing the same way it did in the corner. Align the straight edge and secure it with painter’s tape. Trace the trimmed side once, then mark an X on the waste side. This direct transfer avoids degree calculations and reduces mistakes.
For large parts, repeated cuts, or angles that must be recorded in degrees, use a sliding T-bevel or angle finder. The card method is best as a quick physical template.
Cut and Test the Scrap Piece
Clamp the scrap, wear eye protection, and keep the blade on the waste side of the line. Test the piece in the real corner without glue or fasteners. If the front edge opens, correct the card template before cutting your finished stock.
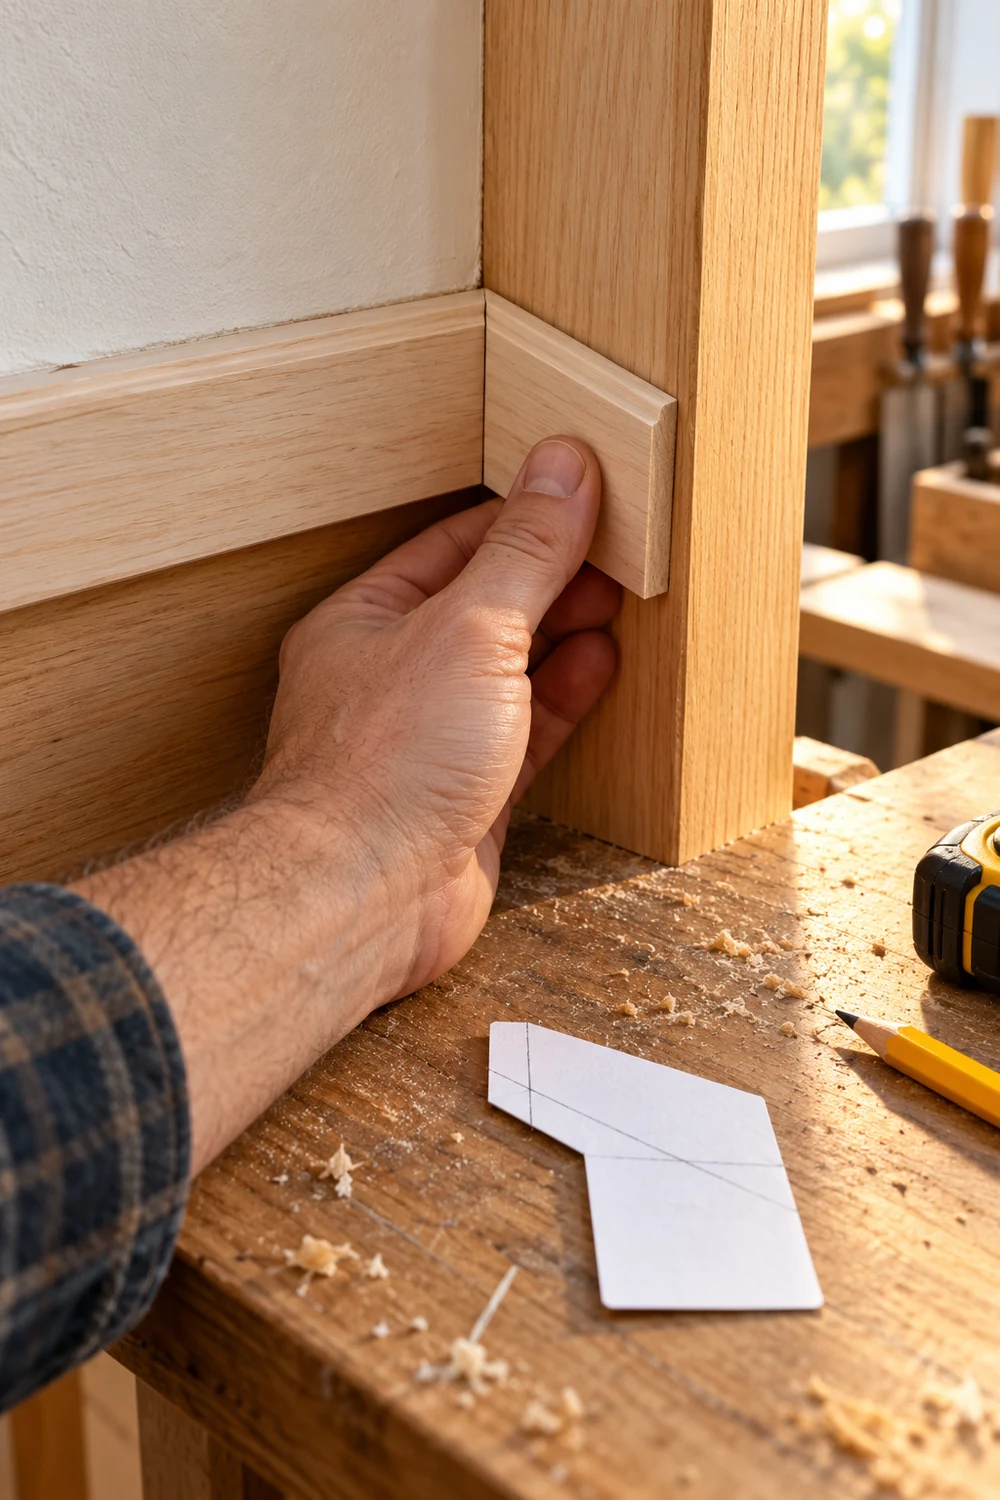
Once the scrap fits, use it to mark the finished board or reuse the card in the same orientation. If you are working with finished wood, also see our guide to removing watermarks from wood safely.
Troubleshooting
- The card rocks: Clear debris and check that the reference edge is flat.
- The template has a front gap: Mark the high spot and trim a very thin sliver.
- The scrap cut is reversed: Match the FACE mark and arrow before tracing again.
- The fit changes along a wall: Make the template at the exact installation location.
Frequently Asked Questions
Does the card show the angle in degrees?
No. It copies the shape so you can transfer it directly. Use a protractor or digital angle finder when you need a degree reading.
Can I use this for outside corners?
Yes, when the card can sit flat against a clear reference face. Label the visible face before tracing because outside-corner templates are easy to reverse.
Will a business card work?
It can, but many business cards are softer. A firm playing card holds a trimmed edge better during repeated checks.
Can I use it for crown molding?
Use it only as a small fitting guide. Crown molding often needs both a miter and a bevel, so use a compound-angle setup for the final cut.
Quick Reference
- Choose and label the reference edge.
- Seat the card in the actual corner.
- Trace the second surface.
- Trim just outside the line.
- Refine until the card fits.
- Trace onto scrap wood.
- Cut, test, and correct.
You now know how to measure tricky wood angles with a playing card without guessing at a degree number. The card carries the real corner shape to your wood, while a scrap test protects the material that matters.
Save this guide to your woodworking or home-improvement Pinterest board so the trick is nearby when the next crooked corner appears.